Introduction
Are you tired of bending over or digging through cluttered cabinets to find what you need? Installing a DIY pull-out shelf is a simple and effective project that can transform your kitchen or bathroom storage. These sliding shelves make items easily accessible, maximize space, and keep your cabinets organized. With just a few basic tools and some effort, you can create a more functional and tidy storage solution for your home.
This guide will walk you through the steps to install pull-out cabinet shelf storage, even if you’re new to DIY projects. With the right tools and a bit of effort, you’ll enjoy the convenience of a more organized home in no time.
Table of Contents
- Why Install Pull-Out Cabinet Shelves?
- Benefits of Pull-Out Shelf Storage
- Tools and Materials Needed
- How to Measure Your Cabinets
- Choosing the Right Pull-Out Shelves
- Step-by-Step Guide to Installation
- Preparing the Cabinet
- Assembling the Pull-Out Shelf
- Installing the Shelf Slides
- Securing the Pull-Out Shelf
- Tips for a Perfect Installation
- Common Mistakes to Avoid
- Pull-Out Shelf Design Ideas
- FAQs About Pull-Out Cabinet Shelves
1. Why Install Pull-Out Cabinet Shelves?
Pull-out cabinet shelves are a game-changer for storage. They eliminate the frustration of rummaging through cabinets, save time, and make even the deepest shelves functional. Perfect for kitchens, bathrooms, and pantries, they’re an ideal upgrade for homeowners seeking better organization.

2. Benefits of Pull-Out Shelf Storage
- Accessibility: Easily reach items stored at the back of your cabinets.
- Organization: Keep items sorted and tidy with designated spaces.
- Space Optimization: Maximize storage in cabinets of any size.
- Ease of Installation: A simple DIY project that requires minimal tools.
- Versatility: Use in various rooms, from kitchens to laundry rooms.
3. Tools and Materials Needed
Here’s what you’ll need to complete the project:
- Pull-out cabinet shelf kit
- Measuring tape
- Screwdriver or drill
- Level
- Pencil
- Wood screws (if not included)
- Adhesive tape (optional)
- Safety gloves
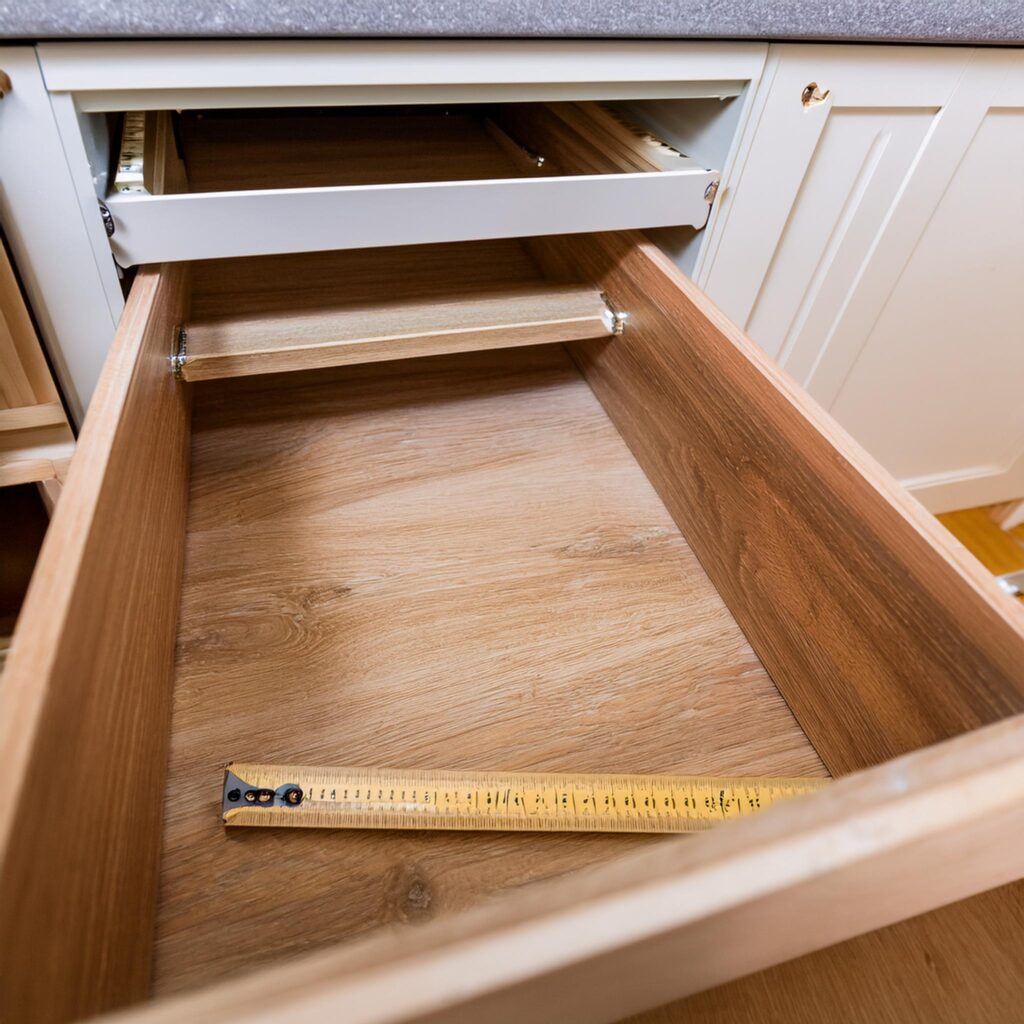
4. How to Measure Your Cabinets
Accurate measurements are crucial for a successful installation.
- Width: Measure the inside width of the cabinet from one side to the other.
- Depth: Measure from the back wall of the cabinet to the front edge.
- Height: Ensure there’s enough vertical space for the pull-out shelf to slide freely.
5. Choosing the Right Pull-Out Shelves
There are various pull-out shelf options to suit your needs:
- Single-Tier Shelves: Ideal for small cabinets or under sinks.
- Double-Tier Shelves: Maximize vertical storage space.
- Wire Baskets: Lightweight and great for organizing pantry items.
- Wooden Shelves: Offer a sleek, durable finish for kitchen use.
6. Step-by-Step Guide to Installation
Preparing the Cabinet
- Clear out the cabinet and clean the interior to remove dust and debris.
- Inspect the cabinet floor to ensure it’s level and sturdy.
Assembling the Pull-Out Shelf
- Follow the manufacturer’s instructions to assemble the shelf frame, if required.
- Ensure all screws and brackets are tightly secured.
Installing the Shelf Slides
- Mark the mounting points for the slides inside the cabinet.
- Attach the slides to the cabinet walls or floor using screws.
- Use a level to ensure the slides are perfectly aligned.
Securing the Pull-Out Shelf
- Attach the pull-out shelf to the installed slides.
- Test the sliding mechanism to ensure smooth movement.
- Adjust screws if needed for alignment.
7. Tips for a Perfect Installation
- Double-check measurements before purchasing shelves.
- Use adhesive tape to temporarily hold slides in place during installation.
- Keep a level handy to ensure everything is aligned.
- For wider cabinets, consider installing two pull-out shelves side by side.
8. Common Mistakes to Avoid
- Incorrect Measurements: Leads to shelves that don’t fit properly.
- Misaligned Slides: Causes the shelf to tilt or get stuck.
- Skipping Cleaning: Debris can interfere with the sliding mechanism.
- Using Weak Screws: Ensure screws are sturdy enough to hold weight.
9. Pull-Out Shelf Design Ideas
- Spice Organizer: Use narrow pull-out shelves for spices and seasonings.
- Under-Sink Storage: Install a shelf for cleaning supplies and trash bags.
- Pantry Solution: Add multiple tiers of pull-out shelves for cans, jars, and snacks.
- Bathroom Cabinet: Use for toiletries and towels.
10. FAQs About Pull-Out Cabinet Shelves
Q1. Can pull-out shelves support heavy items?
A: Yes, most pull-out shelves can support up to 75 pounds, but check the manufacturer’s specifications.
Q2. Are pull-out shelves easy to clean?
A: Yes, simply slide them out and wipe with a damp cloth.
Q3. Can I install pull-out shelves in corner cabinets?
A: Yes, but you may need a specific design like a pull-out lazy Susan.
Q4. How much does it cost to install pull-out shelves?
A: DIY costs range from $50 to $200 per shelf, depending on the materials.
Q5. Do I need special tools for installation?
A: No, basic tools like a drill, measuring tape, and level are sufficient.
Q6. Can I remove the shelves if needed?
A: Yes, most pull-out shelves can be unscrewed and removed.
Conclusion
Installing pull-out cabinet shelves is an easy DIY project that can significantly improve your storage space and organization. With minimal tools and effort, you’ll create a more functional and accessible cabinet setup, making your daily routines smoother and more enjoyable.
Whether it’s for your kitchen, bathroom, or pantry, pull-out shelves are a practical upgrade that combines convenience with style. Start your DIY journey today and enjoy a clutter-free, organized home!