Introduction:
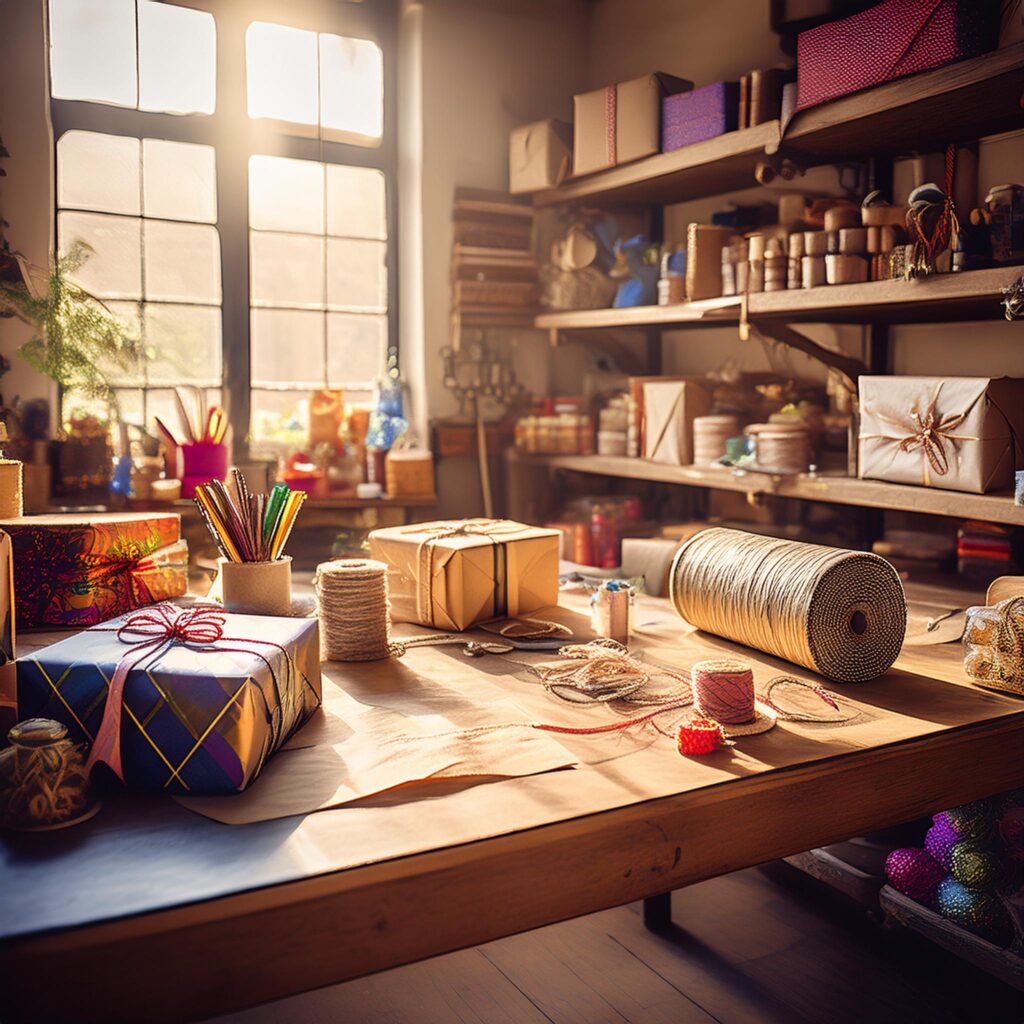
Wrapping a present is more than just a practical task—it’s an art form that adds a personal touch to the gift-giving experience. Whether you’re preparing for a birthday, holiday, or any special occasion, the way you wrap your gift can enhance the excitement and make the recipient feel extra special. In this step-by-step DIY guide, we’ll teach you how to wrap a present with style and creativity. From choosing the right materials to adding the perfect finishing touches, this tutorial will help you become a pro at gift wrapping.
Table of Contents:
- Why Gift Wrapping Matters
- Essential Tools and Materials for Gift Wrapping
- Step-by-Step Guide to Wrapping a Present
- Step 1: Measure and Cut the Wrapping Paper
- Step 2: Wrapping the Gift Box
- Step 3: Securing the Wrapping Paper
- Step 4: Adding a Personal Touch with Ribbons and Decorations
- Creative Gift Wrapping Ideas for Every Occasion
- Tips for Eco-Friendly Gift Wrapping
- Conclusion: Wrapping Your Gifts Like a Pro
1. Why Gift Wrapping Matters:
Gift wrapping is not just about aesthetics—it plays a significant role in the joy of gift-giving. It creates an element of surprise and anticipation before the gift is unwrapped. A beautifully wrapped gift shows the recipient that you’ve put thought and care into the presentation, making the moment even more special.

2. Essential Tools and Materials for Gift Wrapping:
Before you dive into the art of wrapping, gather all the necessary tools and materials:
- Wrapping Paper (choose the right size and design for the occasion)
- Scissors
- Tape (double-sided tape works best)
- Ribbon, Twine, or String
- Gift Tags
- Decorative Items (e.g., bows, stickers, dried flowers)
- Gift Box (if necessary)
- A ruler or measuring tape (optional but helpful)
3. Step-by-Step Guide to Wrapping a Present:
Step 1: Measure and Cut the Wrapping Paper
Start by measuring your wrapping paper. Lay your gift on the paper, and ensure that the paper can cover the entire gift with a little extra overlap on each side. Use a ruler to ensure straight cuts. Cut the paper evenly to avoid any jagged edges.
Step 2: Wrapping the Gift Box
Place your gift in the center of the wrapping paper. Fold one side of the paper over the gift and secure it with tape. Repeat with the other side. If there’s excess paper on the ends, fold each edge neatly like you’re creating a hospital corner, and then tape it down securely.
Step 3: Securing the Wrapping Paper
Once the main wrapping is done, reinforce it by securing the edges and seams with tape. Try to use clear tape for a more polished look. Avoid using too much tape, as this can make the wrapping look messy.
Step 4: Adding a Personal Touch with Ribbons and Decorations
Now it’s time to get creative! Add a beautiful ribbon or string around the gift, either in a bow or a simple knot. You can also add extra touches such as a small gift tag, dried flowers, or a decorative sticker to make the wrapping more personal.
4. Creative Gift Wrapping Ideas for Every Occasion:
- Birthday Gifts: Use colorful paper and add balloons or confetti for a festive look. Customize the ribbon with the recipient’s favorite color.
- Christmas Gifts: Go for classic holiday prints like plaid or Santa Claus designs. Add a pinecone, a sprig of holly, or a small ornament for a wintery feel.
- Anniversary Gifts: Use metallic wrapping paper in gold, silver, or rose gold for a sophisticated touch. You can even use fabric like burlap or linen for a rustic charm.
- Baby Showers: Soft pastels and cute animal prints are perfect for baby gifts. Try using a satin ribbon or a cute plush toy as a decoration.
5. Tips for Eco-Friendly Gift Wrapping:
- Use reusable fabric gift bags or scarves to wrap presents.
- Opt for recycled or biodegradable wrapping paper.
- Repurpose old newspaper or magazine pages for a unique, eco-friendly look.
- Choose natural twine instead of synthetic ribbon, or better yet, go ribbon-free!
6. Conclusion:
Wrapping Your Gifts Like a Pro: Mastering the art of gift wrapping is an easy and rewarding way to make your presents stand out. By following these simple steps and adding your personal touches, you’ll be able to create beautiful, thoughtful presentations for every occasion. Whether you’re looking to wrap a gift for a birthday, holiday, or any special event, these techniques will help you elevate your gift-giving experience and show your loved ones just how much you care.
Happy wrapping!