Introduction
When it comes to wrapping gifts, presentation can make all the difference. A beautifully crafted bow can elevate any gift, making it feel extra special. In this DIY tutorial, we’ll show you how to create a stunning twisted bow that will add a touch of elegance to your gift wrapping. Whether you’re wrapping gifts for birthdays, holidays, or special occasions, this easy-to-follow tutorial will guide you through the process of creating a gorgeous twisted bow that stands out. Plus, we’ll cover the best materials to use, techniques for perfection, and some bonus tips for a flawless finish.
Table of Contents
- Why Choose Twisted Bows for Gift Wrapping?
- Materials Needed for Twisted Bow Gift Wrapping
- Step-by-Step DIY Twisted Bow Tutorial
- Step 1: Preparing Your Ribbon
- Step 2: Creating the Twists
- Step 3: Securing the Twists
- Step 4: Attaching the Bow to Your Gift
- Tips for Perfecting Your Twisted Bow
- Conclusion
1. Why Choose Twisted Bows for Gift Wrapping?
Twisted bows are a popular choice for gift wrapping due to their dynamic and voluminous appearance. Unlike traditional flat bows, twisted bows create a more textured and eye-catching effect. They bring an added layer of dimension to your wrapping, making the gift look more polished and professional. The elegance and sophistication of twisted bows make them perfect for upscale occasions, such as weddings, anniversaries, and holiday gifting.
In addition to their aesthetic appeal, twisted bows are surprisingly easy to make with just a few simple steps. Whether you’re a DIY enthusiast or a complete beginner, this project is accessible to all.

2. Materials Needed for Twisted Bow Gift Wrapping
Before you begin, gather these materials to create the perfect twisted bow:
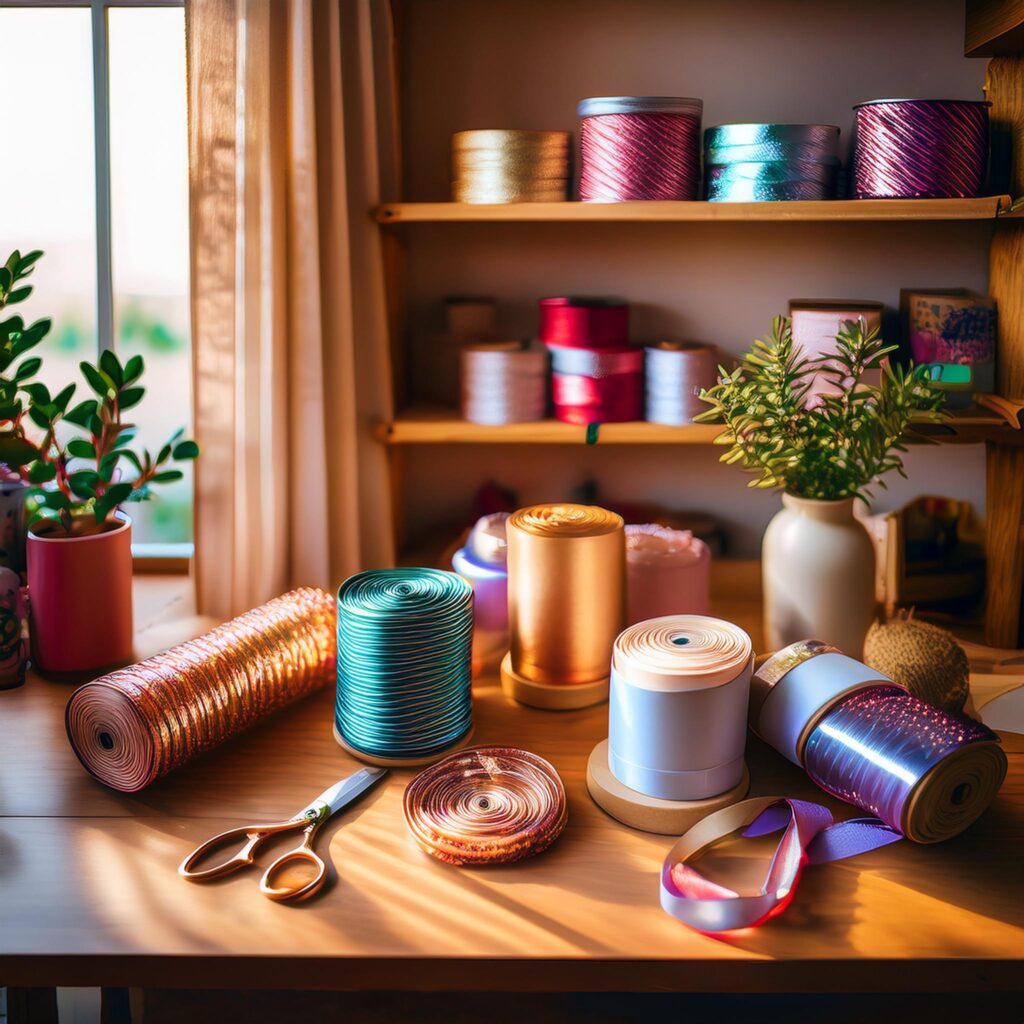
- Ribbon (1-2 inches wide): Satin, grosgrain, or metallic ribbons work best.
- Scissors: For cutting the ribbon.
- Floral Wire or Thin Twist Tie: To secure the bow in place.
- Gift Wrap or Box: For the gift you’re wrapping.
- Tape or Glue: Optional, for additional securing of the bow.
- Gift Tag: Optional, to personalize your wrapped gift.
3. Step-by-Step DIY Twisted Bow Tutorial
Follow these simple steps to create your own twisted bow.
Step 1: Preparing Your Ribbon
To start, measure out the length of ribbon you’ll need. For most gifts, 3-4 feet of ribbon should be sufficient. If you’re wrapping a larger gift, you may need more.
Cut the ribbon with your scissors, making sure to leave a little extra for adjustments later.
Step 2: Creating the Twists
Hold one end of the ribbon and begin twisting it in your fingers. Keep the ribbon twisted for about 6-8 inches before you begin to form the loops. This will give the bow a nice fullness.
Twist the ribbon continuously, making sure the twists are tight and even. The more twists you create, the fuller and more dramatic your bow will appear. You can also vary the size of the twists depending on the desired size of your bow.
Step 3: Securing the Twists
Once you’ve created the desired number of twists, use floral wire or a twist tie to hold the center of the ribbon securely. Be sure to twist the wire tightly around the center to keep the ribbon in place.
If you’d like to add additional volume or make the bow fuller, you can repeat the twisting process using smaller pieces of ribbon.
Step 4: Attaching the Bow to Your Gift
Now that your twisted bow is complete, it’s time to attach it to your gift. Place the bow on top of your wrapped gift and secure it by tying the remaining ends of the ribbon around the package.
If the bow feels loose, use a little tape or glue to keep it in place. Make sure the twisted loops are evenly spaced and facing outward for a symmetrical look.
4. Tips for Perfecting Your Twisted Bow
- Use High-Quality Ribbon: Choose a ribbon that has a little stiffness to it, like satin or grosgrain. This will help the bow hold its shape better.
- Experiment with Colors: Don’t be afraid to experiment with different color combinations. Metallic ribbons can add a festive touch, while pastel ribbons can work for spring or summer gifts.
- Add Extra Decor: For a more festive touch, add some small decorative elements like mini flowers, beads, or sequins to the twisted bow.
- Practice Makes Perfect: The first few bows you make may not be perfect. Don’t worry – with practice, your twisted bows will look more polished.
5. Conclusion
Creating a twisted bow for your gift wrapping adds a personal touch that shows you’ve put thought and effort into your presentation. With just a few materials and some patience, you can craft beautiful, eye-catching bows that make any gift feel more special. Try different ribbon textures, colors, and sizes to create unique twists that complement the gift’s theme.
Happy wrapping! Whether it’s for a birthday, holiday, or special event, this twisted bow DIY will give your gifts that extra flair, making them unforgettable.