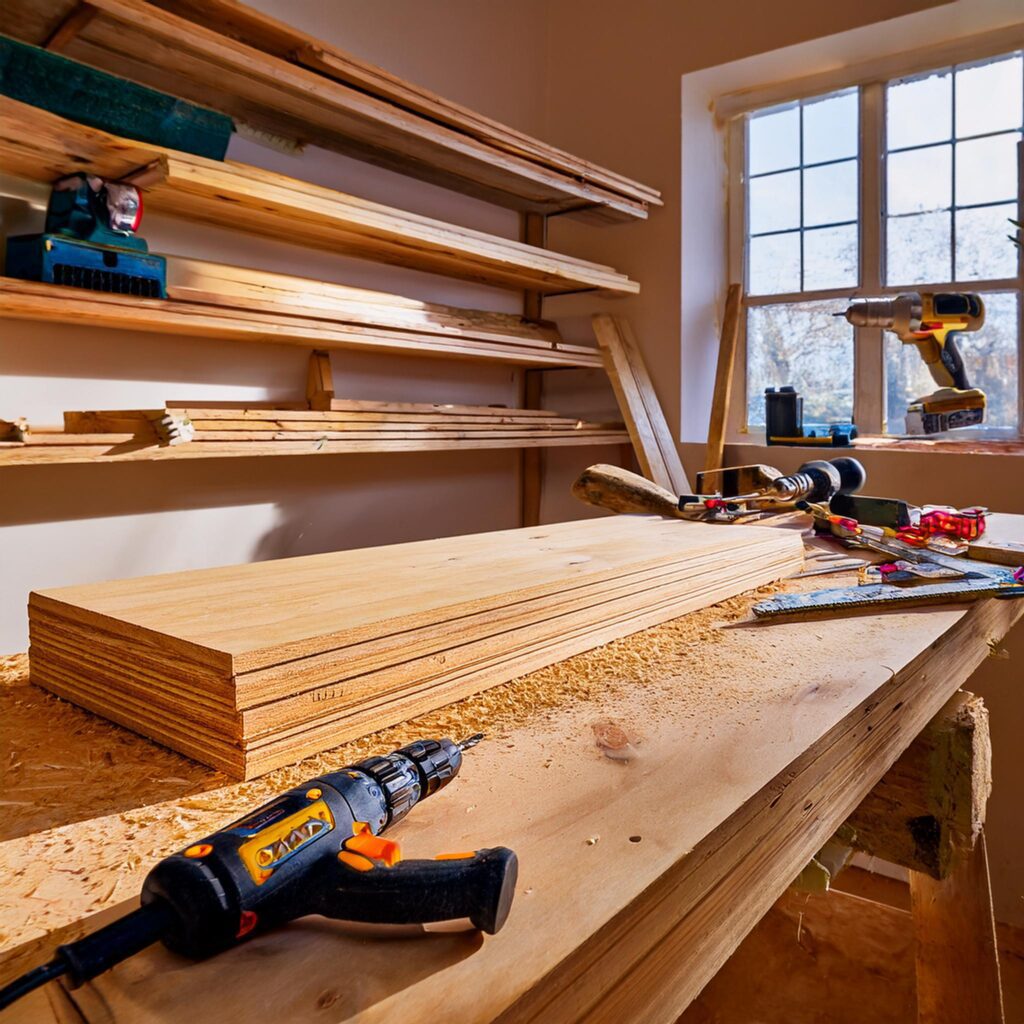
Introduction:
Are you looking to create a comfortable and functional workspace? A DIY keyboard desk might be the perfect solution for you! Whether you need more desk space, improved ergonomics, or simply want to customize your home office, building a DIY keyboard desk is an affordable and rewarding project. This guide will walk you through everything you need to know to build a stylish and functional keyboard desk that will help enhance your productivity and comfort.
Table of Contents:
- Why You Should Build a DIY Keyboard Desk
- Materials and Tools Needed
- Step-by-Step Guide to Building Your DIY Keyboard Desk
- Step 1: Designing Your Desk
- Step 2: Cutting and Preparing the Desk Components
- Step 3: Assembling the Desk Frame
- Step 4: Installing the Keyboard Tray
- Step 5: Final Touches and Customization
- Tips for Customizing Your Keyboard Desk
- Common Mistakes to Avoid
- Conclusion: Enjoy Your New DIY Keyboard Desk!
1. Why You Should Build a DIY Keyboard Desk
Building a DIY keyboard desk offers numerous benefits. Not only does it allow you to create a desk tailored to your specific needs, but it can also be more ergonomic and budget-friendly than buying a pre-built desk. Whether you’re a gamer, content creator, or just need a better workstation for typing and productivity, a DIY keyboard desk can improve both your comfort and efficiency.
Some key reasons why building a DIY keyboard desk is a great idea:
- Ergonomics: A keyboard desk allows you to set the perfect height for typing and mouse use, reducing strain on your wrists and back.
- Customization: Design a desk that fits perfectly into your space, with features like cable management, extra storage, and an adjustable keyboard tray.
- Affordability: A DIY desk can be built for a fraction of the price of commercial desks, giving you full control over the materials and design.

2. Materials and Tools Needed
Before you begin building your DIY keyboard desk, make sure you have all the necessary materials and tools. Here’s what you’ll need:
Materials:
- Wooden desk surface (plywood or MDF)
- Keyboard tray (either a pre-made tray or additional wood)
- Desk frame (wooden or metal)
- Screws, nails, and wood glue
- Sandpaper and wood finish (optional for aesthetic purposes)
- Drawer slides (if you want a sliding keyboard tray)
- Cable management accessories (clips, channels)
Tools:
- Power drill
- Saw (table saw or jigsaw)
- Measuring tape
- Screwdriver
- Clamps (optional, for stability during assembly)
- Paintbrush (if staining or painting)
3. Step-by-Step Guide to Building Your DIY Keyboard Desk
Step 1: Designing Your Desk
The first step in building your DIY keyboard desk is to design it. Measure your available space and decide on the dimensions of your desk. Ensure the keyboard tray is adjustable to fit your preferences. A common recommendation is to place your keyboard at a height where your elbows form a 90-degree angle when typing.
Tip: Sketch your design on paper or use an online design tool to visualize the desk’s layout.
Step 2: Cutting and Preparing the Desk Components
Once you have your design, it’s time to cut the materials. Start with the desk surface and the keyboard tray. If you’re using wood, measure and cut it to your desired size. Ensure the edges are smooth and even. Sand down any rough areas to prevent splinters.
If you’re using drawer slides for a sliding keyboard tray, ensure the tray dimensions match the slide’s specifications.
Step 3: Assembling the Desk Frame
Now that your pieces are cut, begin assembling the frame. Attach the desk legs to the surface using screws and wood glue. Ensure everything is squared and level. If you’re opting for a floating desk design, you’ll need additional support brackets for stability.
Tip: If you’re using a metal frame, make sure it’s sturdy enough to hold the desk surface and keyboard tray.
Step 4: Installing the Keyboard Tray
Attach the keyboard tray to the underside of the desk using drawer slides or brackets. If you want an adjustable tray, make sure the mechanism allows smooth movement. Ensure that the tray is positioned at an ergonomic height.
Tip: If you prefer a more minimalistic approach, you can simply attach a fixed tray beneath the desk.
Step 5: Final Touches and Customization
Once the desk is assembled, it’s time to add the finishing touches. Sand down any rough edges, and apply a wood finish or paint to give the desk a polished look. Add any additional features like cable management, storage drawers, or a mouse pad holder. Personalize it to suit your style!
4. Tips for Customizing Your Keyboard Desk
- Add Cable Management: Tidy up cables with clips or cable channels to prevent clutter and improve aesthetics.
- Use a Larger Keyboard Tray: Consider a larger tray that can hold both your keyboard and mouse for a seamless workflow.
- Ergonomic Design: Experiment with keyboard tray height to find the perfect typing position.
- Storage Solutions: Add drawers or shelves to keep your workspace organized and free from clutter.
5. Common Mistakes to Avoid
While building a DIY keyboard desk is a rewarding project, it’s important to avoid common mistakes that can compromise your desk’s functionality:
- Not Measuring Properly: Ensure you measure everything accurately, especially the keyboard tray height and desk surface.
- Using Low-Quality Materials: Choose sturdy materials to ensure the desk lasts and remains stable.
- Skipping Safety Precautions: Always wear protective gear like goggles and gloves when working with tools.
6. Conclusion:
Enjoy Your New DIY Keyboard Desk!
Congratulations! You’ve just built your very own DIY keyboard desk. With the right materials, design, and a little effort, you can create a workspace that’s both comfortable and functional. Whether you’re working from home, gaming, or just typing up your next project, this desk will improve your productivity and comfort.