Introduction
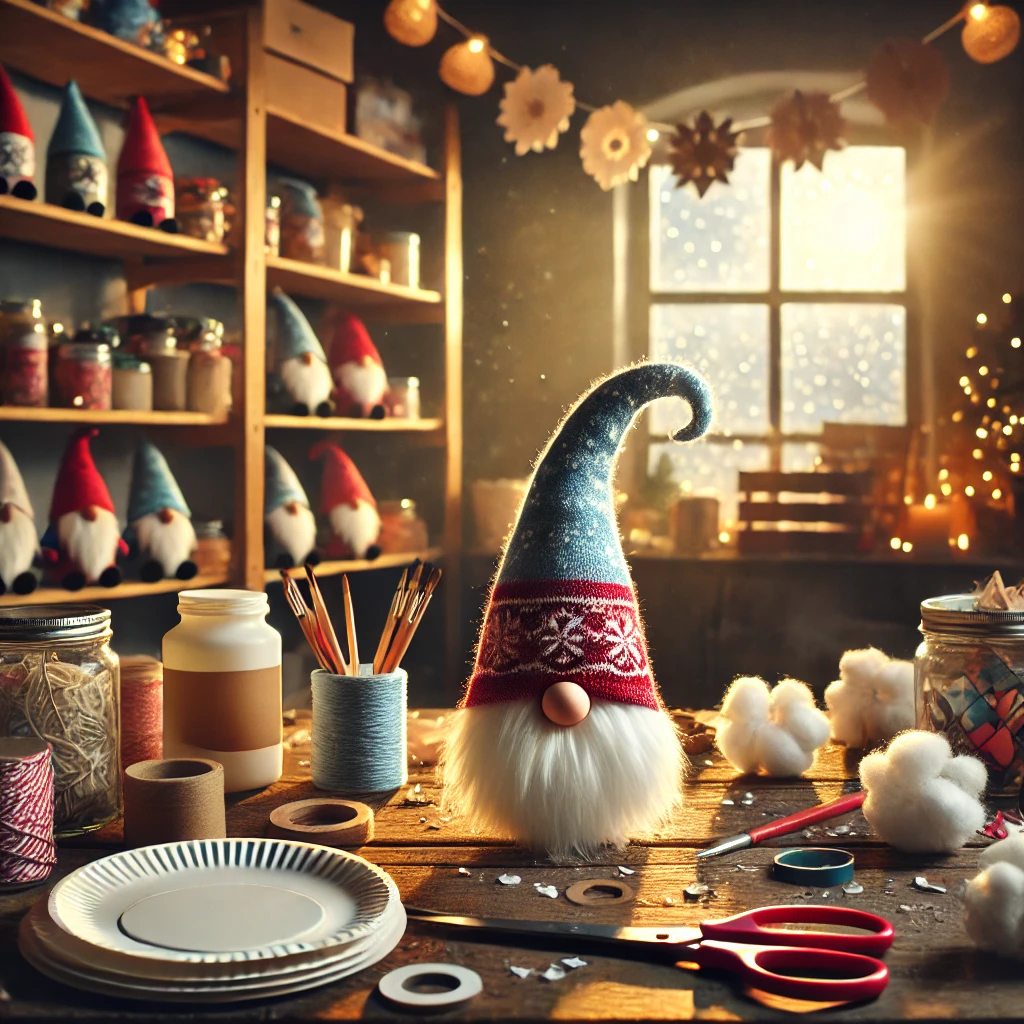
Looking for a fun, budget-friendly, and creative craft to add a touch of whimsy to your holiday decor? Paper plate gnome ornaments are the perfect DIY project! These charming little gnomes are simple to make, require minimal materials, and are a delightful addition to any Christmas tree or holiday display. Whether you’re crafting with kids or on your own, this step-by-step tutorial will guide you through the process.
Not only are these DIY gnome ornaments a hit with crafters, but they also make adorable handmade gifts. Let’s dive into the magic of crafting and create something extraordinary for the festive season!
Table of Contents
- What You Need to Get Started
- Step-by-Step Instructions
- Step 1: Preparing Your Paper Plate
- Step 2: Creating the Gnome’s Hat
- Step 3: Designing the Gnome’s Beard
- Step 4: Adding the Final Touches
- Pro Tips for Perfect Gnome Ornaments
- Creative Variations for Your Gnomes
- Why Paper Plate Gnome Ornaments Are a Holiday Favorite
- Conclusion
1- What You Need to Get Started
Before you begin, gather the following materials:
- Paper plates
- Colored craft paper (red, green, or your favorite festive colors)
- Cotton balls or white yarn (for the beard)
- Markers or paint (for decorating)
- Googly eyes (optional, for added charm)
- Glue
- Scissors
- Ribbon or string (for hanging the ornament)

2- Step-by-Step Instructions
Step 1: Preparing Your Paper Plate
Start by cutting the paper plate into a triangle shape. This will serve as the base of your gnome. You can also leave it circular for a rounder look—get creative!
Step 2: Creating the Gnome’s Hat
Using colored craft paper, cut out a triangle for the gnome’s hat. Glue it onto the top part of the paper plate. Add patterns or glitter for extra holiday cheer!
Step 3: Designing the Gnome’s Beard
For the beard, glue cotton balls, white yarn, or even shredded paper onto the lower half of the plate. Fluff it up to give your gnome a cozy, textured look.
Step 4: Adding the Final Touches
- Attach googly eyes or draw them directly onto the plate.
- Cut out a small circle from craft paper for the nose and glue it at the top of the beard.
- Punch a hole at the top of the hat and thread a ribbon through it to create a loop for hanging.
3- Pro Tips for Perfect Gnome Ornaments
- Use metallic or glittery paper for the hat to make your gnome shine.
- Personalize each gnome with different beard styles, like braiding the yarn or using snowflake stickers.
- If crafting with kids, use non-toxic glue and safety scissors.
4- Creative Variations for Your Gnomes
- Winter Wonderland Gnome: Use blue and white colors with snowflake accents.
- Santa Gnome: Add a red suit and black belt to mimic Santa Claus.
- Rustic Gnome: Use burlap or brown paper for the hat for a farmhouse-style ornament.
5- Why Paper Plate Gnome Ornaments Are a Holiday Favorite
These DIY gnome ornaments are:
- Eco-friendly: They upcycle common household items like paper plates.
- Family-friendly: Perfect for kids and adults to craft together.
- Customizable: Make each gnome unique with your personal flair.
6- Conclusion
Paper plate gnome ornaments are the ultimate holiday craft. Not only do they brighten up your decor, but they also bring joy to the process of making them. With simple materials and a little creativity, you can transform ordinary items into extraordinary decorations.
So, gather your supplies, turn on your favorite holiday tunes, and let your crafting adventure begin. Don’t forget to share your DIY gnome ornaments on social media to inspire others. Happy crafting and happy holidays!