Introduction:
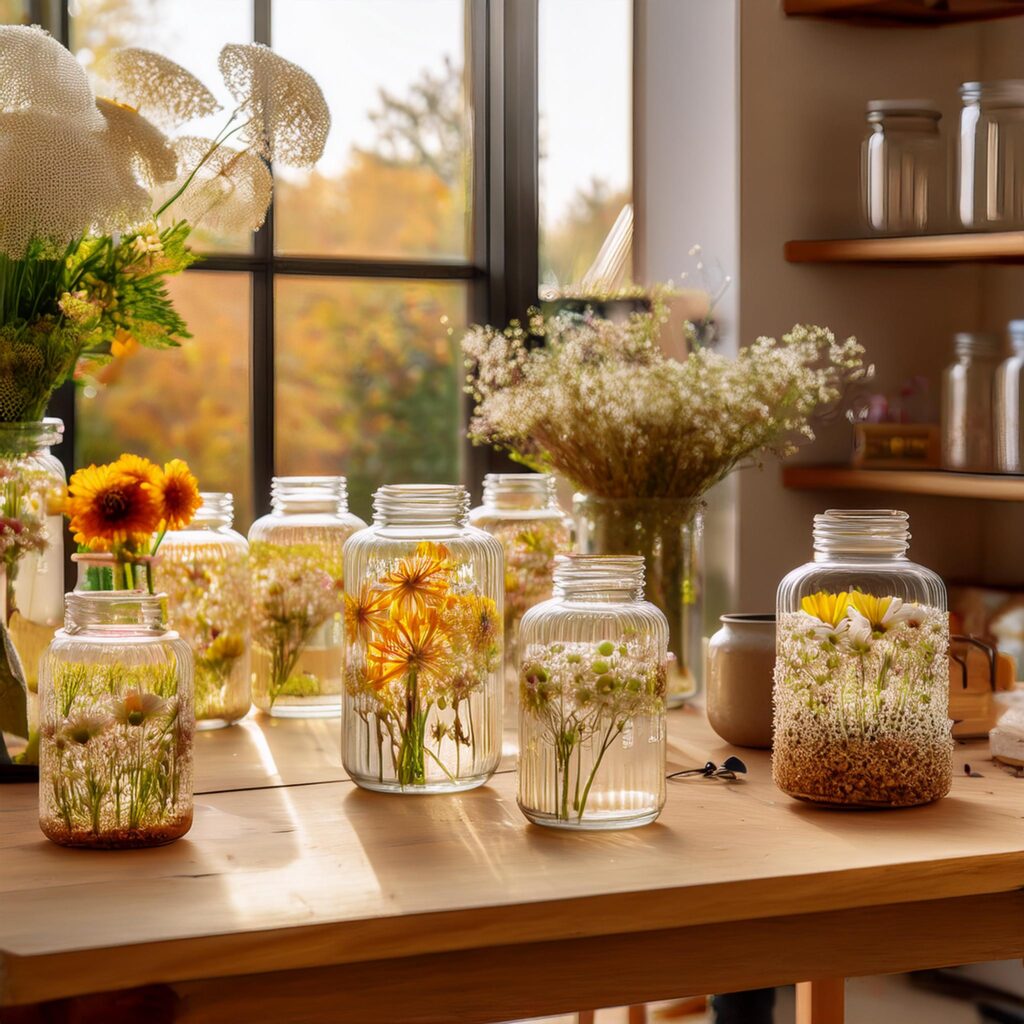
Pressed flower lanterns are a beautiful and eco-friendly way to bring nature into your home decor. These lanterns, adorned with delicate flowers, create a serene and artistic ambiance. Perfect for adding a unique touch to your living room or outdoor space, pressed flower lanterns are a fun DIY project that anyone can enjoy. In this tutorial, we’ll guide you step-by-step on how to make your very own pressed flower lanterns. Whether you’re a seasoned crafter or a beginner, this project is easy to follow and will leave you with stunning results!
Table of Contents:
- Materials Needed for DIY Pressed Flower Lanterns
- How to Press Flowers for Lanterns
- Step-by-Step Instructions for Creating Pressed Flower Lanterns
- Tips for Choosing the Best Flowers for Pressing
- Ideas for Decorating Your Pressed Flower Lanterns
- Conclusion: Why DIY Pressed Flower Lanterns Make a Perfect Craft Project
1. Materials Needed for DIY Pressed Flower Lanterns
Before you begin crafting, gather the following materials:
- Pressed flowers (e.g., pansies, violets, daisies, or any small flowers)
- Lanterns (glass or plastic)
- Mod Podge or decoupage glue
- Paintbrush
- Scissors
- Wax paper (optional for pressing)
- Tweezers
- LED candles (battery-operated for safety)
- String lights (optional for added charm)
- Ribbons, twine, or decorative elements (optional for extra flair)

2. How to Press Flowers for Lanterns
Pressing flowers is an essential step in creating your lanterns. Here’s how to do it:
- Pick Your Flowers: Choose flowers that are fresh and vibrant. Smaller flowers are easier to press and work well for lanterns.
- Prepare for Pressing: Place the flowers between two sheets of wax paper. Make sure the flowers are flat and not overlapping.
- Press the Flowers: Use a heavy book or flower press to apply even pressure to the flowers. Leave the flowers pressed for about 3-5 days to ensure they dry completely.
- Remove and Trim: Once the flowers are dried, gently remove them from the wax paper. Trim the stems and edges to fit your lantern.
3. Step-by-Step Instructions for Creating Pressed Flower Lanterns
Follow these steps to create your own pressed flower lanterns:
- Prepare the Lantern: Clean the glass lantern to ensure it’s free from dust and dirt.
- Apply the Glue: Using a paintbrush, apply a thin layer of Mod Podge or decoupage glue to the surface of the lantern where you want to place the flowers.
- Attach the Flowers: Carefully arrange the pressed flowers on the lantern using tweezers. Make sure the flowers are positioned where you want them, then gently press them down.
- Seal the Flowers: Once all the flowers are in place, apply a thin layer of glue over them to seal them onto the lantern.
- Let It Dry: Allow the lantern to dry completely. This may take a few hours to overnight depending on the amount of glue used.
- Add the Light: Place an LED candle or string lights inside the lantern. For a cozy, ambient glow, an LED candle works best.
4. Tips for Choosing the Best Flowers for Pressing
Selecting the right flowers is key to creating beautiful pressed flower lanterns. Here are some tips:
- Choose Thin Petals: Flowers with thin, flat petals like daisies, pansies, and violets press well.
- Consider the Color: Lighter-colored flowers often show up best against the lantern’s surface. Bright colors like pinks, yellows, and purples create a vibrant look.
- Avoid Thick Flowers: Flowers with thick petals, like roses, don’t press as well and may lose their shape.
- Be Mindful of the Seasons: Spring and summer are the best seasons for finding flowers to press, but you can use flowers from dried bouquets for winter lanterns.
5. Ideas for Decorating Your Pressed Flower Lanterns
Add your own personal touch by customizing your pressed flower lanterns:
- Add Glitter: For a bit of sparkle, sprinkle fine glitter over the flowers before sealing them.
- Paint the Lantern Frame: Consider painting the frame of the lantern with metallic or pastel paints to complement the flowers inside.
- Use String Lights: Adding fairy string lights inside your lantern will create an ethereal, magical effect.
- Incorporate Ribbons: Tie a ribbon around the top of the lantern or around the base for a charming finish.
6. Conclusion:
Why DIY Pressed Flower Lanterns Make a Perfect Craft Project
Pressed flower lanterns are a delightful DIY craft that brings the beauty of nature into your home. They make a great gift idea, home decor piece, or party decoration. Not only are these lanterns easy to create, but they also add a touch of elegance and whimsy to any space. The ability to choose your own flowers and personalize your lanterns ensures that each one is unique.
Whether you’re decorating for a special occasion or simply adding a cozy, natural element to your home, pressed flower lanterns are a wonderful and fulfilling project. So grab your materials, press some flowers, and get creative with your very own DIY lanterns!