Introduction:
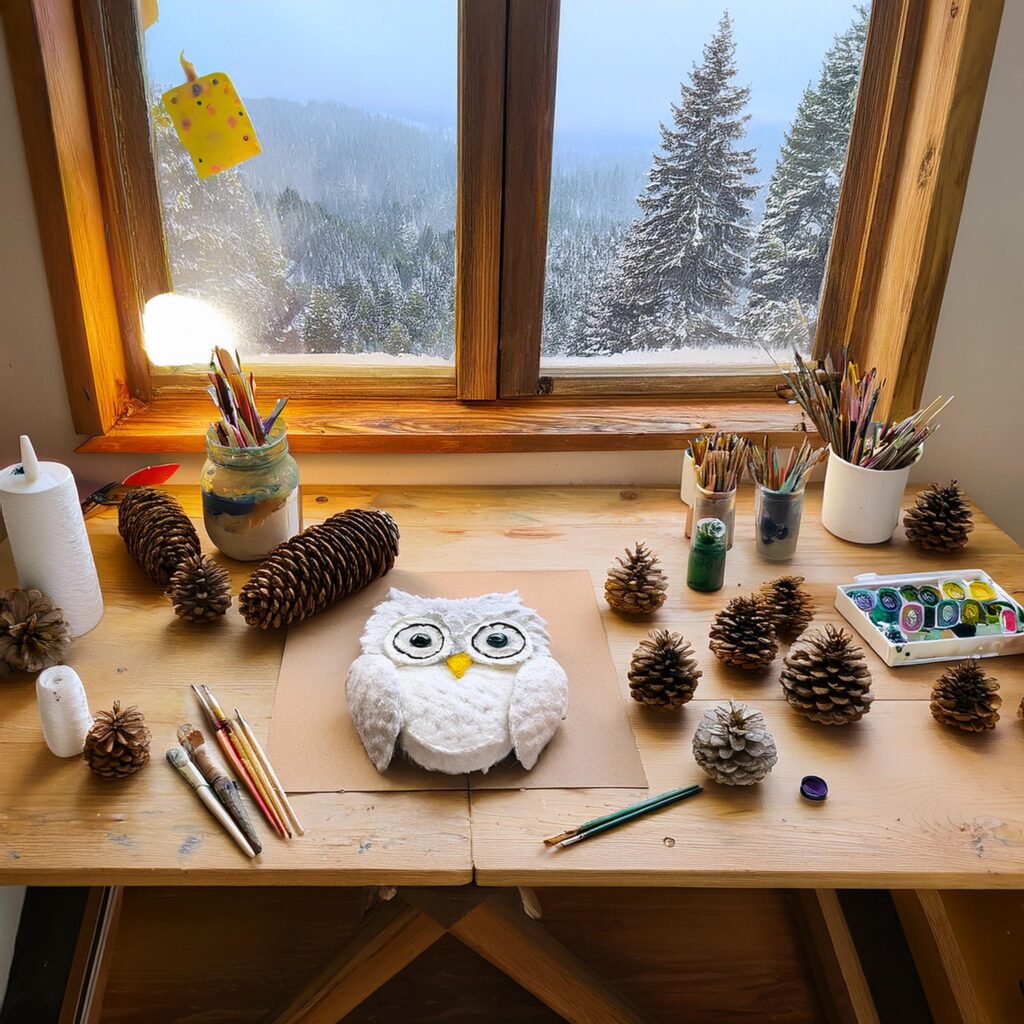
Looking for a creative and fun way to spend some time with the kids? This Pine Cone Snowy Owl Craft is the perfect DIY project for children of all ages. Not only does it help kids develop fine motor skills and creativity, but it also provides a fun opportunity to learn about nature and wildlife. In this step-by-step tutorial, you’ll learn how to create a charming snowy owl using simple craft supplies like pine cones, feathers, and googly eyes. This is an ideal craft for wintertime, but it can be made year-round!
Whether you are planning a craft day at home, in the classroom, or at a family gathering, this pine cone snowy owl craft will bring joy and imagination to your space. Let’s get started!
Table of Contents:
- Materials Needed
- Step-by-Step Instructions
- Tips for Making Your Pine Cone Snowy Owl
- Benefits of Crafting with Kids
- Frequently Asked Questions (FAQs)
- Conclusion
1. Materials Needed:
Before we dive into the steps, let’s gather the supplies. Here’s what you’ll need for this fun snowy owl craft:
- Pine cones (medium to large-sized)
- White paint (acrylic or tempera)
- Black and yellow construction paper (or googly eyes)
- Feathers (preferably white and gray)
- Scissors
- Glue gun or white craft glue
- Brown craft paper (for the owl’s beak)
- Paintbrush
- Optional: Glitter, buttons, and other embellishments
Make sure to have everything ready before starting the craft, and feel free to get creative with the materials you use!

2. Step-by-Step Instructions:
Step 1: Prepare the Pine Cone
- Start by collecting a pine cone from your backyard, or purchase one from a craft store. If the pine cone is too large, you can trim it down to a more manageable size.
- Paint the pine cone with white paint to mimic the snowy feathers of an owl. Use a paintbrush to carefully cover the outside of the pine cone, leaving the tip exposed. Allow the paint to dry completely before moving on to the next step.
Step 2: Create the Owl’s Eyes
- Cut two circles out of black construction paper, each large enough to represent the owl’s eyes.
- Next, cut smaller yellow circles for the pupils and glue them onto the black circles.
- Alternatively, you can use googly eyes for a fun, wobbly effect!
- Attach the eyes to the pine cone near the widest part to give your owl that adorable look.
Step 3: Make the Owl’s Beak
- Cut out a small triangle from the brown construction paper to create the owl’s beak.
- Attach the beak just below the eyes using glue.
Step 4: Attach the Feathers
- Take the white and gray feathers and glue them to the back of the pine cone to create the owl’s wings. Layer them, starting from the top and working your way down.
- If you want your owl to look even fluffier, you can add more layers of feathers.
Step 5: Add Final Touches
- If you like, you can add extra embellishments such as glitter on the wings or beak for a magical look. You can also glue small buttons or beads to the owl’s body for added texture.
3. Tips for Making Your Pine Cone Snowy Owl:
- Safety first: When using a hot glue gun, make sure to supervise younger children.
- Get creative: Try using different materials like cotton balls for added softness or use recycled paper for the beak.
- Mix it up: Experiment with different colors for the feathers to make unique owls, or add a scarf and tiny accessories for a cute winter look.
- Make a family of owls: Create different sizes of pine cones for baby and adult snowy owls!
4. Benefits of Crafting with Kids:
Crafting with your kids offers several benefits beyond just having fun:
- Enhances Creativity: Kids are encouraged to think creatively and use their imagination while making their snowy owl.
- Fine Motor Skills: This craft helps improve hand-eye coordination and fine motor skills as children cut, glue, and paint.
- Teamwork: This activity promotes collaboration, especially when done with friends or family.
- Learning About Wildlife: Kids can learn about snowy owls and their natural habitats while working on the craft.
5. Frequently Asked Questions (FAQs):
Q1: Can I use other materials for the owl’s feathers? Yes, you can! Consider using cotton balls, tissue paper, or even fabric scraps for a soft texture.
Q2: How long does this craft take to complete? On average, it will take about 30 minutes to 1 hour, depending on the drying time for the paint and glue.
Q3: Is this craft suitable for all ages? Yes! While younger children may need help with cutting and using the glue gun, this craft can be adjusted for all ages. Older kids can do more of the crafting themselves.
Q4: Can we make a snowy owl with a smaller pine cone? Absolutely! Small pine cones work just as well for creating cute baby snowy owls.
6. Conclusion:
The Pine Cone Snowy Owl Craft is a delightful DIY project that’s easy to make and fun for kids. Whether you’re looking for a craft to enjoy during the winter months or a nature-inspired activity for any time of year, this snowy owl will be a hit! It’s an excellent way to help children develop important skills while also learning about the beauty of nature. So grab your supplies, gather the kids, and create your very own snowy owl today!