Introduction
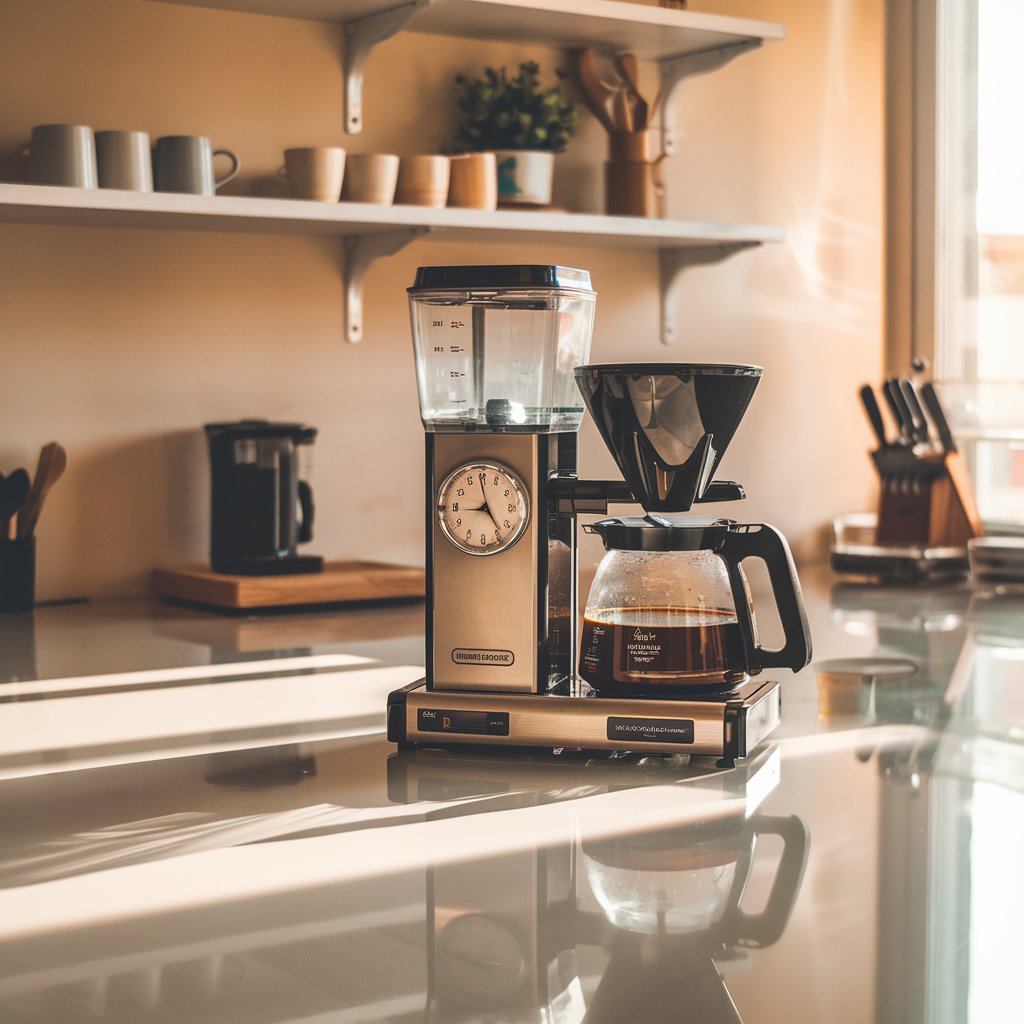
Waking up to the rich aroma of freshly brewed coffee is the perfect start to any day. But what if you could take this pleasure to the next level by automating the process? Setting your coffeemaker on an automatic schedule allows you to have a hot cup of coffee waiting for you the moment you wake up. This DIY tutorial will guide you through setting up an automatic brewing schedule on your coffeemaker, ensuring that your mornings are smoother and more enjoyable.
Not only does this time-saving trick enhance your daily routine, but it also boosts the convenience and efficiency of your kitchen. Whether you’re using a basic drip coffee maker or a high-tech programmable one, this guide will cover all the essential steps you need to take. By the end, you’ll have your coffeemaker brewing on your schedule — every time.
Table of Contents
- Why You Should Automate Your Coffeemaker
- Choosing the Right Coffeemaker for Automation
- Step-by-Step Guide to Setting Your Coffeemaker on an Automatic Schedule
- Step 1: Prepare Your Coffeemaker for Automation
- Step 2: Set the Time on Your Coffeemaker
- Step 3: Program Your Coffee Brewing Schedule
- Step 4: Set Coffee Strength and Temperature (Optional)
- Step 5: Prepare Coffee Grounds and Water
- Troubleshooting Common Coffeemaker Issues
- Tips to Keep Your Coffeemaker in Top Condition
- Conclusion: Enjoy Your Perfectly Timed Cup of Coffee
1. Why You Should Automate Your Coffeemaker
Automating your coffeemaker doesn’t just save you time; it also adds an extra layer of convenience to your mornings. By programming your coffee maker to brew automatically, you eliminate the need for manual intervention, allowing you to focus on other tasks. Whether you’re running late or simply want the luxury of having a cup of coffee ready without lifting a finger, automation makes it possible.
Benefits include:
- Time Savings: Brew coffee automatically at a set time.
- Consistency: Enjoy the same great taste every morning.
- Energy Efficiency: Automatically turn off after brewing to save energy.
- Convenience: Have coffee ready when you wake up.

2. Choosing the Right Coffeemaker for Automation
Not all coffeemakers are equipped with programmable features, so it’s essential to choose the right model. Look for coffee makers with these features:
- Programmable Timer: This allows you to set a specific time for brewing.
- Brew Strength Settings: Some advanced models allow you to adjust the coffee strength for a personalized experience.
- Auto Shut-off: This feature automatically turns off the coffeemaker after a certain period, ensuring safety.
- Capacity Options: Depending on how much coffee you drink, choose a model that suits your needs (single-serve, 12-cup, etc.).
Popular brands known for their reliable programmable coffeemakers include Cuisinart, Hamilton Beach, Keurig, and Breville.
3. Step-by-Step Guide to Setting Your Coffeemaker on an Automatic Schedule
Step 1: Prepare Your Coffeemaker for Automation
Before programming your coffeemaker, ensure it’s clean and in working order. Check the water reservoir for any leftover water and empty it if necessary. Make sure there are no coffee grounds left in the filter from the previous brew cycle.
Step 2: Set the Time on Your Coffeemaker
The first thing you need to do is set the current time on your coffeemaker. Usually, this is done by pressing the “Clock” button, then adjusting the time using the hour and minute buttons. Make sure to set AM or PM correctly, especially for models that don’t have a 24-hour clock format.
Step 3: Program Your Coffee Brewing Schedule
Once your coffeemaker is set to the correct time, it’s time to schedule your coffee brewing:
- Press the “Program” or “Set Brew Time” button.
- Adjust the time at which you want the coffee to start brewing.
- Confirm the time by pressing “OK” or “Set” (depending on your model).
Step 4: Set Coffee Strength and Temperature (Optional)
Some models allow you to adjust the strength of the coffee (light, medium, strong) and the brewing temperature. If your coffeemaker has these settings, use the corresponding buttons to customize your coffee to your liking.
Step 5: Prepare Coffee Grounds and Water
Before the programmed time, make sure you add fresh coffee grounds to the filter basket and fill the water reservoir with the right amount of water. If your coffeemaker has a filter, ensure it’s in place to avoid any residue in your coffee.
4. Troubleshooting Common Coffeemaker Issues
Even with a programmed coffee maker, you may run into issues. Here are a few common problems and their solutions:
- Coffeemaker Doesn’t Brew at the Set Time: Double-check that the time is correctly set and that the coffeemaker is plugged in. If there is a power failure, you may need to reset the program.
- Coffee Is Too Weak or Too Strong: Adjust the brew strength settings or add more coffee grounds for a stronger cup.
- Coffeemaker Is Not Turning Off Automatically: Ensure that the auto-shutoff feature is activated on your model.
5. Tips to Keep Your Coffeemaker in Top Condition
Maintaining your coffeemaker is essential for long-term performance. Here are a few tips:
- Descale Regularly: Mineral buildup can affect brewing quality. Clean your coffeemaker monthly using a descaling solution or a mixture of vinegar and water.
- Replace Filters Often: If your coffeemaker uses water filters, replace them regularly to ensure clean water for brewing.
- Keep the Coffee Pot Clean: After every use, wash the coffee pot and filter basket with warm, soapy water to remove coffee oil buildup.
6. Conclusion:
Enjoy Your Perfectly Timed Cup of Coffee
Setting your coffeemaker on an automatic schedule not only saves you time but also ensures you have a perfectly brewed cup of coffee ready whenever you need it. By following this simple DIY guide, you can easily automate your mornings and enjoy the convenience of having hot coffee waiting for you. Remember to maintain your coffeemaker to keep it in optimal condition for long-lasting use.