Introduction
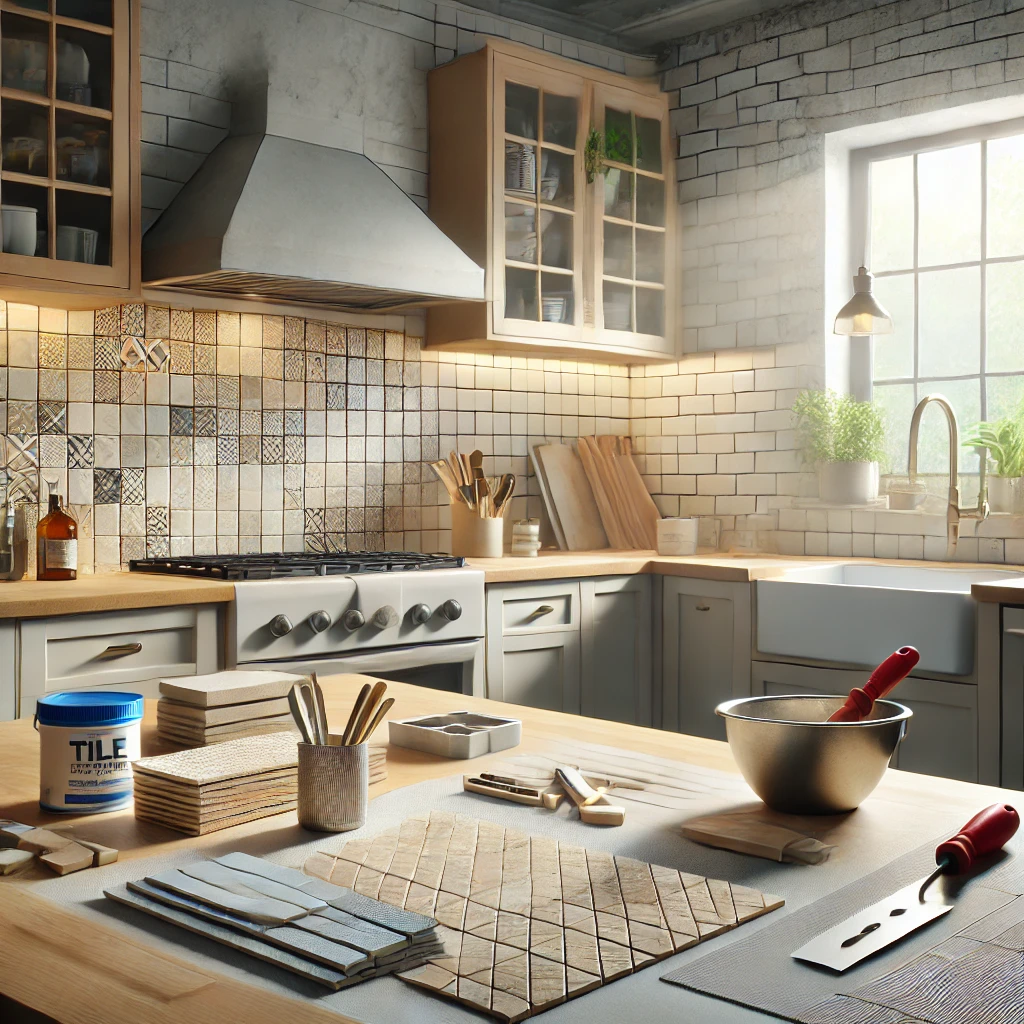
Are you looking to give your kitchen or bathroom a fresh, stylish upgrade without breaking the bank? Adding a backsplash is one of the simplest and most cost-effective ways to enhance your space. This DIY tutorial will guide you through the process of installing a beautiful backsplash for less. By following this step-by-step guide, you’ll learn how to transform your space on a budget while keeping it functional and aesthetically pleasing.
Table of Contents
- Why Add a Backsplash?
- Materials You’ll Need
- Choosing the Perfect Backsplash for Your Space
- Preparing Your Wall Surface
- Step-by-Step Installation Guide
- Tips for Achieving a Professional Finish
- Maintenance and Care for Your Backsplash
- Conclusion
Content
1. Why Add a Backsplash?
A backsplash not only protects your walls from stains and moisture but also adds a touch of elegance and personality to your kitchen or bathroom. It’s a great way to experiment with colors, patterns, and textures, allowing you to showcase your style while maintaining functionality.

2. Materials You’ll Need
To complete this project, gather the following materials:
- Backsplash tiles (ceramic, peel-and-stick, or glass options)
- Tile adhesive or mastic
- Grout
- Tile spacers
- Notched trowel
- Level
- Tape measure
- Utility knife
- Sponge and bucket
- Safety gloves and goggles
3. Choosing the Perfect Backsplash for Your Space
Before you start, choose a backsplash that complements your existing decor. Consider:
- Material: Peel-and-stick tiles are perfect for beginners, while ceramic and glass tiles offer a more polished look.
- Color Scheme: Match or contrast with your countertop and cabinetry for a cohesive design.
- Budget: Set a budget and look for deals or leftover tiles at local stores.
4. Preparing Your Wall Surface
Proper preparation ensures the backsplash adheres correctly and lasts longer. Here’s how to prep:
- Clean the wall surface with soap and water to remove grease and dust.
- Repair any holes or imperfections using spackle.
- Use a level to ensure the wall is even; sand any uneven areas if needed.
5. Step-by-Step Installation Guide
- Measure and Plan: Measure the area to determine the number of tiles needed. Lay out the tiles on a flat surface to plan the design.
- Apply Adhesive: Using a notched trowel, spread tile adhesive or peel off the backing if using peel-and-stick tiles.
- Place Tiles: Start at the bottom center and work outward. Use tile spacers to ensure even gaps.
- Cut Tiles as Needed: Use a utility knife or tile cutter to trim tiles to fit edges or corners.
- Apply Grout: Once the adhesive sets (refer to the packaging for timing), remove the spacers and fill gaps with grout using a rubber float.
- Clean Excess Grout: Wipe the tiles with a damp sponge to remove excess grout, rinsing the sponge frequently.
- Let It Set: Allow the grout to cure for 24 hours, then clean the tiles again for a polished look.
6. Tips for Achieving a Professional Finish
- Use a level frequently to ensure tiles are straight.
- Mix grout in small batches to prevent drying out.
- Choose a grout color that complements your tiles for a seamless finish.
- Seal the grout to prevent stains and water damage.
7. Maintenance and Care for Your Backsplash
Keep your backsplash looking fresh with these maintenance tips:
- Clean spills immediately to prevent staining.
- Use a mild cleaner and a soft cloth for regular cleaning.
- Reseal grout periodically to maintain its durability.
8. Conclusion
Adding a backsplash is a rewarding DIY project that can dramatically elevate your kitchen or bathroom’s look. By following this tutorial, you’ll achieve professional results at a fraction of the cost. Get started today and enjoy your stylish, budget-friendly transformation!