Introduction
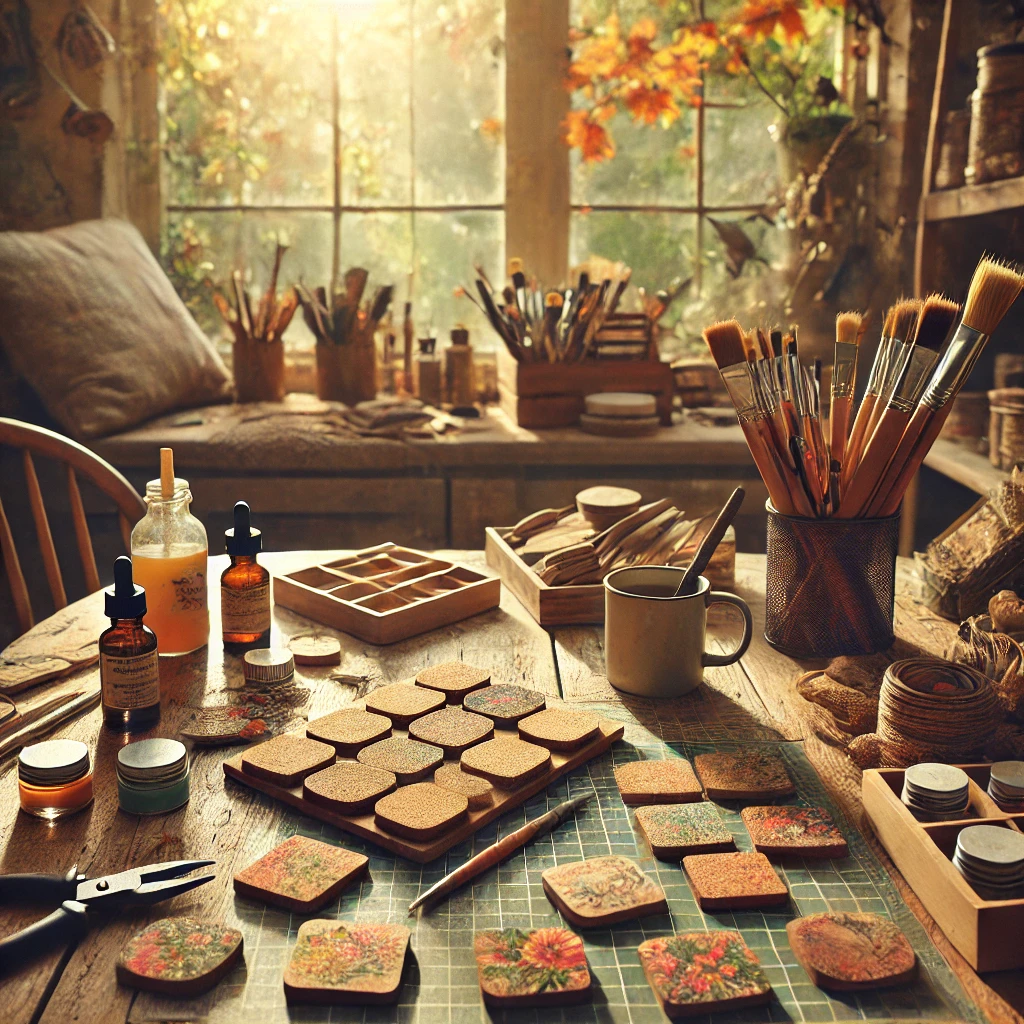
Hot beverage coasters are essential for protecting your furniture from heat marks and spills while adding a touch of personality to your decor. Instead of buying generic coasters, why not create your own unique designs? This DIY tutorial will guide you through making stylish and functional hot beverage coasters using simple materials. Whether you’re a crafting enthusiast or a beginner, this project is perfect for you.
Table of Contents
- Materials Needed
- Step-by-Step Instructions
- Step 1: Prepare Your Workspace
- Step 2: Choose a Design
- Step 3: Create the Base
- Step 4: Decorate Your Coaster
- Step 5: Seal and Finish
- Tips for Customizing Your Coasters
- Frequently Asked Questions (FAQs)
- Conclusion
1- Materials Needed
- Cork sheets or wooden discs
- Acrylic paints or fabric
- Mod Podge or waterproof sealant
- Paintbrushes
- Hot glue or craft adhesive
- Scissors
- Sandpaper (optional for wooden coasters)
- Ruler and pencil (for measurements)

2- Step-by-Step Instructions
Step 1: Prepare Your Workspace
Before starting, ensure you have a clean and well-lit workspace. Lay down a protective cover to prevent paint or glue from staining your surface.
Step 2: Choose a Design
Decide on the style and theme of your coasters. You can opt for:
- Minimalist geometric patterns
- Floral or nature-inspired designs
- Personalized text or initials
- Seasonal themes (e.g., Christmas, autumn leaves)
Sketch your design on paper to visualize the final product.
Step 3: Create the Base
- Cork Coasters: Use scissors or a utility knife to cut cork sheets into your desired shape (circle, square, hexagon, etc.).
- Wooden Coasters: Sand the edges of wooden discs to ensure a smooth surface.
Step 4: Decorate Your Coaster
- Paint your chosen design using acrylic paints. Allow the paint to dry completely between layers.
- Alternatively, adhere decorative fabric or paper to the base using Mod Podge. Smooth out any wrinkles for a clean finish.
Step 5: Seal and Finish
- Apply a layer of Mod Podge or waterproof sealant to protect your design from wear and moisture.
- Let the coasters dry for 24 hours before using them.
3- Tips for Customizing Your Coasters
- Use Stencils: For clean and precise designs, use stencils to outline patterns.
- Add Texture: Incorporate texture by gluing on small embellishments like beads or dried flowers.
- Experiment with Colors: Use metallic paints or gradients to add a sophisticated touch.
4- Frequently Asked Questions (FAQs)
1. What materials are best for making coasters?
Cork, wood, and ceramic tiles are popular options due to their durability and ease of customization.
2. How can I make my coasters more durable?
Applying multiple layers of waterproof sealant ensures longevity and protects against spills.
3. Can I use these coasters for cold beverages?
Yes, these coasters are versatile and suitable for both hot and cold beverages.
5- Conclusion
Creating your own hot beverage coasters is a fun and rewarding DIY project that allows you to express your creativity while making functional decor items. With a few simple materials and a little time, you can design coasters that match your style perfectly. Start crafting today and give your furniture the protection it deserves in a unique and stylish way!