Introduction
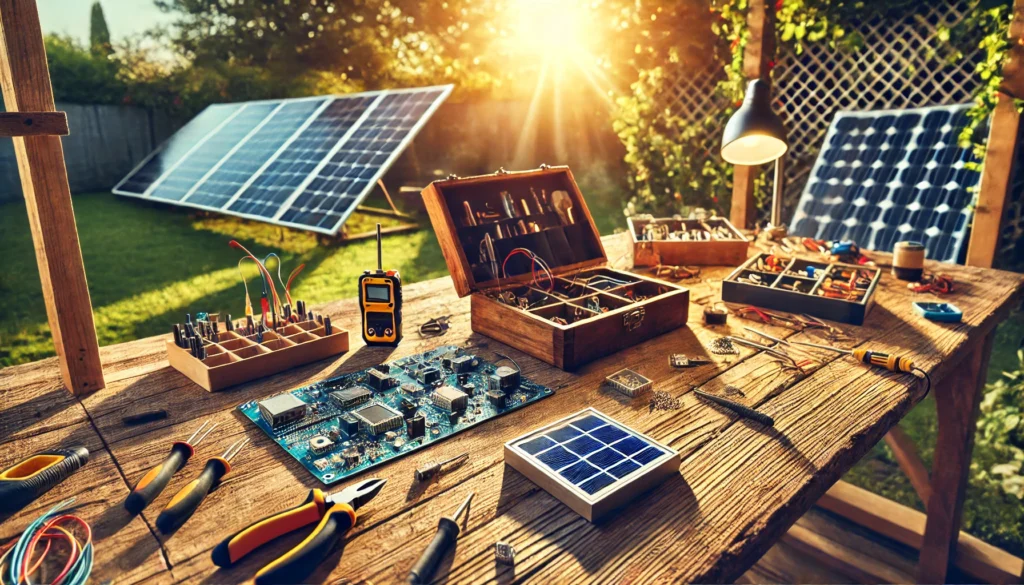
Are you ready to harness the power of the sun and build your very own satellite solar charger? Whether you’re an outdoor enthusiast, a tech hobbyist, or someone looking to reduce their carbon footprint, this DIY project is both fun and practical. In this tutorial, we’ll guide you through creating a portable solar charger inspired by satellite technology. Perfect for camping trips, emergency kits, or simply charging your devices sustainably, this project is easier than you might think!
Table of Contents
- What is a Satellite Solar Charger?
- Tools and Materials Needed
- Understanding Solar Panels and Their Functionality
- Step-by-Step Assembly Guide
- Preparing the Base
- Connecting Solar Panels
- Installing the Charge Controller
- Wiring the System
- Final Testing
- Tips for Maximizing Efficiency
- Common Mistakes to Avoid
- FAQs About DIY Solar Chargers
- Conclusion
1- What is a Satellite Solar Charger?
A satellite solar charger is a compact and portable solar energy system designed to mimic the efficiency of satellite-based solar systems. These chargers can efficiently convert sunlight into usable energy for powering devices like smartphones, tablets, and small appliances. Building one yourself allows you to customize it to your needs and save money compared to commercial options.

2- Tools and Materials Needed
Here’s a list of items you’ll need to get started:
Tools:
- Screwdriver set
- Wire cutters and strippers
- Soldering iron and solder
- Multimeter
- Drill and bits
- Heat shrink tubing
- Hot glue gun
Materials:
- Small solar panels (5V or 12V depending on your requirements)
- Charge controller
- Lithium-ion battery pack
- DC-DC converter
- USB output ports
- Connecting wires
- Enclosure box or frame
- Mounting brackets
3- Understanding Solar Panels and Their Functionality
Solar panels are the heart of your satellite solar charger. They convert sunlight into electrical energy using photovoltaic cells. The electricity generated is direct current (DC), which needs to be regulated before powering your devices. This is where the charge controller and DC-DC converter come into play. Choosing the right components ensures maximum efficiency and compatibility.
4- Step-by-Step Assembly Guide
1. Preparing the Base
Create a sturdy base for your solar charger using the enclosure box or a frame. This will house the solar panels, charge controller, and battery pack. Make sure the base is lightweight and portable.
2. Connecting Solar Panels
- Arrange the solar panels on the base.
- Use mounting brackets to secure them.
- Connect the panels in series or parallel, depending on the voltage and current requirements.
- Solder the connections and cover them with heat shrink tubing for safety.
3. Installing the Charge Controller
- Attach the charge controller inside the enclosure.
- Connect the solar panel’s output wires to the controller’s input terminals.
- Ensure the polarity is correct to avoid damage.
4. Wiring the System
- Connect the charge controller’s output to the lithium-ion battery pack.
- Add a DC-DC converter to regulate the voltage for USB ports.
- Wire the USB ports to the converter for charging devices.
5. Final Testing
- Use a multimeter to check the voltage and current at various points.
- Place the charger in sunlight and test its performance by charging a device.
- Make necessary adjustments to optimize efficiency.
5- Tips for Maximizing Efficiency
- Angle Matters: Adjust the solar panels to face the sun directly.
- Clean Panels: Dust and dirt reduce efficiency, so clean the panels regularly.
- Use Quality Components: Invest in high-quality batteries and charge controllers.
- Monitor Performance: Regularly check the system to ensure everything is working optimally.
6- Common Mistakes to Avoid
- Using mismatched solar panels.
- Incorrect wiring that can damage components.
- Skipping the use of a charge controller.
- Not testing the system thoroughly before use.
7- FAQs About DIY Solar Chargers
Q: Can I charge larger devices with this system? A: This charger is best for small devices. To charge larger appliances, you’ll need bigger panels and a higher-capacity battery.
Q: How much does this project cost? A: Depending on the components, it can cost between $50 and $150.
Q: Is it safe to use in all weather conditions? A: Ensure the enclosure is weatherproof to protect the electronics.
8- Conclusion
Building your own satellite solar charger is a rewarding project that combines creativity, sustainability, and practicality. By following this guide, you’ll not only have a functional solar charger but also gain valuable knowledge about renewable energy systems. Start your DIY journey today and power your devices the eco-friendly way!