Introduction
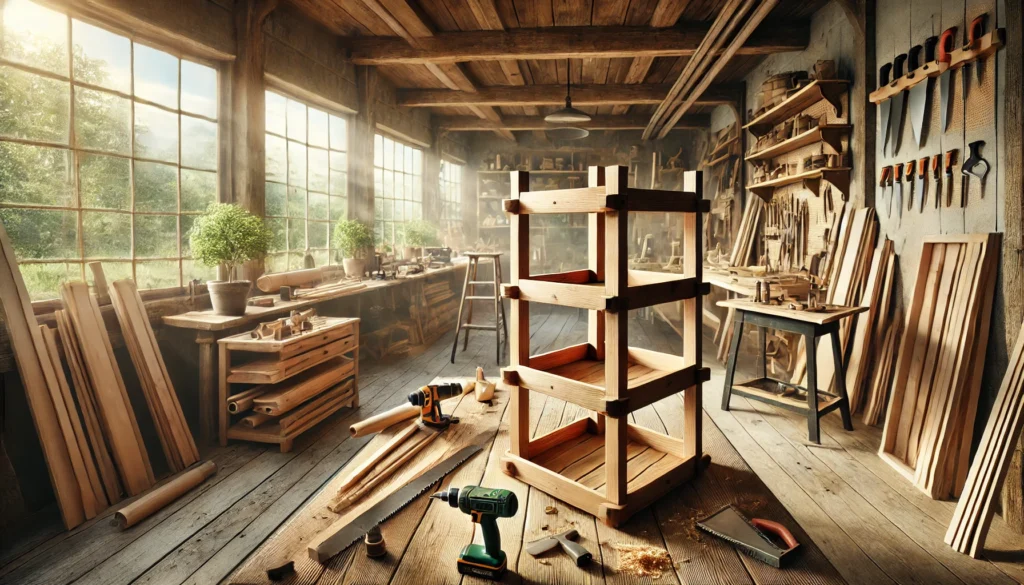
Looking for a creative way to showcase your plants? A tiered plant stand with a rustic charm is the perfect addition to any home or garden. This DIY project is simple, budget-friendly, and allows you to craft a personalized stand to suit your space and style. Follow this step-by-step guide to create a stunning plant stand that will elevate your green thumb game.
Table of Contents
- Why Build a Rustic Tiered Plant Stand?
- Materials and Tools You’ll Need
- Step-by-Step Instructions
- Step 1: Planning and Design
- Step 2: Cutting and Preparing the Wood
- Step 3: Assembling the Stand
- Step 4: Adding the Rustic Finish
- Maintenance Tips for Your Plant Stand
- Conclusion
1. Why Build a Rustic Tiered Plant Stand?
A rustic tiered plant stand adds a natural and vintage aesthetic to your home decor while providing an organized way to display multiple plants. It’s a versatile solution for small spaces and offers:
- Efficient use of vertical space
- A customizable design to fit your style
- An inexpensive way to enhance your decor

2. Materials and Tools You’ll Need
Materials:
- Wooden planks (cedar or pine works best)
- Wood screws
- Wood glue
- Sandpaper (120 and 220 grit)
- Stain or paint for the rustic finish
- Sealant (optional)
Tools:
- Measuring tape
- Saw (hand saw or circular saw)
- Drill
- Screwdriver
- Paintbrush or cloth for staining
- Clamps
3. Step-by-Step Instructions
Step 1: Planning and Design
- Decide on the Dimensions: Sketch a plan for your plant stand, including the number of tiers and the width and height of each level.
- Choose the Style: Rustic designs often incorporate distressed wood or uneven finishes for added charm.
- Measure and Mark: Use your measuring tape to mark the cuts on the wooden planks.
Step 2: Cutting and Preparing the Wood
- Cut the Wood: Using your saw, cut the planks to the desired lengths for the shelves and supports.
- Smooth the Edges: Sand each piece with 120 grit sandpaper to remove splinters, then finish with 220 grit for a smooth surface.
- Drill Pilot Holes: Drill small holes where you plan to attach the pieces to prevent splitting.
Step 3: Assembling the Stand
- Build the Base: Attach the supports to the bottom tier using screws and wood glue. Use clamps to hold everything steady.
- Add the Tiers: Gradually work upwards, securing each tier to the supports.
- Check Stability: Ensure all screws are tightened and the structure is sturdy.
Step 4: Adding the Rustic Finish
- Apply the Stain or Paint: Use a cloth or paintbrush to apply your chosen finish. Wipe off excess stain for a weathered look.
- Distress the Wood: Lightly sand the edges or hit the surface with a hammer for an aged effect.
- Seal the Stand: Apply a sealant if you’ll use the stand outdoors to protect it from moisture.
4. Maintenance Tips for Your Plant Stand
- Regularly dust and clean the stand to prevent dirt buildup.
- Reapply sealant annually if exposed to outdoor elements.
- Avoid overwatering plants to prevent wood damage.
Conclusion
Creating your own rustic tiered plant stand is a rewarding DIY project that enhances your home and showcases your plants beautifully. With the right materials, tools, and a touch of creativity, you can craft a piece that’s both functional and charming. Start your project today and let your green space shine!