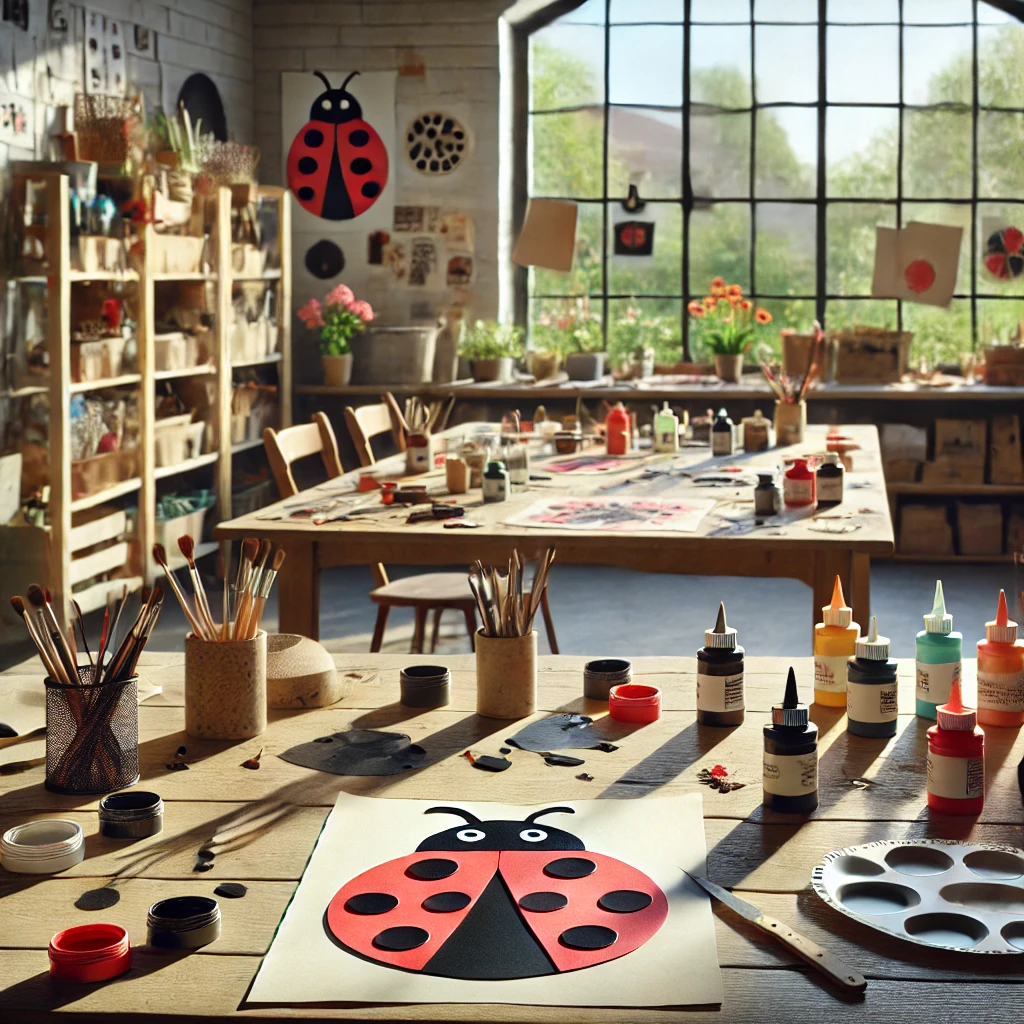
Crafting is more than a pastime; it’s a way to bring imagination to life. One simple yet charming activity is making paper plate ladybirds. Whether you’re looking for a rainy-day project or a fun way to teach kids about insects, this craft is perfect. In this guide, you’ll learn step-by-step how to create these delightful ladybirds, why paper plate crafts are fantastic for kids, and how to make the most of this engaging activity.
1- Why Paper Plate Crafts Are Perfect for Kids
Benefits of Paper Plate Crafts
Crafting offers children a unique blend of creativity and learning. Paper plate crafts, in particular, are easy to prepare, affordable, and versatile. With just a few supplies, you can transform a simple plate into a beautiful work of art.
- Fosters Creativity: Encourages kids to think outside the box.
- Budget-Friendly: Requires only basic materials, often found at home.
- Safe for All Ages: Perfect for little hands, with minimal risk.
Learning Opportunities
While your child enjoys painting and gluing, they’re also developing important skills.
- Motor Skill Development: Cutting, pasting, and painting enhance fine motor coordination.
- Educational Value: You can incorporate fun facts about ladybirds while crafting.
- Eco-Awareness: Using recyclable materials teaches sustainability.

2- Materials You’ll Need to Make Paper Plate Ladybirds
Before you begin, gather your supplies. Having everything ready will make the process smoother and more enjoyable.
| Material | Quantity | Purpose |
|---|---|---|
| Paper plates | 1 per craft | Base for the ladybird |
| Black and red paint | Small bottles | Ladybird’s colors |
| Paintbrushes | 2-3 | For painting details |
| Black construction paper | 1 sheet | Spots and antennae |
| Scissors | 1 | Cutting shapes |
| Glue stick or adhesive | 1 | Assembling pieces |
| Googly eyes (optional) | 2 per craft | Fun detail for kids |
Tip: You can substitute paints with crayons or markers if needed.
3- Step-by-Step Guide to Making Paper Plate Ladybirds
Step 1 – Painting the Base
Start by painting the paper plate red. This will be the ladybird’s body. Let the paint dry completely before moving on to the next step. If you’re in a hurry, use a hairdryer to speed up drying.
Step 2 – Adding the Spots
Cut small black circles from the construction paper. These will be the ladybird’s iconic spots. Glue them onto the red-painted plate. Let your child decide how many spots they want to add; it’s their creation!
Step 3 – Creating the Face
Paint the top section of the plate black to represent the ladybird’s head. Add googly eyes or draw eyes using a white marker. You can also use stickers for an extra pop of color.
Step 4 – Adding Antennae
Cut two thin strips from the black construction paper to make the antennae. Attach these to the back of the plate using glue or tape. For a playful twist, curl the antennae slightly.
Step 5 – Personalizing the Craft
Encourage your child to add their unique touch. They can use glitter, stickers, or even write their name on the back of the plate. This step is all about letting their creativity shine.
4- Creative Ideas for Using Paper Plate Ladybirds
Home Decor
Paper plate ladybirds can brighten any room. Use them as wall art, create a garland for parties, or attach a string to hang them from ceilings.
Classroom Projects
Teachers can integrate this craft into lessons about insects or ecosystems. It’s an interactive way to make learning fun and memorable.
Personalized Gifts
Turn these ladybirds into heartfelt gifts. Add a personal message to the back, and you have a thoughtful, handmade present.
5- FAQ About Paper Plate Ladybirds
Q: What age group is this craft suitable for?
A: This craft is great for children aged 3 and above. Younger kids might need help with cutting and gluing.
Q: Can I use alternative materials?
A: Absolutely! If you don’t have paint, try using crayons or markers. Cardstock can replace paper plates in a pinch.
Q: How long does it take to make a paper plate ladybird?
A: Typically, the entire craft takes 20-30 minutes, including drying time.
Q: Can this craft be reused or repurposed?
A: Yes! Turn your ladybirds into bookmarks, fridge magnets, or part of a larger art display.
6- Conclusion
Making paper plate ladybirds isn’t just a craft—it’s a chance to connect, create, and learn. Whether you’re spending quality time with your kids, decorating your home, or adding a hands-on element to a lesson plan, this activity is sure to bring smiles. So grab your materials and let your creativity take flight!