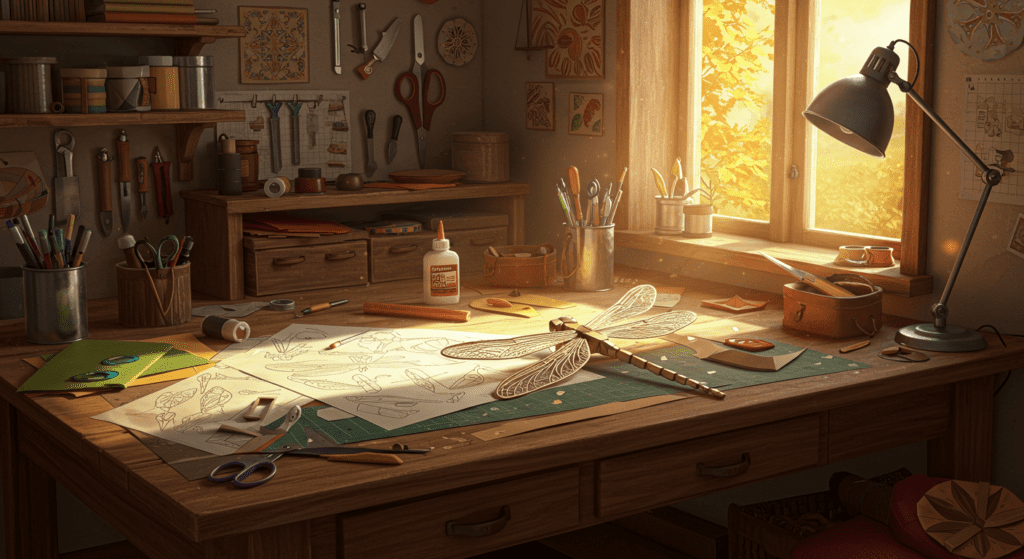
1- Unleash Your Inner Artist with a Paper Dragonfly
Have you ever felt a spark of creativity but didn’t know where to channel it? Imagine holding in your hands a delicate, lifelike 3D paper dragonfly—a creation that’s both mesmerizing and personal. Whether you’re an art enthusiast, a crafter looking for a new challenge, or someone wanting to try something different, this project combines the beauty of nature with the magic of handmade art. By the time you finish this guide, you’ll not only have a stunning decoration but also a newfound sense of accomplishment.
Let’s dive into the enchanting world of crafting your own 3D paper dragonfly.

2- What Is a 3D Paper Dragonfly?
A 3D paper dragonfly is more than just a craft; it’s a miniature masterpiece. These creations mimic the intricate details of a real dragonfly, from the delicate veins of its wings to the segmented structure of its body. Unlike simple flat origami, this project adds depth and realism, making it a unique addition to your artistic portfolio.
Why are these so appealing? It’s their versatility. You can use a 3D paper dragonfly as wall decor, a thoughtful handmade gift, or even a tool for educational projects. This craft merges the elegance of nature with the satisfaction of creating something with your own hands.
3- Tools and Materials Needed
Before you start, gather everything you need. Having the right tools at hand will make the process smoother and more enjoyable. Here’s a detailed table of materials:
| Material | Description | Example |
|---|---|---|
| Colored cardstock | For the body and wings, preferably iridescent. | Blue, green, or metallic. |
| Scissors | Precision scissors for detailed cuts. | Small crafting scissors. |
| Glue | Strong adhesive for assembling parts. | Craft glue or hot glue. |
| Markers or paints | To add details and texture. | Metallic or glitter markers. |
| Ruler | For accurate measurements. | Any standard ruler. |
4- Step-by-Step Instructions for Making a Realistic 3D Paper Dragonfly
Creating your dragonfly might seem intricate, but breaking it down into simple steps ensures anyone can do it. Let’s start crafting!
Step 1: Design and Cut the Templates
Begin by designing or downloading a template for your dragonfly. You’ll need outlines for the body and wings. Use a pencil to trace the design onto your chosen cardstock. Ensure your cuts are clean and precise to achieve a polished look.
Step 2: Create the Dragonfly Body
Cut out the body parts and fold them slightly to add dimension. Use small dabs of glue to assemble the segments, ensuring each part aligns perfectly. To make the body more realistic, round the edges with your fingers.
Step 3: Craft the Wings
Dragonfly wings are intricate, so take your time. Trace the wing templates onto translucent or metallic paper. Use scissors or a craft knife to carefully cut out the veins or patterns. Adding a shimmer with metallic paints or markers can make the wings look lifelike.
Step 4: Assemble the Dragonfly
Attach the wings to the body using glue. Position them at a slight angle to mimic the natural posture of a dragonfly. Hold each wing in place for a few seconds to ensure it adheres firmly.
Step 5: Add Finishing Touches
This is where your dragonfly comes to life. Use markers or paints to add details, such as dots or lines, to the body and wings. A touch of glitter can add a magical, iridescent effect.
5- Common Mistakes to Avoid When Crafting a Paper Dragonfly
While this project is beginner-friendly, it’s easy to make mistakes if you’re not careful. Here are some tips to help you avoid common pitfalls:
- Uneven Cuts: Take your time when cutting out the templates. Precision is key to a professional-looking result.
- Overuse of Glue: Too much glue can smudge the paper or make it difficult to assemble. Use sparingly for a clean finish.
- Wings That Won’t Stay Attached: Ensure the glue has fully dried before moving on to the next step. Consider using a hot glue gun for better adhesion.
6- Creative Uses for Your 3D Paper Dragonfly
Once your dragonfly is complete, you’ll find countless ways to display or use it. Here are some ideas:
Home Decor
Add a touch of nature to your living space by hanging your dragonfly on a wall, framing it, or placing it on a bookshelf.
Gifts
Handmade gifts always leave a lasting impression. Personalize your dragonfly by using colors and designs that match the recipient’s style.
Educational Projects
This craft is perfect for teaching children about biology or art. Use it to explain the anatomy of a dragonfly or demonstrate paper crafting techniques.
7- Frequently Asked Questions About Making a 3D Paper Dragonfly
Q: Can beginners make a 3D paper dragonfly?
Absolutely! This guide is designed for all skill levels. By following the steps carefully, even a beginner can create a stunning dragonfly.
Q: How long does it take to complete this project?
On average, it takes about 1–2 hours, depending on your skill level and the complexity of your design.
Q: Can I use materials other than paper?
Yes! While paper is traditional, you can experiment with materials like cardboard, plastic sheets, or fabric for a unique look.
Q: Where can I find templates?
There are many free and paid templates available online. You can also draw your own if you feel inspired.
8- Conclusion
Creating a realistic 3D paper dragonfly is more than just a craft—it’s an experience. It allows you to connect with your creative side while producing something truly unique. Whether you’re making it for yourself, as a gift, or for an educational purpose, the satisfaction of completing this project is unmatched.
So why wait? Gather your tools, follow the steps, and start crafting today. Share your creations with friends or online communities, and inspire others to embark on their own crafting journey. Your masterpiece is just a few folds and cuts away!