Introduction:
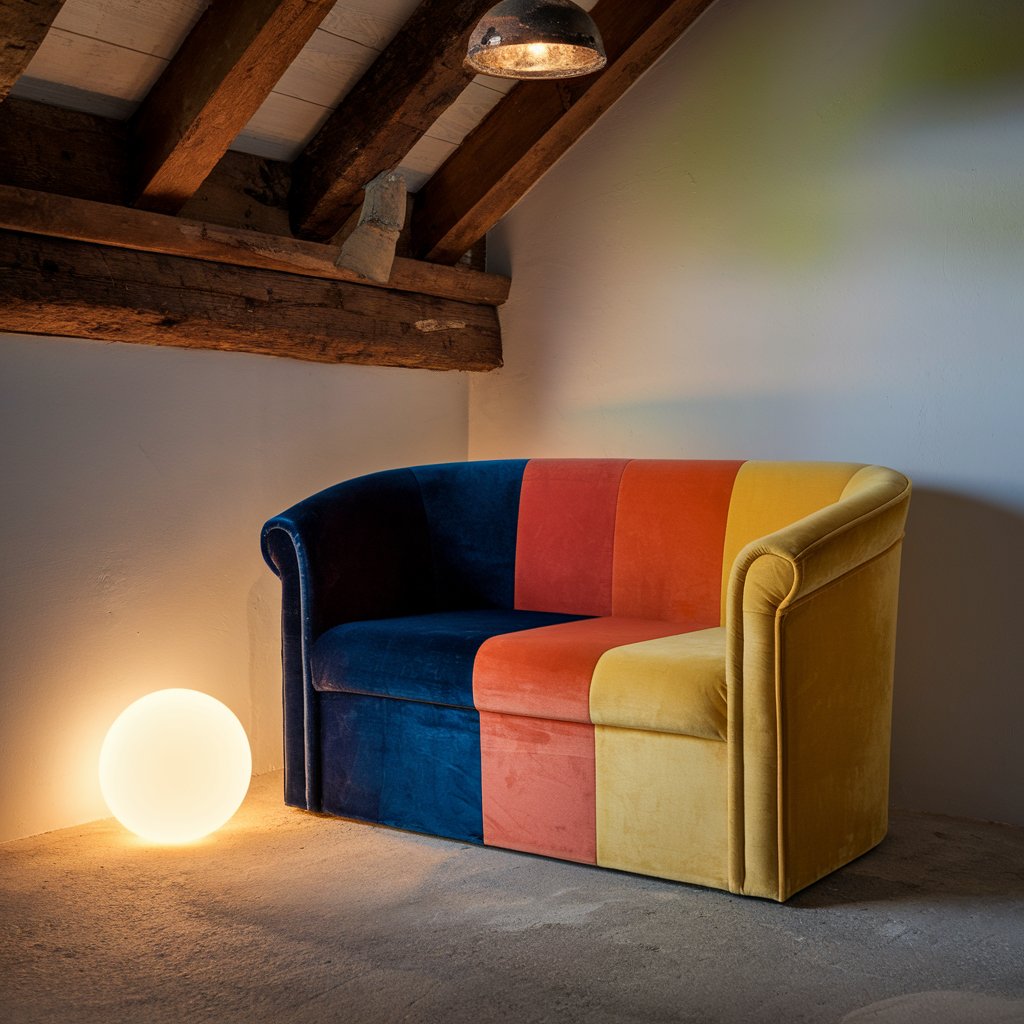
In college, I was all about designing furniture and sketching out ideas, but actually building something was out of reach—mainly because I didn’t have access to power tools! Fast forward 14 years, and I’ve finally carved out the time to create a few pieces for my home. This DIY color-blocked velvet bench is one such project. Inspired by colorful jewel-toned benches I saw at a WeWork space in Paris, I decided to take on the challenge and make my own. After a weekend of work, I’m thrilled with the result, and it’s the perfect addition to my home.

Materials Needed:
- 1 piece of 4′ long 12″ by 1″ wood board (can be cut to size at your hardware store)
- 1 piece of 4′ long 20″ by 1″ wood board (could be pieced or made of thick MDF, and will serve as the bench base)
- 2″ thick foam padding (4.75′ by 2′ from a craft or fabric store)
- 3 yards of batting
- 4 yards of velvet (2 yards in each of 2 colors—used orchid and teal here)
- Industrial staple gun & staples
- Serrated knife
- 3 8″ L brackets
- 4 18″ tall hairpin legs
- Gold spray paint (optional, for legs)
- 27 1″ wood screws & washers
- Scissors
- Pen or pencil for marking
Step-by-Step Instructions:
Step 1: Cut Foam to Size
- Lay your wood pieces on the foam and trace their outlines with a pen or pencil.
- Use a serrated knife (or scissors) to cut the foam to size.
- For the back piece, cut the foam to 48″ by 12″.
- For the base of the bench, cut the foam to 48″ by 17″, leaving a gap on one side for the back to fit into.
Step 2: Staple Batting to Foam and Wood
- Lay out your batting and place the foam and wood pieces on top.
- Pull the batting around all sides of the foam and wood, and staple it securely to the wood.
- For the corners, tuck in the excess batting, pull it tight, and staple it down.
Step 3: Staple Batting to Base
- Repeat the process on the base piece. Only staple the batting to the top of the wood, where the foam ends. Make sure to keep it tight and neat.
Step 4: Cover with Velvet
- Lay the batting-covered boards onto the center of the velvet fabric.
- Pull the fabric around the sides and staple it to the underside of each piece of wood, just as you did with the batting.
- For the corners, fold the fabric neatly and staple it securely, creating smooth edges.
Step 5: Attach the Back to the Base
- Position the base piece of the bench on three 8″ L brackets.
- Insert the back piece into the gap at the back of the base (where the foam is absent) and attach the L brackets using screws to secure the back to the base.
Step 6: Attach the Legs
- If you want gold hairpin legs, spray paint them and let them dry for 2–3 hours.
- Once dry, screw the legs into the four corners of the base.
Step 7: Optional Back Finish (If the Bench is Free-Standing)
- If your bench will be placed in the middle of a room, or where the back will be visible, you’ll need to finish the back.
- Cut a piece of 1/2″ plywood (48″ by 12″) and cover it with batting and velvet fabric.
- Use finishing nails and wood glue to attach the covered plywood to the back of the bench for a clean, professional finish.
Conclusion:
This DIY color-blocked velvet bench is not only a stylish and functional piece of furniture but also an enjoyable project that you can complete in a weekend (or even a single day with all the materials ready!). Whether you use vibrant jewel tones like I did or choose your own colors, this bench will add a unique touch to your home. Happy building!