1- Introduction
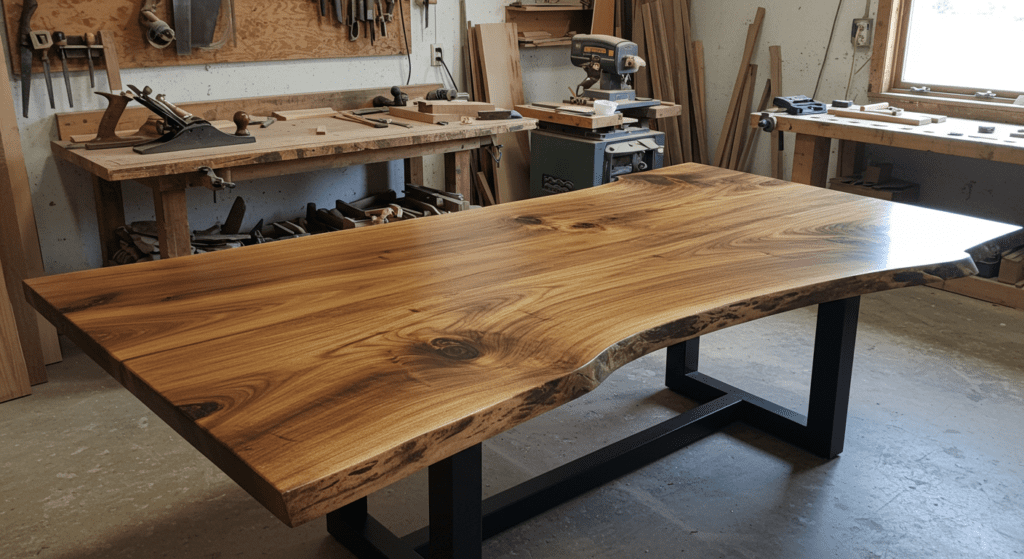
A live edge table is a stunning piece of furniture that brings the natural beauty of wood into your home. Characterized by its organic, unfinished edges, a live edge table can be a striking centerpiece in any room. Making your own live edge table is a rewarding DIY project that allows you to customize the design to your liking. This guide will walk you through the process, from selecting materials to finishing touches.

2- Materials Needed
Before you start, gather the following materials and tools:
Materials:
- Live Edge Wood Slab: Choose a slab that fits your desired table size.
- Wood Glue: For securing any joints or cracks.
- Epoxy Resin: Optional, for filling voids and cracks.
- Sandpaper: Various grits (80, 120, 220, 320).
- Wood Finish: Such as polyurethane or oil.
- Table Legs: Purchase or make your own.
- Screws and Brackets: For attaching the legs.
Tools:
- Circular Saw or Jigsaw: For cutting the wood slab to size.
- Router: For smoothing the edges.
- Sander: Orbital or belt sander.
- Clamps: For holding the wood in place.
- Drill: For attaching the legs.
- Safety Gear: Gloves, goggles, and a dust mask.
3- Step-by-Step Guide
Step 1: Select and Prepare the Wood Slab
- Choose Your Slab: Select a live edge wood slab that fits your desired table dimensions. Ensure it is dry and free of major defects.
- Cut to Size: Use a circular saw or jigsaw to cut the slab to the desired length and width.
Step 2: Fill Voids and Cracks
- Inspect the Slab: Look for any voids, cracks, or imperfections.
- Fill with Epoxy: Mix epoxy resin according to the manufacturer’s instructions and fill any voids or cracks. Allow it to cure completely.
Step 3: Sand the Wood
- Initial Sanding: Start with 80-grit sandpaper to remove any rough spots and even out the surface.
- Progressive Sanding: Move to 120-grit, then 220-grit, and finally 320-grit for a smooth finish.
Step 4: Attach the Legs
- Mark Leg Positions: Measure and mark where the legs will be attached.
- Drill Holes: Drill pilot holes for the screws.
- Attach Legs: Use screws and brackets to secure the legs to the slab.
Step 5: Apply Finish
- Choose a Finish: Decide on a finish that complements your wood. Polyurethane provides a durable, glossy finish, while oil enhances the natural grain.
- Apply the Finish: Follow the manufacturer’s instructions for application. Allow each coat to dry completely before applying the next.
4- Conclusion
Creating a live edge table is a fulfilling project that results in a unique, handcrafted piece of furniture. By following these steps, you can transform a raw wood slab into a beautiful, functional table that adds a touch of nature to your home. Whether you’re a seasoned woodworker or a DIY enthusiast, this project offers a rewarding experience and a stunning final product.
5- FAQ
Q: What type of wood is best for a live edge table?
A: Popular choices include walnut, maple, and oak due to their durability and attractive grain patterns. However, you can use any type of wood that appeals to you.
Q: How do I ensure the wood slab is dry?
A: Purchase kiln-dried wood slabs or allow the wood to air-dry for several months to a year, depending on the thickness and type of wood.
Q: Can I use epoxy resin to fill large voids?
A: Yes, epoxy resin is ideal for filling large voids and cracks. It provides a smooth, durable surface and can be tinted to match the wood.
Q: What is the best way to attach the legs?
A: Use metal brackets and screws for a secure attachment. Ensure the legs are level and evenly spaced for stability.
Q: How many coats of finish should I apply?
A: Apply at least two to three coats of finish, allowing each coat to dry completely. Sand lightly between coats for a smooth, even finish.
By following this guide, you’ll be well on your way to creating a stunning live edge table that will be a conversation piece in your home. Happy crafting!