Table of Contents:
- Introduction
- Supplies You’ll Need
- Preparing the Mug for Design
- Creating Your Design
- Baking Your Mug
- Conclusion
- FAQs
Introduction
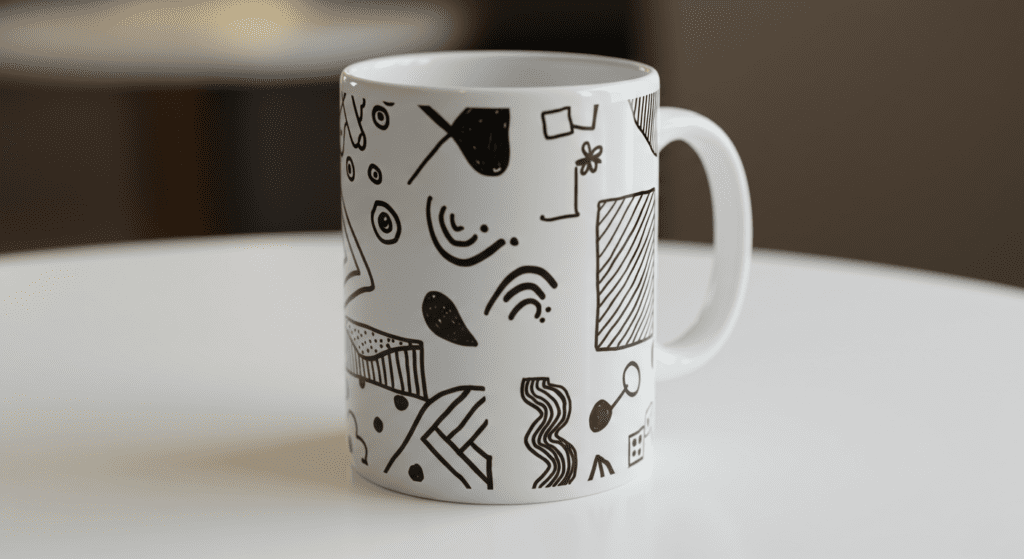
Have you ever looked for that perfect mug with the perfect saying, but just couldn’t find it? Instead of settling for something generic, why not create your own unique design? DIY Sharpie mugs are a fun and easy project to personalize your morning coffee experience. This guide will walk you through the simple steps of creating your very own Sharpie mug, from choosing the right materials to baking it to perfection.
Let’s get started on making a mug that’s truly yours!

Supplies You’ll Need
Before diving into this creative project, gather all the necessary materials:
1. A Plain White Mug
It’s best to find an affordable plain white mug. Stores like the dollar store often have inexpensive options that work perfectly for this project.
2. Sharpie Markers
While you can use any Sharpie colors you like, black is often a preferred choice for its boldness. Keep in mind that other colors might change slightly after baking, so test out your design if you’re using something other than black.
3. Rubbing Alcohol & Paper Towels
Rubbing alcohol helps clean the mug before starting the design and also works for fixing any mistakes during the process. You’ll also need paper towels for wiping the mug and cleaning up your design.
4. An Oven
This project requires baking the mug to set the design, so make sure you have access to an oven. You’ll bake your mug at 250°F (120°C) for about two hours.
Preparing the Mug for Design
Before you start drawing on your new mug, you need to prep it:
- Remove Stickers:
Ensure that there are no stickers or price tags left on the mug. These can burn during baking and may affect the appearance of your design. Don’t forget to check the bottom of the mug! - Clean the Mug:
Dampen a paper towel with rubbing alcohol and carefully wipe down the entire surface of the mug. This step removes any residue, oils, or dirt from your hands, ensuring the Sharpie marker adheres well to the surface.
Once you’ve prepped the mug, you’re all set to start drawing!
Creating Your Design
Now comes the fun part—drawing your design! Here’s how to get the best results:
- Sketch Your Design:
If you have a design in mind, start by sketching lightly with the Sharpie. You can also practice on paper first if you’re worried about making mistakes. - Erasing Mistakes:
We all make mistakes, but don’t worry—you can fix them! If you need to erase part of your design, simply use rubbing alcohol on a paper towel. Gently wipe the area and avoid smearing the rest of the design. Work carefully and in small sections. - Final Touches:
Once you’re happy with your design, go over the lines again to darken them. The darker the lines, the better they’ll hold up in the baking process. You can add as much or as little decoration as you want!
Baking Your Mug
The final step is to bake the mug to set the design:
- Preheat the Oven:
Preheat your oven to 250°F (120°C). It’s important to let the oven heat up fully before you place the mug inside. - Bake the Mug:
Place the mug on the middle rack of the oven. Bake for two hours. This process ensures that the Sharpie design will stay in place once the mug cools down. - Let It Cool:
After baking, carefully remove the mug from the oven and let it cool completely before using it. Make sure to let it sit for a while so the design can fully set.
Conclusion
DIY Sharpie mugs are a fun and personal way to make your coffee or tea time a little more special. With just a few simple supplies and some creativity, you can design a one-of-a-kind mug that reflects your personality. Whether you’re making it for yourself or as a gift, this project is a great way to enjoy a homemade creation that’s both practical and meaningful.
Once baked, your mug is ready to be used daily. Get creative with different patterns, colors, and messages to truly make it your own!
FAQs
Q1: Can I use any Sharpie for this project?
Yes, you can use any Sharpie color, though black tends to work best for bold lines. Colored markers may change slightly during the baking process, so it’s a good idea to test them first.
Q2: Will my design wash off?
As long as you bake the mug properly, the design should stay on. The heat helps set the Sharpie and makes it permanent.
Q3: How long do I need to bake the mug?
Bake the mug at 250°F for 2 hours. This ensures that the design stays in place even with frequent use and washing.
Q4: Can I microwave the mug?
It’s best to avoid microwaving your Sharpie mug, as the design may start to fade or crack over time. Hand washing is the safest way to care for it.