Table of Contents
- Introduction
- Materials You’ll Need
- Step 1: Choose the Right Wood
- Step 2: Cutting the Wood and Notching the Side Pieces
- Step 3: Branding and Sanding
- Step 4: Applying the Finish
- Step 5: Assembling the Cookbook Stand
- Conclusion
- FAQs
Introduction
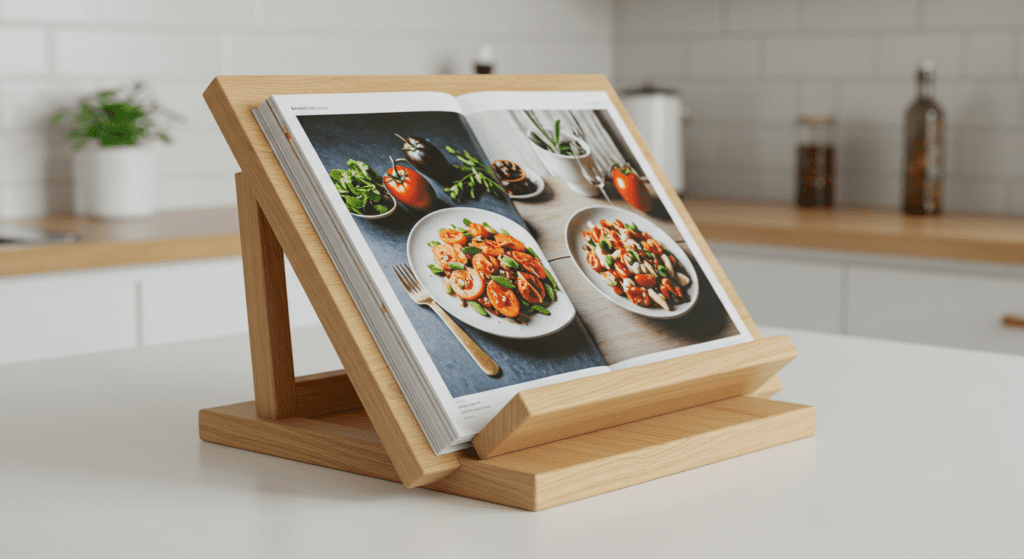
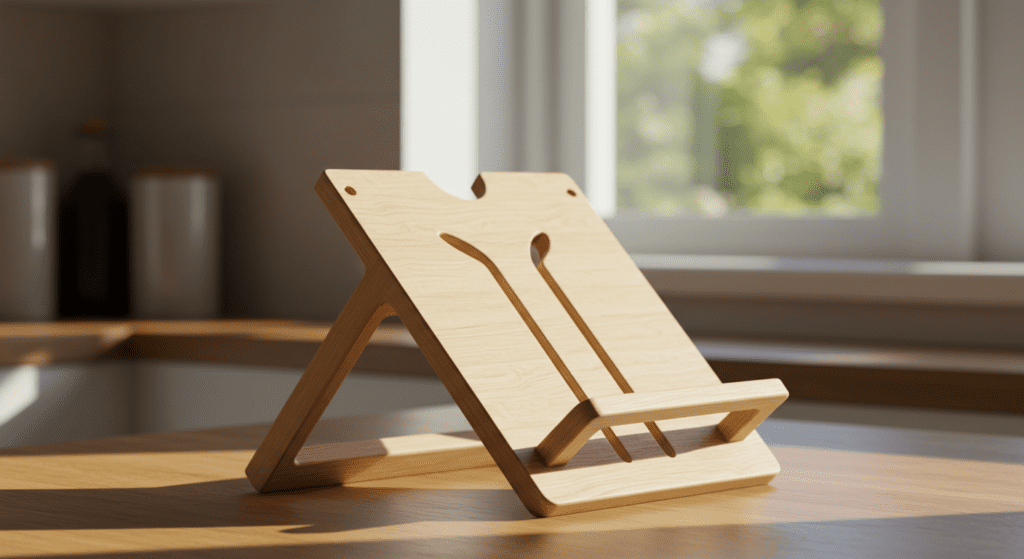
Building a custom cookbook stand can be a rewarding DIY project, and it’s a perfect way to add a personal touch to your kitchen. If you have a large cookbook collection and often find yourself struggling to find space to display them, a stand can serve both a practical and decorative purpose. In this guide, we’ll walk you through the steps to create your own cookbook stand that not only keeps your kitchen organized but also looks fantastic as part of your décor.
This step-by-step tutorial will show you how to select the right materials, cut and assemble the pieces, and finish your stand for durability and style. Whether you are an experienced woodworker or a beginner looking for a weekend project, you’ll find that making your own cookbook stand is easier than you think!

Materials You’ll Need
Before we dive into the steps, here’s a quick list of materials and tools you’ll need for this project:
- Wood: A contrasting wood species like walnut and maple.
- Tools: Miter saw, table saw, chisel, random orbital sander, epoxy, branding iron, clamps.
- Finishing Materials: Sandpaper (80-grit to 220-grit), Minwax Wipe-On Poly.
- Other: Epoxy resin, screws for added support.
Step 1: Choose the Right Wood
The first step in creating your cookbook stand is selecting the wood. For this project, we recommend using contrasting wood species for a visually appealing design. A piece of charred walnut can add a unique and rustic look, while curly maple provides beautiful texture. If you don’t have access to these types of wood, feel free to use whatever wood you have available. The goal is to create a durable and attractive stand.
The walnut used in this project was salvaged from a barn fire in Tennessee, giving it a unique history and aesthetic. However, any hardwood that is sturdy and easy to work with will do. Take the time to choose wood that complements your kitchen style.

Step 2: Cutting the Wood and Notching the Side Pieces
Once you’ve selected your wood, the next step is to cut the pieces to size and notch the side pieces. Measure the rails to the length you desire, then cut the walnut board in half, giving you two pieces for the sides. The side pieces will form the vertical supports of your stand.
Using a miter gauge, cut angled notches into the walnut side pieces. This can be done with a table saw, or by hand if you prefer a more traditional approach. After the notches are cut, use a chisel to clean them up and ensure they fit snugly with the rails.
Step 3: Branding and Sanding
Now that your pieces are cut and ready, it’s time to sand them smooth. Start with 80-grit sandpaper, gradually moving up to 220-grit for a smooth finish. Sanding will ensure that there are no rough edges or splinters, and that your finish adheres properly.
Once all the pieces are smooth and ready, it’s time to brand your stand. Heat up a branding iron with a grill torch for a few minutes, and then burn your custom logo or design into the back of one of the side pieces. This adds a personal touch to your creation.
Step 4: Applying the Finish
For durability and to enhance the natural beauty of your wood, apply a finish. Minwax Wipe-On Poly is a great choice for projects like this because it’s easy to apply and provides a strong protective coating. Apply 2-3 coats of the poly, allowing each coat to dry completely before adding the next.
This finish will protect the wood from any accidental splashes or spills that may occur in the kitchen, while also bringing out the deep color of the walnut and the figure of the maple.
Step 5: Assembling the Cookbook Stand
With everything prepared, it’s time to assemble your cookbook stand. Use epoxy to attach the side pieces to the rails, ensuring a strong and durable bond. You can also use screws for added stability. Place clamps on the stand while the epoxy cures, allowing the glue to set properly.
Once everything is dry, check that all the pieces are securely attached and that the stand functions as it should.
Conclusion
Congratulations! You’ve now built a beautiful, functional cookbook stand that will not only serve as a great way to organize your cookbooks but also add a touch of handmade craftsmanship to your kitchen. Whether you are displaying your cookbooks or using it as a decorative piece, this stand is sure to be a cherished item in your home for years to come.
FAQs
1. What type of wood should I use for my cookbook stand? You can use any hardwood you prefer, but walnut and maple are excellent choices due to their durability and beauty. Choose contrasting wood species to add a unique look to your stand.
2. Can I use other tools if I don’t have a table saw? Yes! While a table saw is helpful for cutting the notches, you can use a miter saw or even cut the notches by hand with a chisel if you don’t have access to power tools.
3. How can I customize my cookbook stand? You can personalize your stand by branding it with your own logo or design. A branding iron or stencil can help add a personal touch to your project.
4. Can I use a different finish for my stand? While Minwax Wipe-On Poly is an excellent choice, you can also use other finishes like tung oil or polyurethane, depending on the look and protection you want for your wood.