Table of Contents
- Introduction
- What is Needle Felting?
- Tools and Materials for Needle Felting
- Step-by-Step Guide to Needle Felting
- Tips for Successful Needle Felting
- Common Mistakes to Avoid
- Conclusion
- FAQs
Introduction
Needle felting is a versatile and creative craft that allows you to sculpt wool into intricate shapes and designs using a specialized needle. Whether you’re a beginner or an experienced crafter, this guide will walk you through everything you need to know about needle felting, from the basics to advanced techniques.

What is Needle Felting?
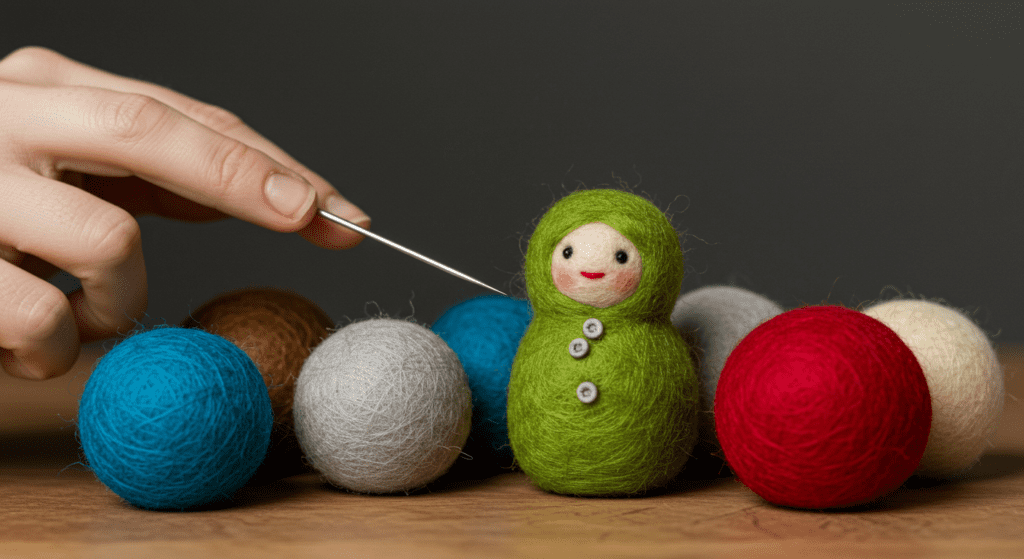
Needle felting is a process that involves interlocking wool fibers using a barbed needle. By repeatedly poking the wool with the needle, the fibers tangle and compact, forming a solid shape. This technique is commonly used to create 3D sculptures, ornaments, and decorative items.
Tools and Materials for Needle Felting
To get started with needle felting, you’ll need the following tools and materials:
- Felting Needles: Specialized needles with barbs that tangle the wool fibers.
- Wool Roving: High-quality wool that is easy to shape and felt.
- Felting Pad: A foam or sponge surface to protect your work area and needles.
- Scissors: For trimming excess wool.
- Optional Accessories: Wire armatures, eyes, or embellishments for detailed projects.
Step-by-Step Guide to Needle Felting
- Choose Your Design: Start with a simple shape like a ball or heart if you’re a beginner.
- Prepare the Wool: Pull off a small amount of wool roving and roll it into a loose ball.
- Begin Felting: Place the wool on the felting pad and poke it with the needle repeatedly. Rotate the wool to ensure even felting.
- Add Details: Layer additional wool to create details like ears, tails, or facial features.
- Smooth and Finish: Continue felting until the surface is smooth and firm.
Tips for Successful Needle Felting
- Use a gentle stabbing motion to avoid breaking the needle.
- Work in a well-lit area to see details clearly.
- Keep your fingers away from the needle to prevent injuries.
- Experiment with different types of wool for varied textures.
Common Mistakes to Avoid
- Overworking the Wool: Excessive poking can make the wool too dense and hard.
- Using the Wrong Needle: Different needle sizes are suited for different stages of felting.
- Skipping the Felting Pad: Always use a pad to protect your surface and needles.
Conclusion
Needle felting is a rewarding and meditative craft that allows you to create unique, handmade items. With the right tools, materials, and techniques, you can bring your creative ideas to life. Whether you’re making gifts, decorations, or art pieces, needle felting offers endless possibilities.
FAQs
1. What type of wool is best for needle felting?
Merino wool roving is a popular choice due to its softness and ease of use.
2. Can I use regular needles for felting?
No, felting needles have barbs that are essential for tangling the wool fibers.
3. How do I fix mistakes in needle felting?
You can add more wool to cover mistakes or gently pull apart the fibers to reshape your project.
4. Is needle felting safe for children?
Due to the sharp needles, needle felting is recommended for older children under adult supervision.
5. How long does it take to complete a needle felting project?
The time required depends on the complexity of the project, ranging from a few minutes to several hours.