Table of Contents
- Introduction
- Materials and Tools Required
- Building Process
- Customization Options
- Tips and Troubleshooting
- Conclusion
- Frequently Asked Questions
Introduction
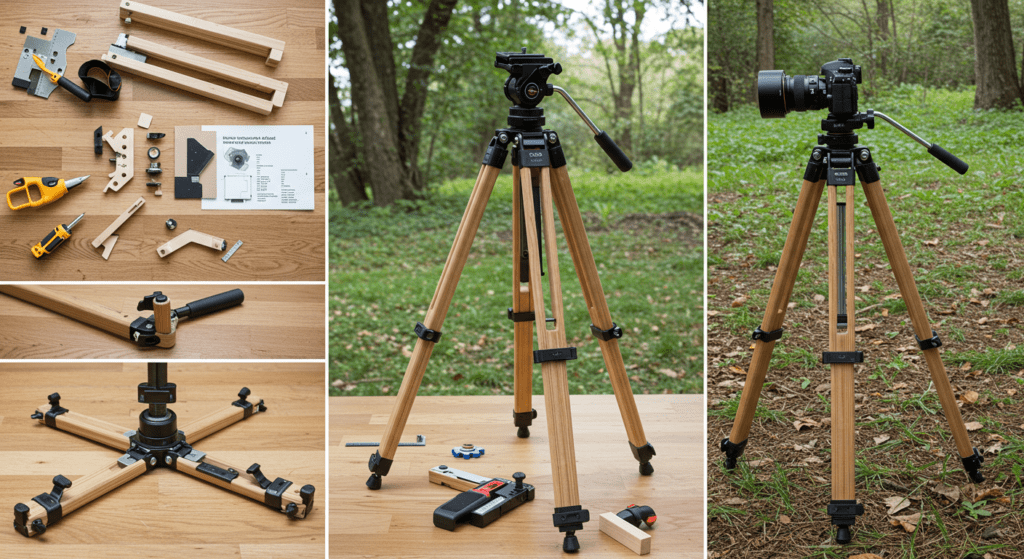
Building your own tripod not only saves money but also allows you to create a customized camera support system tailored to your specific needs. This comprehensive guide will walk you through creating a sturdy, professional-grade tripod using readily available materials.

Materials and Tools Required
Essential Materials
- 3 wooden dowels or metal pipes (24-36 inches long)
- Mounting plate (can be made from sturdy plywood or metal)
- Bolts and wing nuts
- Non-slip rubber feet
- Wood glue or metal epoxy
- Metal hinges or brackets
Required Tools
- Drill with various bits
- Saw (hand saw or power saw)
- Measuring tape
- Pencil
- Sandpaper
- Wrench set
- Safety equipment (goggles, gloves)
Building Process
Step 1: Preparing the Legs
- Cut your chosen material to equal lengths
- Sand the edges smooth
- Install rubber feet at one end of each leg
- Mark points for drilling mounting holes
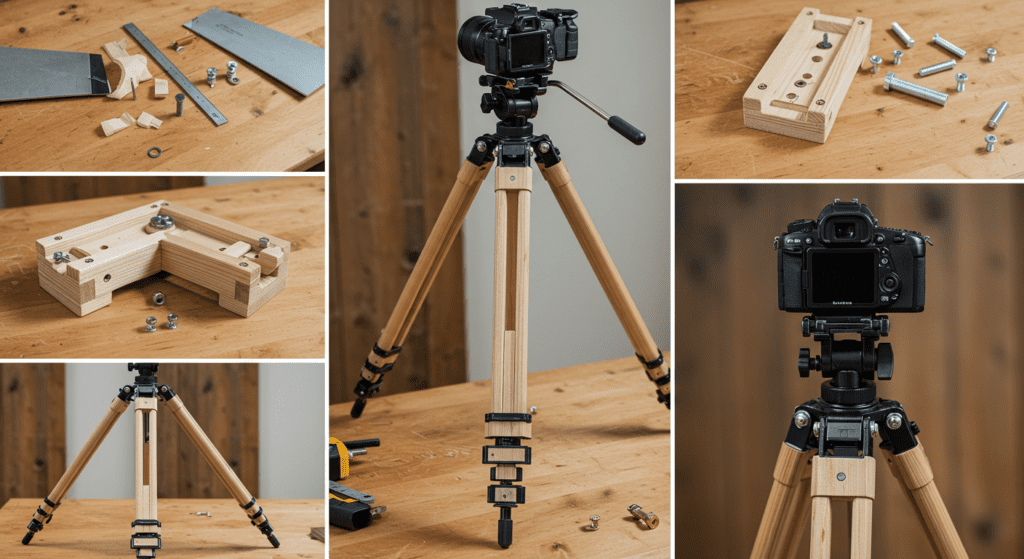
Step 2: Creating the Mounting Platform
- Cut the mounting plate to size (approximately 6×6 inches)
- Drill a centered 1/4-inch hole for the camera mount
- Add mounting points for the legs
Step 3: Assembly
- Attach legs to the mounting platform using hinges
- Install locking mechanisms
- Test stability and adjustments
Customization Options
Height Adjustment
- Telescoping legs using nested pipes
- Adjustable spreaders between legs
- Quick-release leg locks
Head Modifications
- Pan and tilt capabilities
- Quick-release plate system
- Bubble level integration
Tips and Troubleshooting
Common Issues and Solutions
- Wobbling: Add cross-bracing between legs
- Uneven support: Adjust leg lengths and angles
- Camera mount instability: Reinforce mounting plate
Maintenance
- Regular cleaning of moving parts
- Lubrication of joints
- Checking and tightening bolts
Conclusion
Building your own tripod is a rewarding project that results in a customized piece of photography equipment. With proper planning and execution, your DIY tripod can match or exceed the quality of commercial options while costing significantly less.

Frequently Asked Questions
Q: How much does it cost to build a DIY tripod? A: Materials typically cost between $30-75, depending on your choice of materials and additional features.
Q: How long does it take to complete this project? A: Most builders can complete the basic tripod in 3-4 hours, not including drying time for adhesives.
Q: Can this tripod support heavy cameras? A: With proper materials and construction, your DIY tripod can safely support DSLR cameras and medium-format equipment.
Q: What’s the maximum height possible? A: The height depends on your leg material length, but 48-60 inches is typically achievable while maintaining stability.
Q: Is this suitable for beginners? A: Yes, with basic DIY skills and proper tools, this project is achievable for beginners.