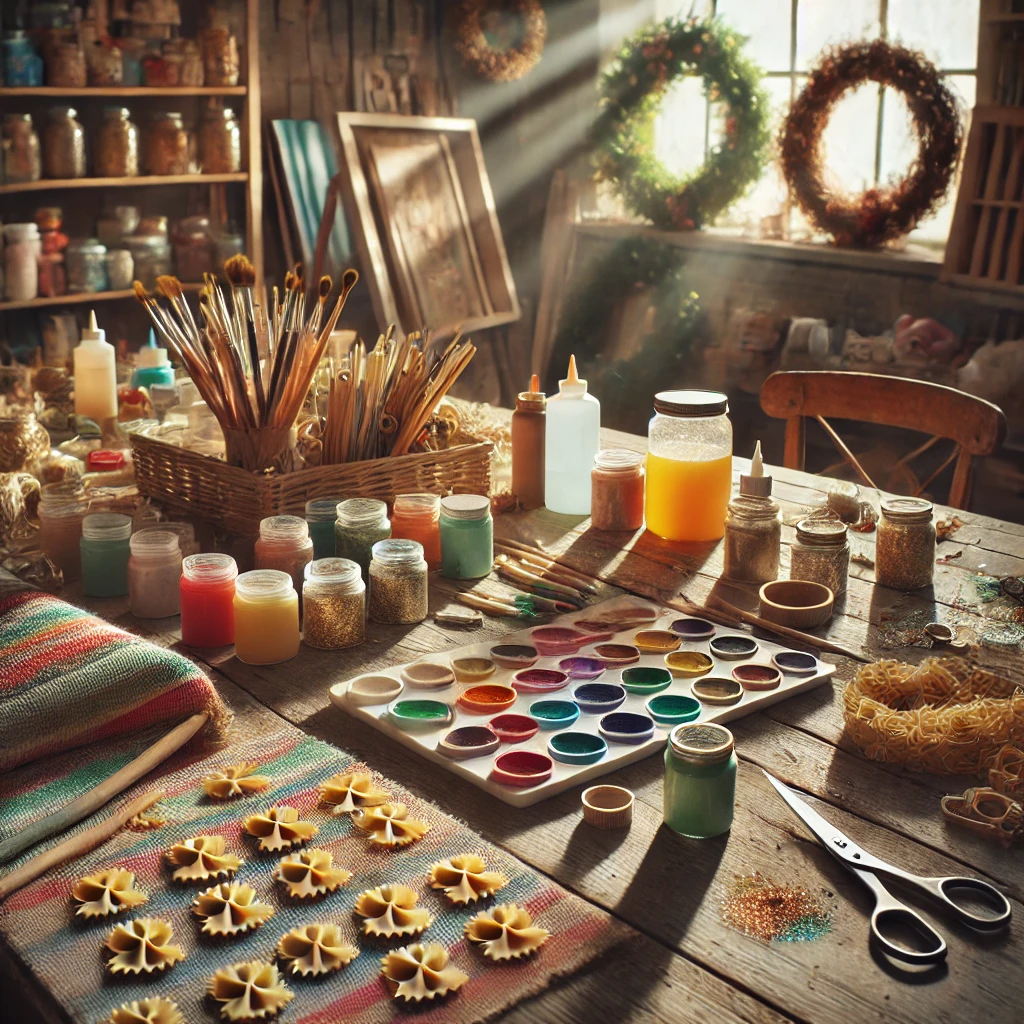
Crafting is more than just a hobby; it’s a way to express creativity, bring joy to your surroundings, and even bond with loved ones. One unique craft that has been gaining popularity is creating bowtie pasta wreaths. These delightful decorations are not only easy on the budget but also a perfect way to add a personal touch to your home. Whether you’re looking to make a holiday wreath or a year-round accent piece, this guide will walk you through everything you need to know.
1- Why Bowtie Pasta Wreaths Are the Perfect Craft Project
Unique and Budget-Friendly
You don’t need expensive materials to create something beautiful. Bowtie pasta, often overlooked as a crafting material, is incredibly versatile. A few packs of this pantry staple can be transformed into stunning art with a little creativity.
Fun for All Ages
Crafting bowtie pasta wreaths isn’t just for adults; it’s an engaging activity for kids, too. Imagine the excitement on their faces as they paint and assemble their pasta creations. It’s a fantastic way to spend quality time together and nurture creativity in children.
Eco-Friendly Creativity
For those who value sustainability, this craft checks all the boxes. By using materials that might otherwise go to waste, you’re contributing to a more eco-conscious lifestyle. Plus, you can repurpose leftover pasta or other recyclable items to make your wreath truly unique.

2- Materials You’ll Need to Make a Bowtie Pasta Wreath
Before diving in, gather all the necessary supplies. Having everything ready will make the crafting process smoother and more enjoyable. Here’s a list to get you started:
- Bowtie pasta (farfalle)
- Wreath base (foam, wire, or cardboard)
- Hot glue gun and glue sticks
- Acrylic paint or spray paint (variety of colors)
- Paintbrushes
- Clear sealant (optional for durability)
- Decorative embellishments (ribbons, beads, glitter, etc.)
- Ribbon or twine for hanging
3- Step-by-Step Guide to Creating a Bowtie Pasta Wreath
Step 1: Prepare the Pasta
Start by deciding whether you want to use dry or boiled pasta. Dry pasta is sturdy and easier to handle, while boiled pasta can be more flexible for intricate designs. If you choose to boil it, make sure to let it dry completely before painting.
Step 2: Paint the Pasta
Choose a color palette that complements your theme. For a holiday wreath, go for traditional colors like red, green, and gold. For a spring or summer theme, pastel shades work beautifully. Use acrylic or spray paint, and don’t forget to paint both sides for a polished look. Allow the pasta to dry thoroughly before proceeding.
Step 3: Assemble the Wreath
Lay out your design on the wreath base before gluing anything down. This step helps you visualize the final product and make adjustments as needed. Once you’re satisfied, use a hot glue gun to secure each piece of pasta to the base. Work in sections, ensuring the glue sets before moving on.
Step 4: Add Embellishments
Enhance your wreath by adding ribbons, beads, or glitter. These elements can elevate your design and give it a professional finish. You might even consider incorporating small ornaments or faux flowers to match the season.
Step 5: Final Touches
Spray your completed wreath with a clear sealant to protect it and enhance its durability. Attach a ribbon loop to the back for hanging, and your masterpiece is ready to display!
4- Creative Ideas for Decorating Your Bowtie Pasta Wreath
Seasonal Themes
- Christmas Wreath: Use red, green, and gold paints, and add mini ornaments or bells.
- Spring Wreath: Go for pastel colors and adorn with faux flowers.
- Fall Wreath: Paint pasta in shades of orange, yellow, and brown, and add dried leaves or acorns.
Personalized Wreaths
- Monogram designs using pasta to spell out initials or family names.
- Customized color schemes to match specific events or home decor.
Whimsical Designs
- Create patterns like spirals or flowers with the pasta for a unique touch.
- Add glow-in-the-dark paint for an unexpected twist.
5- Recipe for Edible Bowtie Pasta Decor (Optional)
If you’re feeling adventurous, you can create edible pasta decor for temporary displays. Here’s how:
| Ingredient | Quantity |
|---|---|
| Bowtie pasta (uncooked) | 200g |
| Food-safe paint colors | As needed |
| Edible glue | As needed |
| Decorative sprinkles | Optional |
Steps:
- Paint the pasta with food-safe colors.
- Use edible glue to assemble the wreath.
- Add sprinkles or other edible decorations.
- Display your creation as a centerpiece or party decor.
6- Bowtie Pasta Wreaths FAQs
What types of pasta can I use for wreaths?
While bowtie pasta is ideal for this craft, you can also experiment with other shapes like penne, shells, or rigatoni for added variety.
How long do pasta wreaths last?
With proper sealing, pasta wreaths can last for years. Just keep them away from moisture and direct sunlight to maintain their appearance.
Can I make a pasta wreath without a glue gun?
Yes! Craft glue or even double-sided tape can work, although the process may take longer as you’ll need to allow extra drying time.
Are pasta wreaths safe for outdoor use?
They’re best suited for indoor use. If you’d like to display them outside, consider using weather-resistant sealants for added protection.
Can kids make pasta wreaths?
Absolutely! With supervision for tasks like gluing or painting, this is a fantastic craft for children to enjoy.
7- Conclusion
Crafting bowtie pasta wreaths is more than just a fun project; it’s a way to express your personality and bring joy to your home. Whether you’re creating a festive decoration or a year-round piece, these wreaths are sure to impress. So, gather your supplies, unleash your creativity, and start crafting today. Don’t forget to share your finished creations with friends and family to inspire their own crafting adventures!