Introduction:
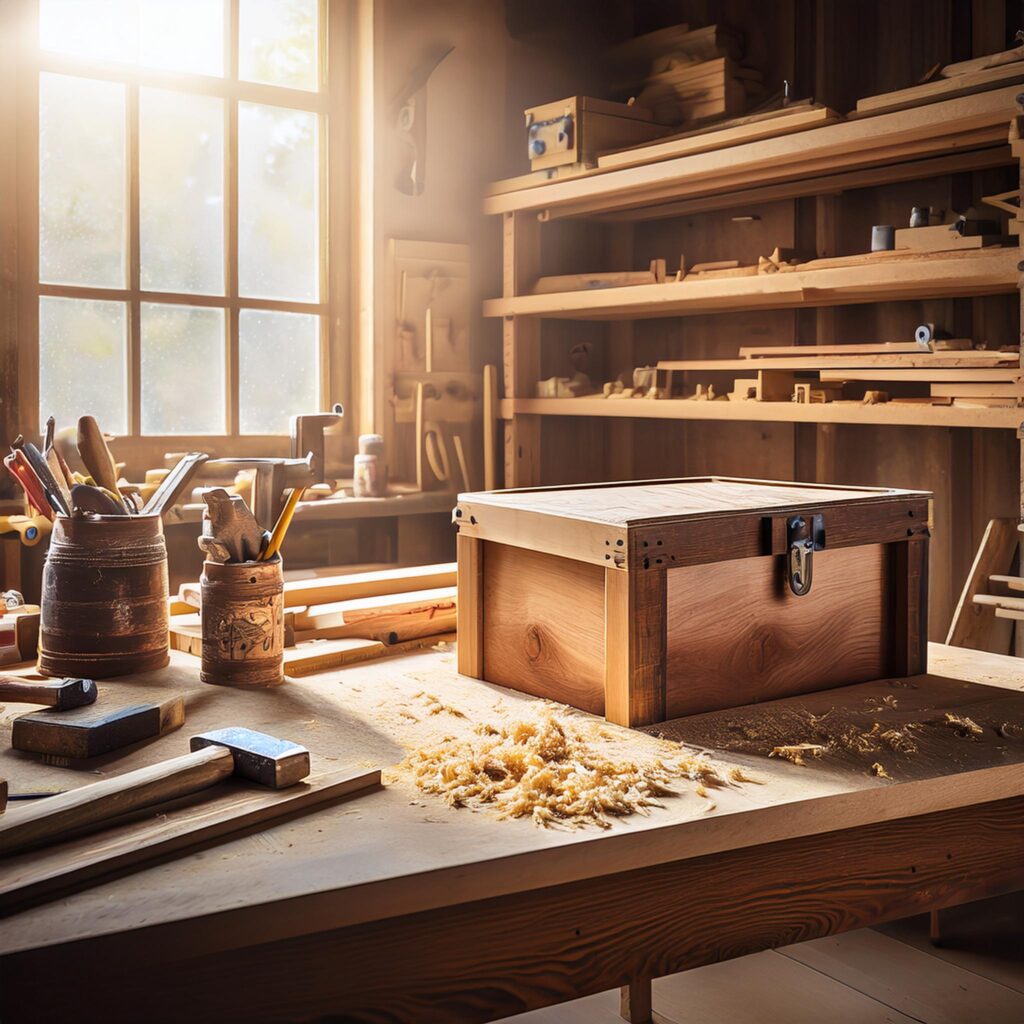
A hope chest, traditionally used to store keepsakes and treasures for the future, is a wonderful DIY project that combines functionality with sentimentality. Whether you’re preparing for a wedding, moving to a new home, or simply wanting to preserve memories, building your own hope chest can be a meaningful and rewarding endeavor. In this tutorial, we’ll walk you through how to create a personalized hope chest from scratch, with detailed instructions and tips to make your project shine. Let’s dive into the crafting world and create something that will last for years to come!
Table of Contents:
- What is a Hope Chest?
- Materials You’ll Need for Your DIY Hope Chest
- Step-by-Step Guide to Building Your Hope Chest
- Step 1: Preparing the Wood
- Step 2: Assembling the Box
- Step 3: Adding the Lid
- Step 4: Sanding and Staining
- Step 5: Personalizing Your Chest
- Tips for a Successful Hope Chest DIY Project
- Frequently Asked Questions (FAQs)
- Conclusion
1. What is a Hope Chest?
A hope chest, also known as a trousseau chest, is a storage container where young women traditionally stored items like linens, clothing, and keepsakes in anticipation of marriage or starting a new life. Today, people of all ages use hope chests to keep important items like letters, heirlooms, and mementos. Crafting your own hope chest is an excellent way to create a lasting treasure that reflects your personal style.

2. Materials You’ll Need for Your DIY Hope Chest
Before you begin, gather all the materials you’ll need for your project. Here’s a quick list to get started:
- Wood (plywood or hardwood, depending on your preference)
- Screws and wood glue
- Hinges for the lid
- Sandpaper or electric sander
- Wood stain or paint
- Personalizing elements (stencils, decals, or engraving tools)
- Paintbrushes and rags
3. Step-by-Step Guide to Building Your Hope Chest
Step 1: Preparing the Wood
The first step in building your hope chest is preparing your wood. Choose a durable and attractive wood like pine, oak, or walnut. Cut the pieces according to the dimensions you want for your chest (a common size is 30 inches long, 15 inches wide, and 18 inches tall). Use a saw to make precise cuts. If you don’t have the proper tools, most hardware stores will cut the wood for you.
Step 2: Assembling the Box
Now that you have your wood pieces, it’s time to assemble the box. Start by attaching the sides to the base using wood glue. Use screws to secure the sides, making sure the edges align perfectly. Once the four sides are connected, attach the back panel, followed by the front panel. The front will usually have a slight overhang for aesthetic purposes.
Step 3: Adding the Lid
The lid is one of the most important parts of the hope chest. It needs to open and close easily, so attach it using sturdy hinges. If you want the lid to stay open at an angle, you can use a support bracket. Make sure the hinges are aligned evenly for a smooth opening and closing.
Step 4: Sanding and Staining
Once your chest is assembled, it’s time to smooth out the rough edges with sandpaper. This step is essential for creating a polished, professional-looking chest. After sanding, apply a wood stain or paint of your choice to finish the chest. Staining enhances the natural grain of the wood, while painting gives a more modern or whimsical look. Let the chest dry completely before proceeding.
Step 5: Personalizing Your Chest
Now comes the fun part—personalizing your hope chest! Use stencils to paint designs, engrave your name or a meaningful quote, or add decorative elements like metal handles or fabric liners. This step makes your chest one-of-a-kind and reflects your personality. You can even add a lock and key for a more traditional touch.
4. Tips for a Successful Hope Chest DIY Project
- Precision is key: Take your time when cutting and assembling the pieces. Even small mistakes can affect the look and function of your chest.
- Use quality wood: Investing in higher-quality wood will ensure your chest lasts for years.
- Involve your family or friends: Make the project even more special by having loved ones contribute their own personal touches.
- Protect the finish: Consider applying a protective topcoat to preserve the paint or stain and keep your chest looking new.
5. Frequently Asked Questions (FAQs)
- How much does it cost to make a DIY hope chest?
The total cost depends on the size and quality of materials you choose. On average, expect to spend between $50-$150. - Can I make a hope chest without power tools?
Yes! You can build a hope chest using manual tools like a handsaw, hammer, and screwdriver. It may take a bit longer, but it’s definitely doable. - What size should my hope chest be?
Standard hope chests are around 30 inches long, 15 inches wide, and 18 inches tall, but you can customize the size based on your needs.
6. Conclusion
Building a DIY hope chest is a fulfilling project that allows you to create something meaningful and functional. With just a few materials and some patience, you can craft a personalized treasure chest that will store your memories for years to come. Whether you’re a beginner or an experienced crafter, this guide provides all the tools and steps necessary to build your very own hope chest. Ready to get started? Gather your materials and start crafting today!