Introduction
Looking for a unique gift or a fun project to add a personal touch to your accessories? A DIY monogrammed personalized wallet is the perfect solution! Whether you’re creating a custom wallet for yourself or giving it as a gift, this easy-to-follow tutorial will guide you through the process of making a one-of-a-kind wallet. Add your initials or a special design to make it even more meaningful. This wallet is not only stylish but also functional, making it a must-have in your collection. Let’s get started!
Table of Contents
- Why Choose a Monogrammed Personalized Wallet?
- Materials You’ll Need
- Step-by-Step DIY Tutorial
- Preparing the Materials
- Cutting the Leather
- Adding the Monogram
- Assembling the Wallet
- Final Touches
- Tips for Personalizing Your Wallet
- Where to Buy Materials
- Conclusion
1. Why Choose a Monogrammed Personalized Wallet?
Monogrammed wallets offer a perfect combination of luxury and personalization. A custom wallet with your initials is a great way to express your style while also keeping your essentials organized. Plus, it makes for a memorable gift for birthdays, holidays, or special occasions. By following this DIY tutorial, you can create a wallet that’s not only practical but also uniquely yours.

2. Materials You’ll Need
Before you start, make sure you have all the materials on hand. Here’s a list of what you’ll need:
- Leather or Faux Leather (2 pieces for the wallet body and one for the interior)
- A Leather Monogramming Kit (includes alphabet stamps and a mallet)
- Scissors or a Rotary Cutter
- Cutting Mat
- Ruler
- Leather Dye (optional, for coloring the leather)
- Strong Glue or Leather Cement
- Needle and Leather Thread
- Burnishing Tool (for finishing the edges)
- Snap Fasteners or Magnetic Closure (optional)
3. Step-by-Step DIY Tutorial
3.1 Preparing the Materials
Start by cutting out the leather pieces you need for the wallet. You’ll need two rectangular pieces for the outer body and one smaller piece for the interior pockets. Use a ruler to ensure straight edges for a neat finish. If you’d like to add a specific color to your wallet, you can dye the leather using a leather dye at this stage.
3.2 Cutting the Leather
Carefully cut the leather using scissors or a rotary cutter. The size of the wallet depends on your personal preference, but a standard wallet size is approximately 4.5 inches by 3.5 inches (closed). For the interior pockets, you’ll need two pieces slightly smaller than the wallet body.
3.3 Adding the Monogram
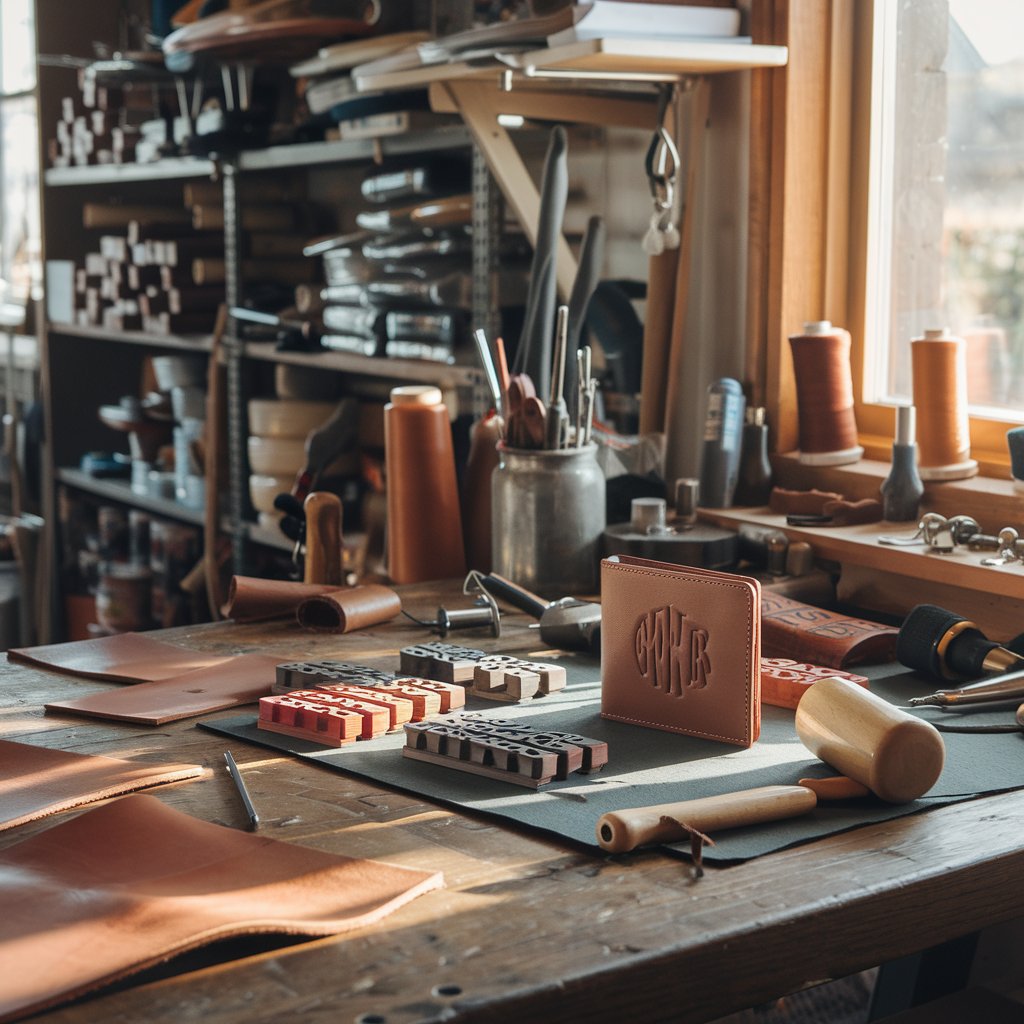
To add a personalized touch, use the leather monogramming kit. Decide on the placement of the monogram (typically the center or bottom corner). Use the alphabet stamps and mallet to imprint your initials or design on the leather. Make sure to press evenly to ensure a clean, clear imprint.
3.4 Assembling the Wallet
Now, it’s time to assemble your wallet! Begin by gluing the interior pocket pieces onto the inside of the wallet body. Make sure the glue is applied evenly and that the pieces are aligned properly. For extra durability, you can sew around the edges using a needle and leather thread. Once the interior is set, fold the wallet into its final shape.
3.5 Final Touches
After the wallet is assembled, use a burnishing tool to smooth out the edges and give them a professional finish. If you’re using a magnetic closure or snap fasteners, attach them now. Make sure everything is secure and tidy.
4. Tips for Personalizing Your Wallet
- Color Options: Experiment with different leather dyes for a customized look. You can use darker shades for a classic style or opt for bright colors for a more modern appearance.
- Monogram Size: Adjust the size of your monogram to fit the overall design of your wallet. Smaller initials may work better for subtle personalization, while larger monograms can make a bold statement.
- Use Stencils for Designs: If you want something beyond initials, you can use stencils to create custom designs or patterns on your wallet.
5. Where to Buy Materials
You can find leather crafting supplies at most craft stores, or you can purchase them online. Look for reputable stores that specialize in leatherworking to ensure you’re getting quality materials. Popular online retailers like Amazon, Etsy, and specialty leatherworking stores often have DIY wallet kits that include all the supplies you need.
6. Conclusion
Creating a DIY monogrammed personalized wallet is a rewarding project that combines creativity with functionality. Whether you’re making it for yourself or as a gift, this wallet is sure to impress with its custom design and attention to detail. Follow the steps, add your personal touch, and enjoy your one-of-a-kind accessory!