Introduction
Candle jars are the perfect blend of function and beauty, offering a cozy glow and delightful fragrances to any space. Whether you’re crafting them for personal use, as thoughtful gifts, or as a creative hobby, making your own candle jars is both rewarding and fun. Plus, you can customize scents, colors, and designs to suit any occasion or decor style.
This tutorial will guide you through the process of creating your own candle jars from scratch. From selecting the right materials to adding finishing touches, we’ve got everything covered to help you achieve professional-looking results.
Table of Contents
- Why Make Your Own Candle Jars?
- Materials Needed
- Choosing the Right Wax
- Selecting Wicks and Containers
- Step-by-Step Instructions
- Preparing Your Workspace
- Melting the Wax
- Adding Color and Fragrance
- Pouring the Wax into Jars
- Setting and Trimming the Wicks
- Decorating Your Candle Jars
- Safety Tips for Candle Making
- Creative Ideas for Candle Jars
- Benefits of Homemade Candle Jars
- FAQs
- Conclusion
1. Why Make Your Own Candle Jars?
Homemade candle jars are:
- Customizable: Choose your favorite scents, colors, and designs.
- Cost-Effective: Making candles at home is often cheaper than buying high-end candles.
- Eco-Friendly: Reuse jars and choose sustainable materials.
- Personalized: Great for gifting, with unique touches for any occasion.
2. Materials Needed
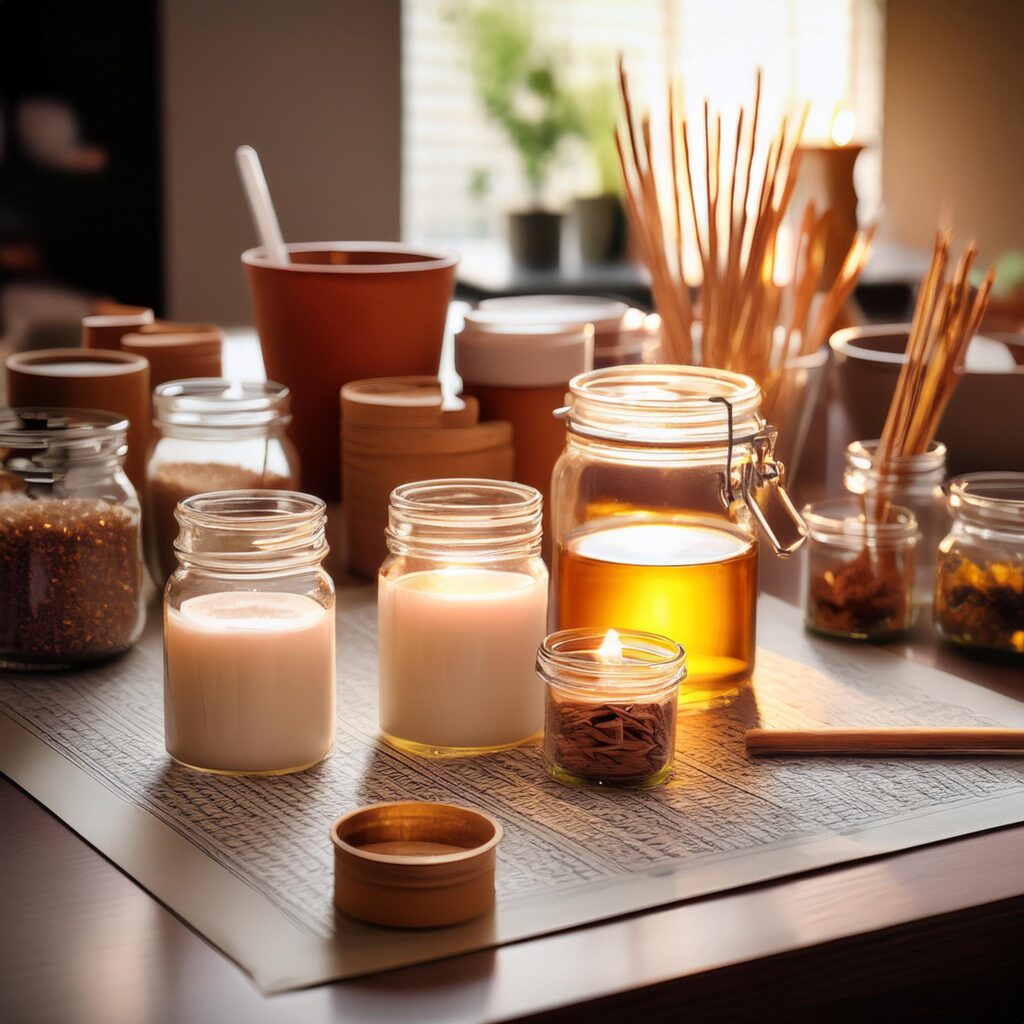
Before you begin, gather these essentials:
- Wax: Soy, beeswax, or paraffin.
- Wicks: Pre-tabbed wicks or wick spools.
- Jars or Containers: Glass jars, mason jars, or repurposed jars.
- Fragrance Oils: Essential oils or candle-specific fragrance oils.
- Dye Chips or Liquid Dyes: For adding color.
- Double Boiler or Melting Pot: For safely melting wax.
- Thermometer: To monitor wax temperature.
- Wooden Sticks or Wick Holders: To keep wicks centered.
- Glue Dots or Wick Stickers: For securing wicks to the jar base.
3. Choosing the Right Wax
Each type of wax has unique characteristics:
- Soy Wax: Natural, eco-friendly, and long-burning.
- Beeswax: Clean-burning with a natural honey scent.
- Paraffin Wax: Affordable and holds fragrance well.
4. Selecting Wicks and Containers
- Wicks: Match wick size to jar diameter for optimal burn. Cotton wicks are ideal for soy and beeswax.
- Containers: Ensure jars are heat-resistant. Mason jars, recycled candle jars, or decorative glass jars work well.
5. Step-by-Step Instructions
Preparing Your Workspace
- Cover your workspace with newspaper or a heat-resistant mat.
- Ensure all materials are within reach.
Melting the Wax
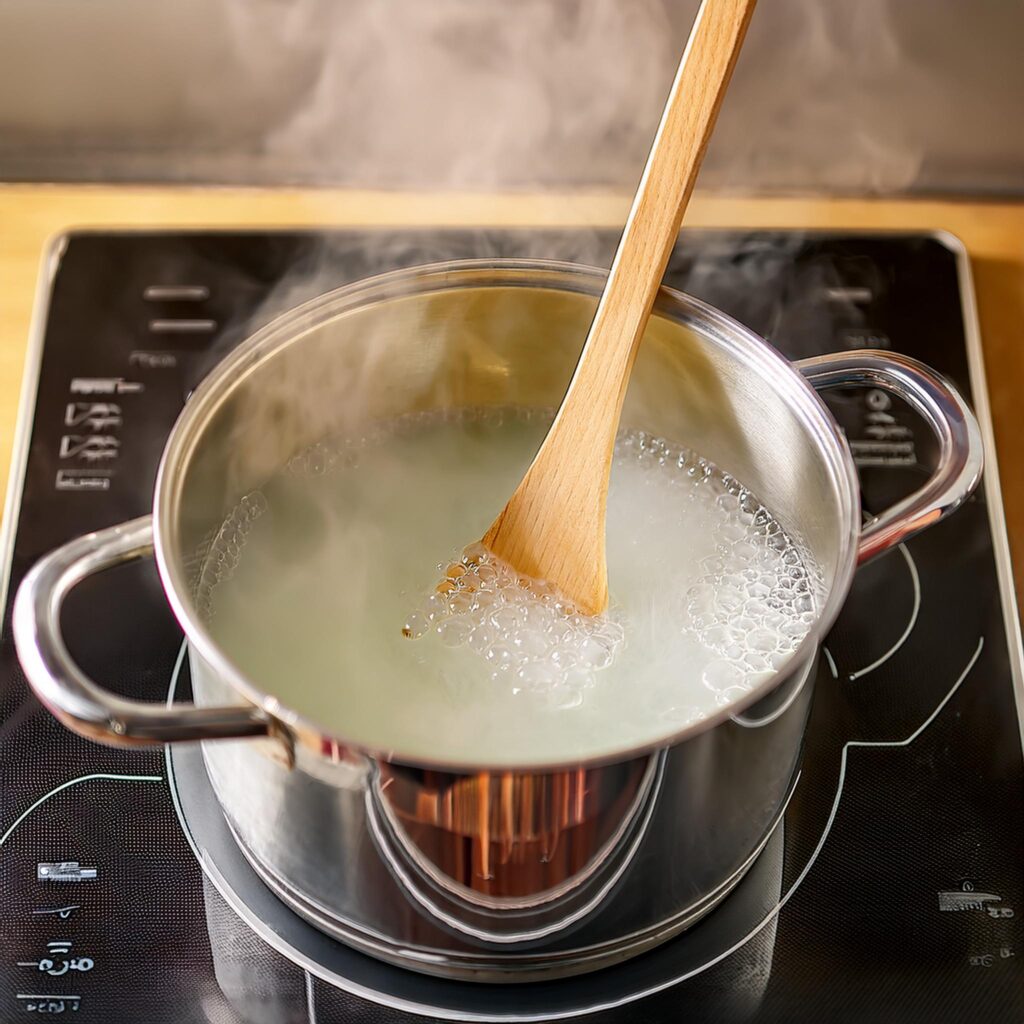
- Use a double boiler or melting pot to melt the wax.
- Heat until the wax reaches the recommended temperature (usually 120–180°F, depending on the wax type).
- Stir occasionally for even melting.
Adding Color and Fragrance
- Once melted, remove the wax from heat.
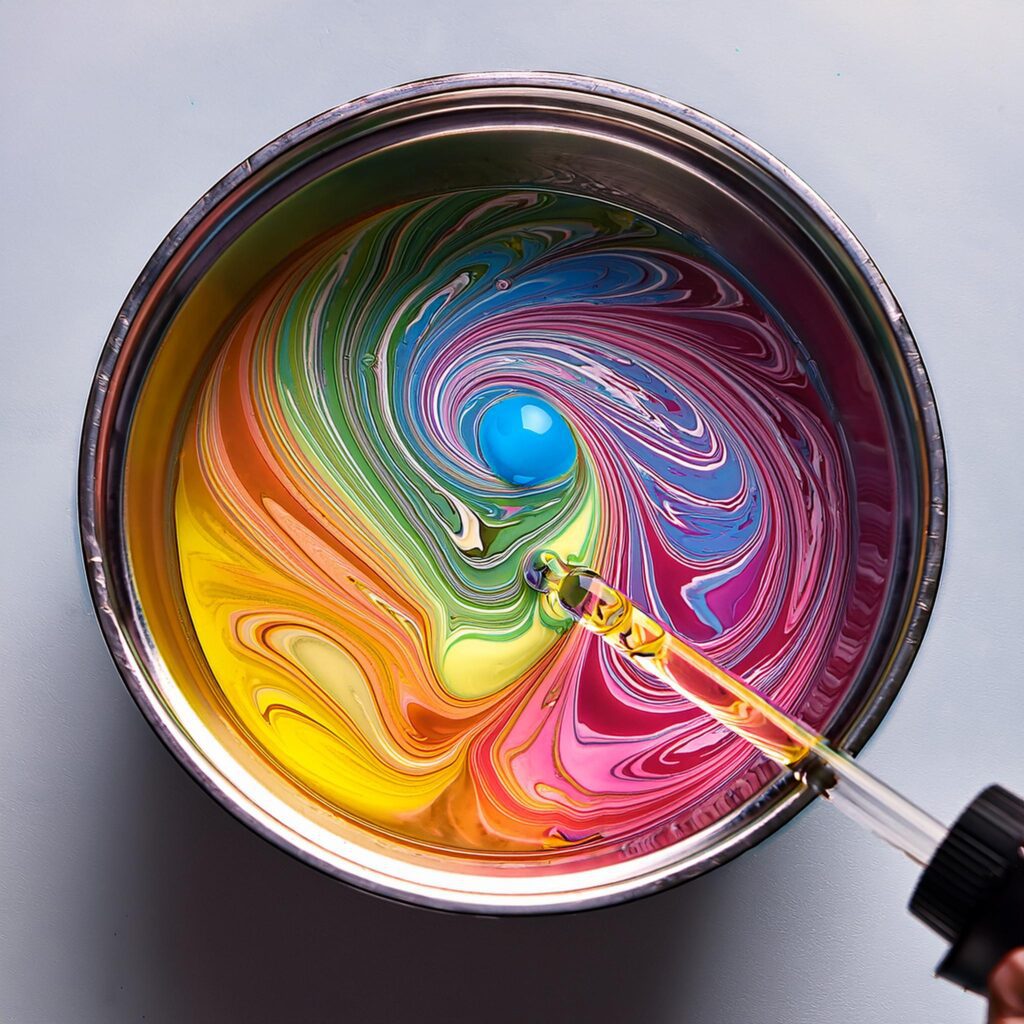
- Add dye chips or liquid dye for your desired color. Stir thoroughly.
- Mix in fragrance oils at the recommended ratio (about 1 ounce per pound of wax).
Pouring the Wax into Jars
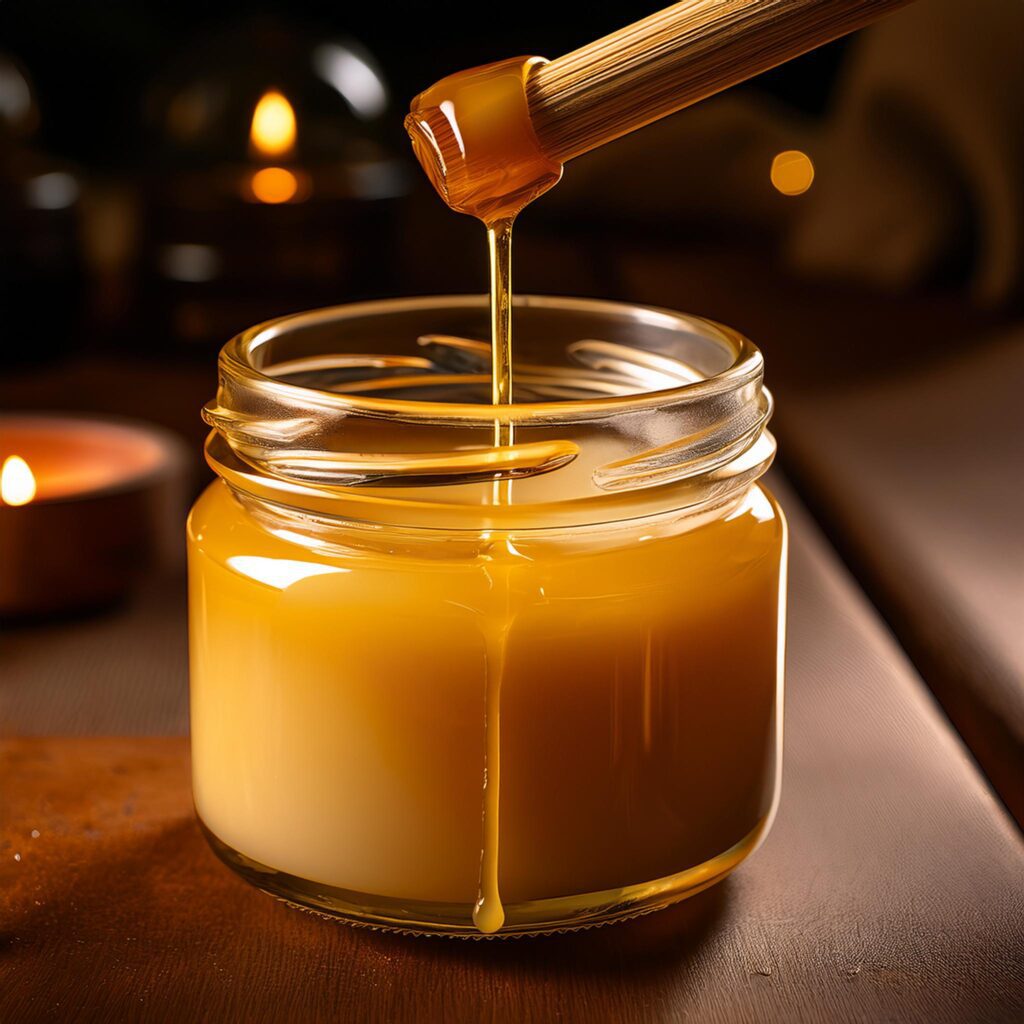
- Attach the wick to the bottom of the jar using a glue dot or sticker.
- Place a wick holder or wooden stick across the top to keep the wick centered.
- Slowly pour the melted wax into the jar, leaving about ½ inch of space at the top.
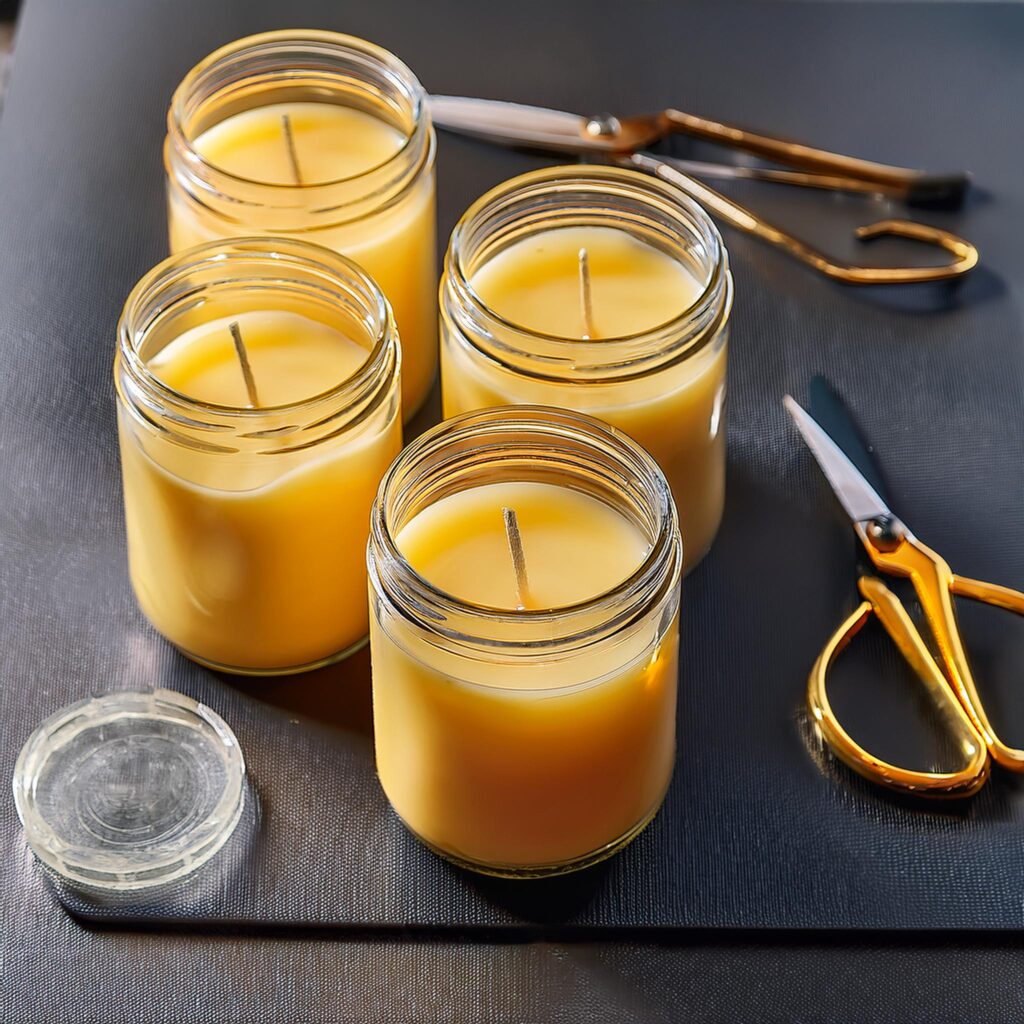
Setting and Trimming the Wicks
- Allow the wax to cool and solidify completely (about 24 hours).
- Trim the wick to about ¼ inch for a clean burn.
6. Decorating Your Candle Jars
- Use ribbons, twine, or lace to decorate the jar exterior.
- Label with custom tags or stickers, indicating the scent or name.
- Paint or etch designs on the jar for a personalized touch.
7. Safety Tips for Candle Making
- Always monitor melting wax to avoid overheating.
- Use heat-resistant containers to prevent breakage.
- Work in a well-ventilated area when using fragrance oils.
- Keep children and pets away from the workspace.
8. Creative Ideas for Candle Jars
- Layered Colors: Pour wax in layers for a striped effect.
- Herb-Infused Candles: Add dried lavender, rosemary, or other herbs.
- Holiday Themes: Use seasonal colors and scents like cinnamon for winter or citrus for summer.
- Floating Candles: Use small jars with water for unique floating effects.
9. Benefits of Homemade Candle Jars
- Eco-Friendly: Recycle jars and use natural ingredients.
- Therapeutic: Candle-making can be a relaxing, creative outlet.
- Gift-Worthy: Perfect for birthdays, weddings, or housewarmings.
- Long-Lasting: High-quality ingredients make for slow-burning, fragrant candles.
10. FAQs
Q1: Can I reuse old jars?
Yes, as long as they’re clean and heat-resistant.
Q2: How much fragrance oil should I use?
Typically, 1 ounce of fragrance oil per pound of wax works well.
Q3: What’s the best wax for beginners?
Soy wax is beginner-friendly and eco-conscious.
Q4: Can I use food coloring for candles?
No, use candle-specific dyes to avoid clogging the wick.
Q5: How long do homemade candles last?
Properly made candles can last for months when stored in a cool, dry place.
11. Conclusion
Crafting your own candle jars is a rewarding project that combines creativity with functionality. Whether you’re looking to brighten your home, create meaningful gifts, or explore a new hobby, this tutorial gives you all the tools you need to succeed.
So, gather your materials, choose your favorite scents, and start creating candles that are uniquely yours. Your cozy, fragrant masterpiece awaits!