Introduction
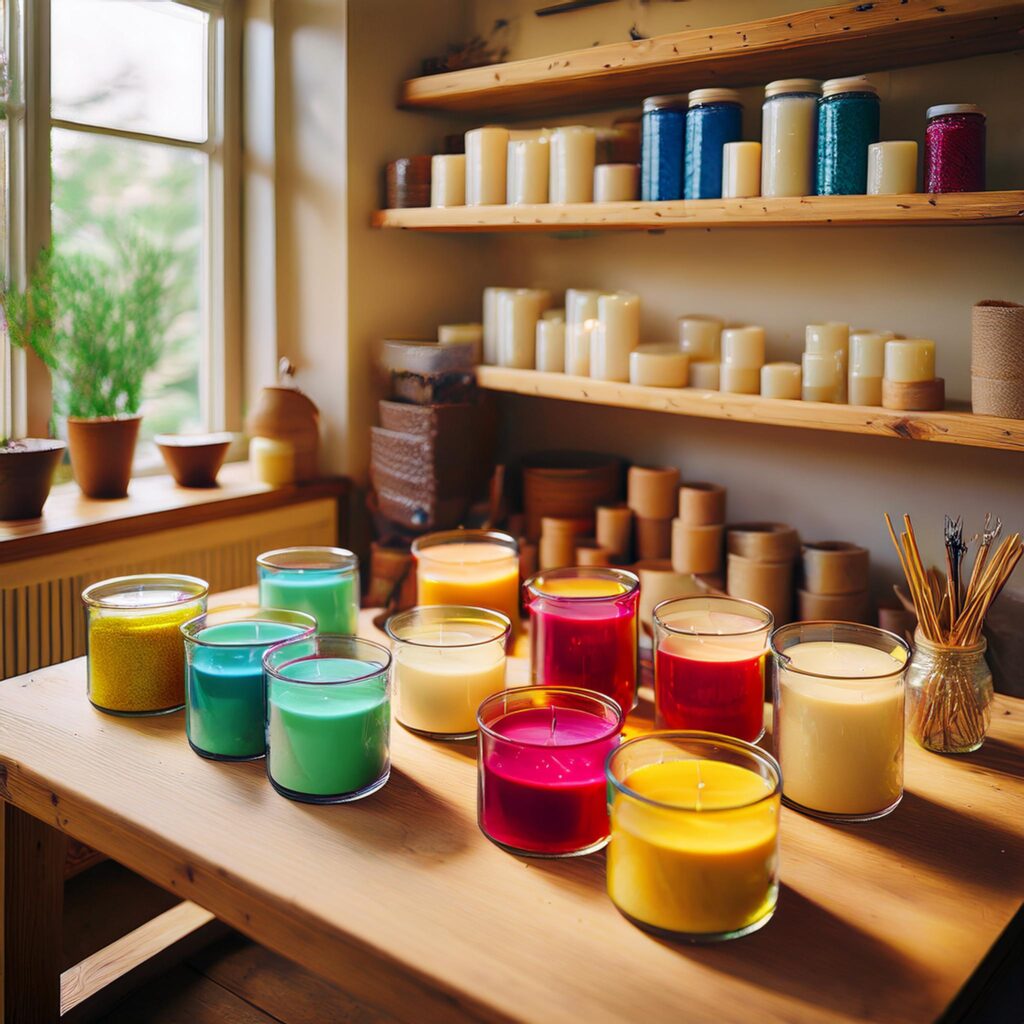
Are you looking to add a personal touch to your home decor or create unique gifts for your loved ones? Custom candles are the perfect solution! Whether you’re a beginner or an experienced DIY enthusiast, this easy-to-follow guide will show you how to make custom candles at home. From choosing the right wax to adding fragrances and colors, you’ll be able to craft your own stunning candles that reflect your style.
Table of Contents
- Materials You Need to Make Custom Candles
- Step 1: Prepare Your Workspace
- Step 2: Melt the Wax
- Step 3: Add Color and Fragrance
- Step 4: Pour the Wax into Molds
- Step 5: Let the Candle Cool and Set
- Step 6: Personalize Your Candle with Decorative Elements
- FAQs About DIY Custom Candles
- Conclusion: Crafting Your Perfect Custom Candles
1. Materials You Need to Make Custom Candles
Before you begin making your custom candles, make sure you have all the necessary materials:
- Wax: Soy wax, beeswax, or paraffin wax are popular choices. Soy wax is the easiest for beginners and burns cleanly.
- Wicks: Choose cotton or wood wicks, depending on the type of candle you prefer.
- Essential Oils: For fragrance. Choose your favorite scents, such as lavender, vanilla, or citrus.
- Candle Dye: If you want to add color, opt for candle-specific dyes.
- Molds: Silicone molds work best for shaping candles.
- Thermometer: To monitor the temperature of the wax.
- Pouring Pitcher: To safely pour the melted wax.

2. Step 1: Prepare Your Workspace
Before you start creating your custom candles, it’s essential to prepare a clean and safe workspace. Lay down newspapers or old towels to protect surfaces from spills. Ensure you have enough ventilation, especially if you’re using scented oils.
Pro Tip: Wear protective gloves and use old kitchen tools for candle making.
3. Step 2: Melt the Wax
The first step in making your custom candles is melting the wax. Use a double boiler or a microwave-safe container for this process.
- Double Boiler Method: Place your wax in a heat-resistant container and set it in a pot of simmering water. Stir occasionally until the wax has fully melted.
- Microwave Method: Heat the wax in a microwave-safe bowl in 30-second intervals, stirring each time, until the wax is fully melted.
Monitor the temperature using a thermometer. For soy wax, it should reach around 170-180°F (77-82°C).
4. Step 3: Add Color and Fragrance
Now that your wax is melted, it’s time to make your candle unique!
- Color: Add a few drops of candle dye to your melted wax and stir well. Adjust the amount based on how vibrant you want the color to be.
- Fragrance: Add your favorite essential oils to the wax. Typically, 1 ounce of fragrance per pound of wax works well, but you can adjust according to your preference.
Remember, the fragrance will dissipate a little as the candle sets, so it’s okay to be generous.
5. Step 4: Pour the Wax into Molds
Once your wax is mixed with color and fragrance, it’s time to pour it into molds.
- Secure the wick at the center of the mold using a wick holder or by dipping it in a small amount of melted wax.
- Pour the melted wax slowly into the mold, ensuring that the wick remains centered. Leave about half an inch from the top to avoid spills.
- Let the wax settle and form a smooth top.
Pro Tip: If you’re using multiple molds, keep an eye on the wax temperature to prevent it from cooling too quickly.
6. Step 5: Let the Candle Cool and Set
Allow your custom candles to cool and harden for several hours or overnight. If you notice any sinkholes or cracks as the wax hardens, simply reheat and pour a small amount of wax to smooth the surface.
7. Step 6: Personalize Your Candle with Decorative Elements
Once your candles have set, it’s time to add the final touches. Personalize your candles by:
- Decorative Additions: Add dried flowers, glitter, or even small gemstones to the candle surface for an extra flair.
- Labeling: You can add custom labels for a personal touch or as a gift.
If you plan to give these as gifts, consider wrapping them in decorative paper or a clear gift bag with a ribbon.
8. FAQs About DIY Custom Candles
Q1: How long do homemade candles last?
Homemade candles last about 20-50 hours, depending on the size and type of wax used.
Q2: Can I use any wax for making candles?
Soy wax, beeswax, and paraffin wax are the most common options. Soy wax is highly recommended for beginners due to its ease of use and eco-friendliness.
Q3: How can I fix cracks in my candles?
If cracks form while cooling, you can heat up a small amount of wax and pour it over the surface to fill in the gaps.
9. Conclusion:
Crafting Your Perfect Custom Candles
Making custom candles at home is a fun and creative way to add a personal touch to your home or give meaningful gifts to others. Whether you’re experimenting with colors, fragrances, or decorative elements, the possibilities are endless. By following this simple DIY guide, you’ll be able to create beautiful custom candles that will impress your friends, family, or guests. Start crafting today and enjoy the warm, inviting glow of your handmade candles!