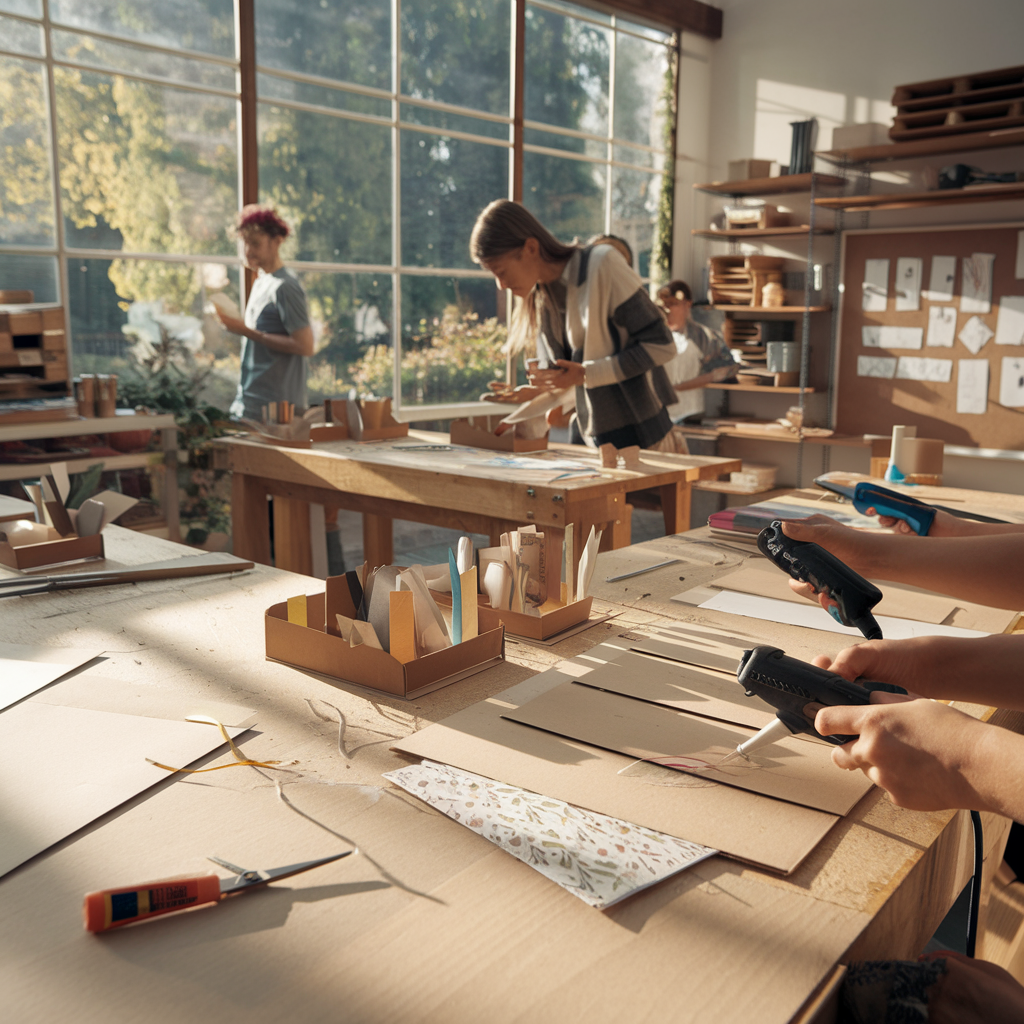
Introduction:
A clutter-free desk is the key to a productive and organized workspace. If you’re looking to keep your office or study space tidy while adding a touch of creativity, this DIY Desk Organizer tutorial is just what you need. Whether you’re a student, a professional, or just someone who loves a well-arranged workspace, this easy-to-follow guide will help you create a custom desk organizer that suits your style and needs.
In this tutorial, we will walk you through the steps to create a practical and stylish desk organizer using simple, budget-friendly materials. This project is perfect for anyone looking to reduce desk clutter and improve their productivity.
Table of Contents:
- Why You Need a Desk Organizer
- Materials You’ll Need for the DIY Desk Organizer
- Step-by-Step Guide to Building Your Desk Organizer
- Step 1: Preparing Your Materials
- Step 2: Assembling the Base
- Step 3: Adding Compartments
- Step 4: Personalizing Your Organizer
- Tips for Organizing Your Desk Efficiently
- Conclusion
1. Why You Need a Desk Organizer
Before jumping into the DIY process, let’s talk about why having a desk organizer is essential for both your productivity and mental clarity. A desk organizer:
- Reduces Clutter: Keeps pens, papers, and other accessories in one place.
- Boosts Productivity: With everything in its place, you’ll spend less time searching for supplies.
- Enhances Focus: A tidy desk leads to a clearer mind, allowing for better concentration.
- Customizable Design: A DIY project gives you complete control over the design to fit your specific needs.

2. Materials You’ll Need for the DIY Desk Organizer
To get started, gather the following materials. Most of these can be found at your local craft store or online:
- Cardboard (or wooden pieces if you prefer a sturdier design)
- Scissors or a box cutter
- Ruler
- Hot glue gun or glue sticks
- Decorative paper or fabric (optional, for customization)
- Marker or pencil for measurement
- Utility knife (for cutting sharp edges)
- Small boxes (or containers) for compartments (optional)
3. Step-by-Step Guide to Building Your Desk Organizer
Step 1: Preparing Your Materials
Start by cutting your cardboard into the desired dimensions. For a simple design, consider creating a base piece that’s about 12 inches by 6 inches. If you’re working with wood, make sure the pieces are lightweight but sturdy enough to hold pens, notebooks, and other desk items.
Step 2: Assembling the Base
Now, take your base piece and lay it flat on your work surface. If you’re creating separate compartments, measure and cut strips of cardboard to form dividers. Attach the dividers to the base using hot glue or craft adhesive. Make sure they are positioned securely to ensure the organizer holds your items.
Step 3: Adding Compartments
Depending on how much you want to store, you can add multiple compartments. Use smaller boxes or containers for organizing items like pens, paperclips, and sticky notes. For larger items, like notebooks or folders, add taller sections to your organizer.
Tip: Use different-sized compartments to create a versatile design. It can be as simple or complex as you want!
Step 4: Personalizing Your Organizer
Once the structure is complete, you can personalize the organizer. Cover the cardboard with decorative paper or fabric to match your office or study decor. You can also add a coat of paint if you’re using wooden materials. Be creative with your designs — you could even add small decorative items, like faux plants or inspirational quotes, to make it uniquely yours.
4. Tips for Organizing Your Desk Efficiently
Now that you’ve made your DIY desk organizer, it’s time to optimize its functionality. Here are some additional tips to keep your desk organized:
- Categorize Items: Group similar items together (pens, papers, sticky notes, etc.) to save time finding them.
- Go Vertical: Use vertical space to store taller items or stackable bins.
- Declutter Regularly: Periodically clear your desk to ensure only the essentials remain.
- Label Your Compartments: Use labels or small tags to identify what goes where.
5. Conclusion
Building a DIY desk organizer is a fun, rewarding project that not only improves the appearance of your workspace but also increases your productivity. By following this simple guide, you can create a personalized organizer that fits your unique needs and style. Whether you’re working from home, studying, or just need a better system for your desk, this project is sure to help you stay organized.