Introduction
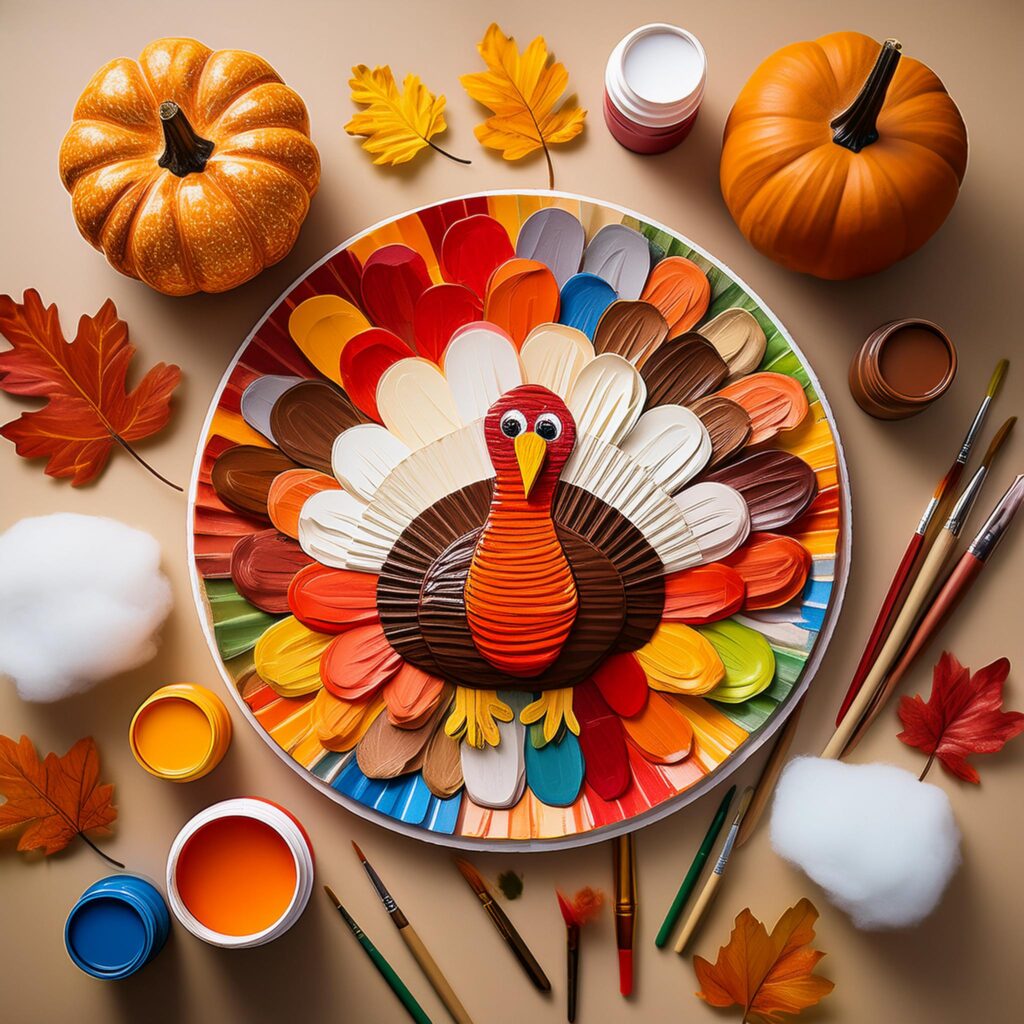
Thanksgiving is the perfect time to celebrate creativity and family bonding! If you’re searching for the ideal Thanksgiving craft for family fun, the Cotton Ball Painted Paper Plate Thanksgiving Turkey Craft is a fantastic choice. It’s easy, engaging, and festive—perfect for kids of all ages. With minimal supplies and maximum fun, this activity is a great way to create Thanksgiving-themed decorations for your home or classroom.
In this guide, we’ll walk you through a step-by-step tutorial to craft your own colorful Thanksgiving turkey using common household items like cotton balls, paper plates, and paint. Let’s dive into this crafty adventure and bring your turkey to life!
Table of Contents
- Materials Needed
- Why Choose This Craft?
- Preparation Before Crafting
- Step-by-Step Instructions
- Painting the Paper Plate
- Designing the Turkey Feathers
- Creating the Turkey’s Body
- Decorating Tips for Extra Creativity
- Benefits of Cotton Ball Crafts for Kids
- Common Mistakes to Avoid
- Displaying Your Turkey Craft
- Cleaning Up After the Craft
- FAQs
- Conclusion
1. Materials Needed
Before starting, gather the following supplies:
- Paper plates (one per turkey)
- Cotton balls
- Washable paints (red, orange, yellow, brown, black, and white)
- Paintbrushes
- Glue stick or hot glue (adult supervision recommended)
- Googly eyes (optional but fun!)
- Colored construction paper (for beak and wattle)
- Scissors
- Old newspapers or a crafting mat (to protect your workspace)
2. Why Choose This Craft?
This cotton ball turkey craft is:
- Kid-friendly: Easy for toddlers and elementary-age children.
- Budget-friendly: Requires inexpensive, everyday items.
- Festive: Adds a homemade touch to Thanksgiving decorations.
- Educational: Encourages fine motor skills, creativity, and holiday spirit.

3. Preparation Before Crafting
- Set Up the Workspace: Lay down newspapers or a crafting mat to prevent messes.
- Prepare the Paint: Pour small amounts of each paint color into separate containers.
- Pre-cut Paper Shapes: If crafting with young children, pre-cut the turkey’s beak and wattle from construction paper.
- Organize Supplies: Keep all materials within easy reach to streamline the process.
4. Step-by-Step Instructions
Painting the Paper Plate
- Base Coat: Take a paper plate and coat it with a layer of brown paint using a paintbrush or sponge.
- Texture with Cotton Balls: Dip cotton balls into different paint colors and gently dab them around the plate’s edge to create a feather-like effect. Alternate colors for a vibrant look.
- Let the paint dry for 10–15 minutes.
Designing the Turkey Feathers
- While the plate dries, prepare extra cotton balls. Dip them in red, orange, and yellow paint to resemble turkey feathers.
- Arrange and glue the painted cotton balls around the top edge of the paper plate to form a fan-like pattern.
Creating the Turkey’s Body
- Cut out a small oval from construction paper for the turkey’s body and glue it onto the center of the plate.
- Add the beak (a yellow triangle) and the wattle (a red squiggly shape) below the beak.
- Attach googly eyes or draw eyes directly on the paper for a whimsical touch.
5. Decorating Tips for Extra Creativity
- Use glitter glue to add sparkle to the feathers.
- Add small handprints (traced and cut from construction paper) as extra feathers.
- Write “Happy Thanksgiving!” on the back for a personalized touch.
6. Benefits of Cotton Ball Crafts for Kids
- Improves fine motor skills through painting and gluing.
- Encourages color recognition and creativity.
- Teaches patience and sequencing skills through the step-by-step process.
- Enhances holiday excitement and family bonding.
7. Common Mistakes to Avoid
- Overusing Glue: Apply glue sparingly to avoid a sticky mess.
- Skipping Drying Time: Let each layer of paint dry before adding the next.
- Uneven Feathers: Space out cotton balls evenly for a balanced look.
8. Displaying Your Turkey Craft
Show off your turkey creation by:
- Hanging it on the refrigerator.
- Using it as a centerpiece for your Thanksgiving table.
- Creating a “Thanksgiving Wall” with multiple turkey crafts from family members.
9. Cleaning Up After the Craft
- Gather leftover cotton balls and paint for future crafts.
- Wipe down the workspace with a damp cloth.
- Wash paintbrushes immediately to prevent drying.
10. FAQs
Q1: Can I use markers instead of paint?
Yes, markers are a mess-free alternative, though they may not provide the same vibrant texture as paint.
Q2: Is this craft suitable for toddlers?
Absolutely! However, adult supervision is recommended for cutting and gluing.
Q3: What can I use instead of cotton balls?
You can substitute pom-poms, tissue paper, or even hand-cut paper feathers.
Q4: How long does the craft take?
On average, it takes about 30–45 minutes, including drying time.
Q5: Can I make this craft eco-friendly?
Use biodegradable paper plates and natural cotton or repurpose materials like scrap paper.
Q6: How can I store the turkey craft?
Place it in a large zip-lock bag or box to keep it clean and safe for future displays.
Conclusion
The Cotton Ball Painted Paper Plate Thanksgiving Turkey Craft is a delightful way to celebrate Thanksgiving while fostering creativity and togetherness. It’s easy to make, budget-friendly, and doubles as a charming decoration. Whether you’re a parent, teacher, or crafting enthusiast, this turkey craft will add joy and color to your Thanksgiving festivities.
So grab your cotton balls and paint, and let the crafting fun begin!