Table of Contents
- Introduction
- Benefits of Making Paper Plate Animals
- Materials Needed
- Step-by-Step Guide to Creating Paper Plate Animals
- 4.1. Paper Plate Lion
- 4.2. Paper Plate Fish
- 4.3. Paper Plate Butterfly
- Tips for Perfect Paper Plate Animals
- Conclusion
- FAQs
Introduction
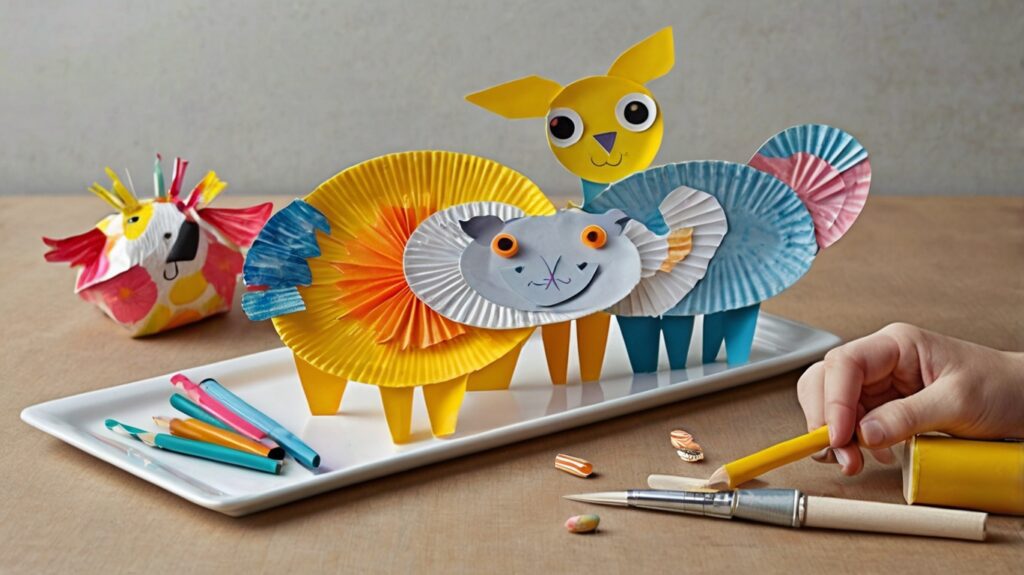
Looking for a fun, budget-friendly craft activity for kids? Easy Paper Plate Animals are the perfect solution! These simple yet creative projects help children develop fine motor skills, boost creativity, and provide hours of entertainment. Whether at home or in the classroom, paper plate animals are an excellent way to engage young minds.
In this guide, we’ll explore different animal designs, required materials, and step-by-step instructions to help you and your kids create adorable paper plate creatures.

Benefits of Making Paper Plate Animals
- Enhances Creativity – Kids can experiment with colors, shapes, and textures.
- Improves Motor Skills – Cutting, gluing, and painting refine hand-eye coordination.
- Budget-Friendly Craft – Uses inexpensive materials like paper plates, paint, and glue.
- Educational Value – Teaches kids about different animals while having fun.
Materials Needed
To get started, gather these basic supplies:
- Paper plates (white or colored)
- Acrylic or tempera paints
- Paintbrushes
- Scissors (child-safe)
- Glue or glue sticks
- Markers or crayons
- Googly eyes
- Colored paper or cardstock
- Pipe cleaners or yarn (optional for details)
Step-by-Step Guide to Creating Paper Plate Animals
4.1. Paper Plate Lion
Materials:
- 1 paper plate
- Yellow and brown paint
- Brown yarn or construction paper
- Googly eyes
Steps:
- Paint the paper plate yellow and let it dry.
- Cut strips of brown yarn or paper for the mane.
- Glue the strips around the edge of the plate.
- Attach googly eyes and draw a nose and mouth.
4.2. Paper Plate Fish
Materials:
- 1 paper plate
- Blue and green paint
- Colored paper (for fins)
- Googly eyes
Steps:
- Cut a triangle from the plate to form the mouth (this becomes the tail).
- Paint the plate in vibrant colors.
- Glue the triangle on the opposite side as the tail.
- Add fins using colored paper and attach googly eyes.
4.3. Paper Plate Butterfly
Materials:
- 1 paper plate
- Assorted paints
- Pipe cleaners (for antennae)
- Glitter or stickers (optional)
Steps:
- Fold the plate in half and cut it into a butterfly shape.
- Paint both sides with bright colors and let dry.
- Twist pipe cleaners for antennae and glue them on.
- Decorate with glitter or stickers for extra sparkle.
Tips for Perfect Paper Plate Animals
- Use non-toxic materials for safety.
- Let kids personalize their animals with unique designs.
- Supervise younger children when using scissors.
- Experiment with textures like cotton balls for fur or foil for scales.
Conclusion
Creating Easy Paper Plate Animals is a fantastic way to spark creativity in children while keeping them engaged. With simple materials and endless possibilities, these crafts are perfect for rainy days, parties, or classroom activities. Try different animal designs and watch your kids’ imaginations soar!
FAQs
1. What age group is best for paper plate animal crafts?
These crafts are ideal for kids aged 3-10, but older children can also enjoy more complex designs.
2. Can I use recycled materials for these crafts?
Absolutely! Old magazines, fabric scraps, and cardboard can add unique textures.
3. How can I make the crafts more durable?
Laminate the finished animals or use thicker plates for longer-lasting creations.
4. Are these crafts suitable for group activities?
Yes, they’re perfect for birthday parties, school projects, and daycare activities.
5. Where can I find more paper plate animal ideas?
Check out craft blogs, Pinterest, or children’s activity books for inspiration.