1- Introduction
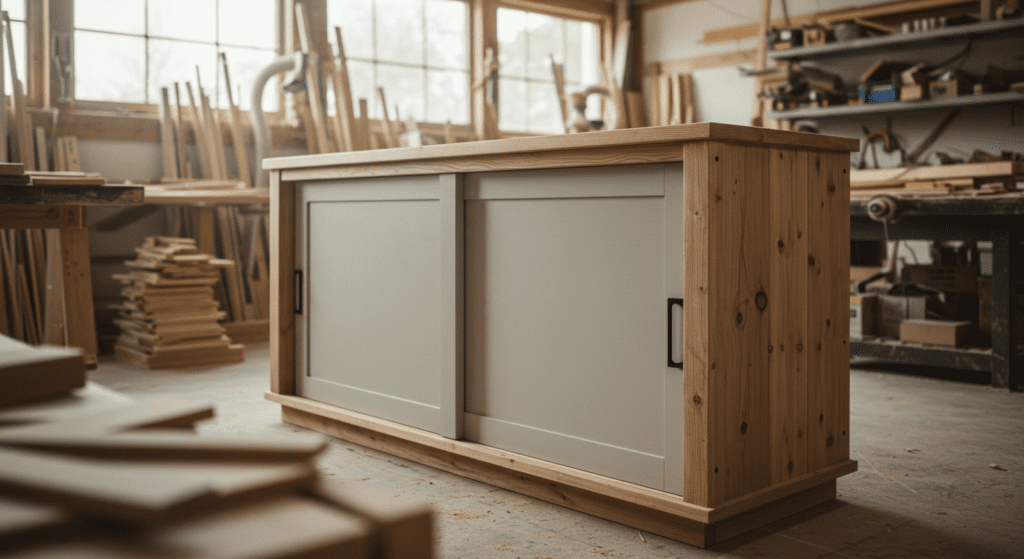
Transform your space with a sleek and functional sliding door dresser chest! This modern furniture piece not only provides ample storage but also adds a touch of elegance to any room. Building your own sliding door dresser chest allows you to customize the design to perfectly fit your needs and style. In this detailed guide, we’ll walk you through every step of creating a beautiful and practical sliding door dresser chest.

2- Content
Materials Needed
- Wood: Plywood or solid wood (depending on your preference and budget)
- Sliding Door Hardware: Tracks and rollers
- Drawer Slides: For the drawers
- Screws and Nails
- Wood Glue
- Sandpaper
- Paint or Stain
- Paintbrushes or Rollers
- Saw: Circular saw or jigsaw
- Drill
- Tape Measure
- Clamps
Step-by-Step Guide
Step 1: Plan Your Design
Before you start building, sketch out your design. Decide on the dimensions, the number of drawers, and the style of the sliding doors. This will help you determine the amount of material you need.
Step 2: Cut the Wood
Using your saw, cut the wood pieces according to your design. You will need pieces for the top, bottom, sides, back, shelves, and doors.
Step 3: Assemble the Frame
- Attach the Sides to the Bottom: Apply wood glue to the edges of the bottom piece and attach the sides. Use clamps to hold them in place while the glue dries.
- Add the Back: Attach the back piece to the sides and bottom.
- Attach the Top: Glue and nail the top piece to the sides and back.
Step 4: Install the Drawers
- Build the Drawer Boxes: Cut the wood for the drawer boxes and assemble them using wood glue and nails.
- Install Drawer Slides: Attach the drawer slides to the inside of the dresser and to the drawer boxes.
Step 5: Install the Sliding Doors
- Attach the Tracks: Install the sliding door tracks to the top and bottom of the dresser frame.
- Mount the Doors: Attach the rollers to the doors and mount them onto the tracks. Ensure the doors slide smoothly.
Step 6: Finish the Dresser
- Sand the Surfaces: Use sandpaper to smooth out any rough edges or surfaces.
- Paint or Stain: Apply your chosen paint or stain to the dresser. Allow it to dry completely.
- Add Hardware: Install any additional hardware, such as handles or knobs, to the drawers and doors.
3- Conclusion
Creating a sliding door dresser chest is a rewarding DIY project that can significantly enhance the functionality and aesthetics of your space. By following these steps, you can craft a custom piece of furniture that meets your specific needs and style preferences. Whether you opt for a modern or traditional design, the end result will be a unique and practical addition to your home.
4- FAQ
What type of wood is best for a dresser chest?
The type of wood you choose depends on your budget and the look you want to achieve. Plywood is a cost-effective option, while solid woods like oak, maple, or cherry offer durability and a more luxurious appearance.
Can I use a different type of sliding door hardware?
Yes, there are various types of sliding door hardware available, including barn door hardware and pocket door hardware. Choose the one that best fits your design and budget.
How do I ensure the doors slide smoothly?
To ensure smooth sliding, make sure the tracks are level and the rollers are properly aligned. Regularly clean the tracks to remove any debris that could hinder movement.
Can I add additional shelves or compartments?
Absolutely! You can customize the interior of your dresser chest by adding extra shelves, dividers, or compartments to suit your storage needs.
What if I don’t have the necessary tools?
If you don’t have all the tools required, consider borrowing from friends or family, or renting from a local hardware store. Alternatively, you can hire a professional to assist with the more complex steps.
By following this guide, you’ll be well on your way to creating a beautiful and functional sliding door dresser chest that you can be proud of. Happy building!