Table of Contents
- Introduction
- Materials Needed
- Step-by-Step Instructions
- Step 1: Start With a Square
- Step 2: Fold in Half Diagonally
- Step 3: Fold in Half Again
- Step 4: Fold One Third
- Step 5: Fold the Left Third Over
- Step 6: Cut the Top at an Angle
- Step 7: Shape Your Snowflake
- Step 8: Unfold to Reveal
- Tips for Perfect Snowflakes
- Decorating with Snowflakes
- Analyzing and Replicating Real Snowflakes
- Conclusion
- FAQs
Introduction
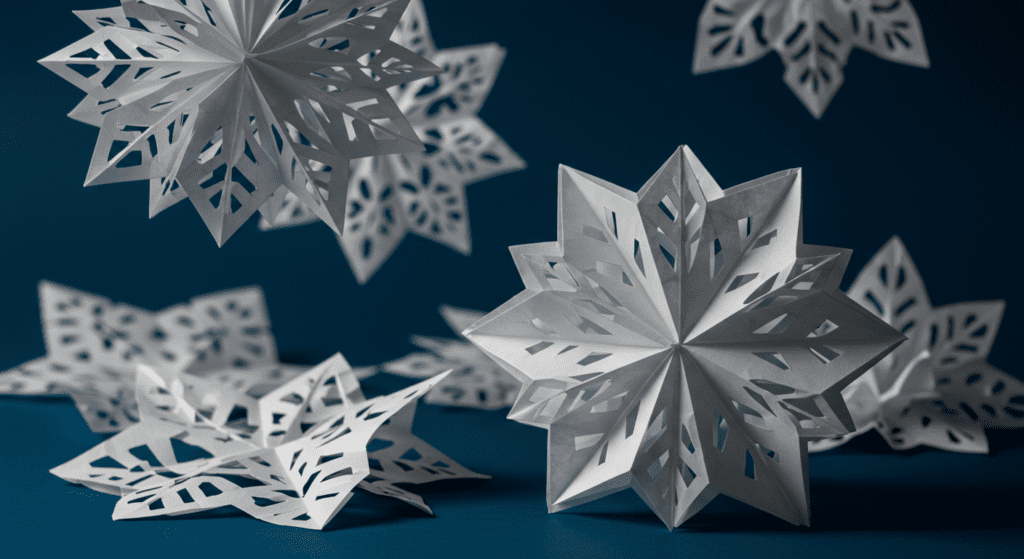
Creating 6-pointed paper snowflakes is a fun and creative way to celebrate the winter season. Unlike the common 4 or 8-pointed snowflakes, 6-pointed snowflakes mimic the natural symmetry of real snowflakes found in nature. This guide will walk you through the process of making your own beautiful snowflakes using simple materials like paper and scissors. Whether you’re a beginner or an experienced crafter, this tutorial will help you create stunning snowflakes to decorate your home or gifts.

Materials Needed
- Square sheets of paper (white copy paper works well)
- Sharp scissors
- Optional: Protractor (for precise folding), tracing paper, or an X-acto knife for intricate designs
Step-by-Step Instructions
Step 1: Start With a Square
Begin with a square piece of paper. If you’re using standard 8.5” x 11” paper, fold one corner diagonally to form a triangle and trim off the excess to create a perfect square.
Step 2: Fold in Half Diagonally
Fold the square diagonally to form a triangle. Ensure the edges align perfectly for a symmetrical snowflake.
Step 3: Fold in Half Again
Take the triangle and fold it in half once more to create a smaller triangle. This step is crucial for achieving the six-pointed design.
Step 4: Fold One Third
Imagine dividing the triangle into three equal parts. Fold the right third over, ensuring the fold is as precise as possible. A protractor can help achieve a 30-degree angle for accuracy.
Step 5: Fold the Left Third Over
Fold the left third over the right fold, aligning the edges neatly. This step creates the foundation for the six-pointed structure.
Step 6: Cut the Top at an Angle
Flip the folded paper over and cut the top at an angle. This cut determines the sharpness of the snowflake’s points. Ensure all layers are even for a balanced design.
Step 7: Shape Your Snowflake
Use your scissors to cut shapes along the edges of the folded paper. Avoid cutting all the way through to prevent the snowflake from falling apart. Experiment with triangles, curves, and other shapes for unique designs.
Step 8: Unfold to Reveal
Carefully unfold the paper to reveal your 6-pointed snowflake. If the snowflake doesn’t lay flat, place it between the pages of a book or iron it gently (without steam) for a crisp finish.
Tips for Perfect Snowflakes
- Use sharp scissors for clean cuts.
- Practice folding into thirds for better symmetry.
- Avoid leaving large blank spaces; instead, add intricate cuts for a delicate look.
- Experiment with different angles and shapes to create unique designs.
Decorating with Snowflakes
- Tape snowflakes to windows for a festive display.
- Hang them from the ceiling using fishing line or invisible thread.
- Use smaller snowflakes as gift toppers or decorations for cards.
Analyzing and Replicating Real Snowflakes
To replicate a real snowflake, visualize the folded paper as one slice of a 12-part pie. Focus on the shapes and patterns in that slice to guide your cuts. While exact replication is challenging, you can mimic the overall design by paying attention to the spacing and symmetry.
Conclusion
Making 6-pointed paper snowflakes is a delightful craft that combines creativity and precision. By following these steps, you can create stunning snowflakes that capture the beauty of nature. Whether you’re decorating your home or making handmade gifts, these snowflakes are sure to impress.
FAQs
Q: Can I use colored paper for snowflakes?
A: Yes, colored paper can add a vibrant touch to your snowflakes. However, white paper often provides a classic, elegant look.
Q: How do I make my snowflakes more intricate?
A: Use sharp scissors or an X-acto knife for finer details. Tracing paper can also help achieve delicate designs.
Q: Why does my snowflake look uneven?
A: Uneven folds or cuts can affect symmetry. Practice folding into precise thirds and make small, deliberate cuts.
Q: Can I laminate my snowflakes for durability?
A: Yes, laminating can preserve your snowflakes and make them reusable for future decorations.