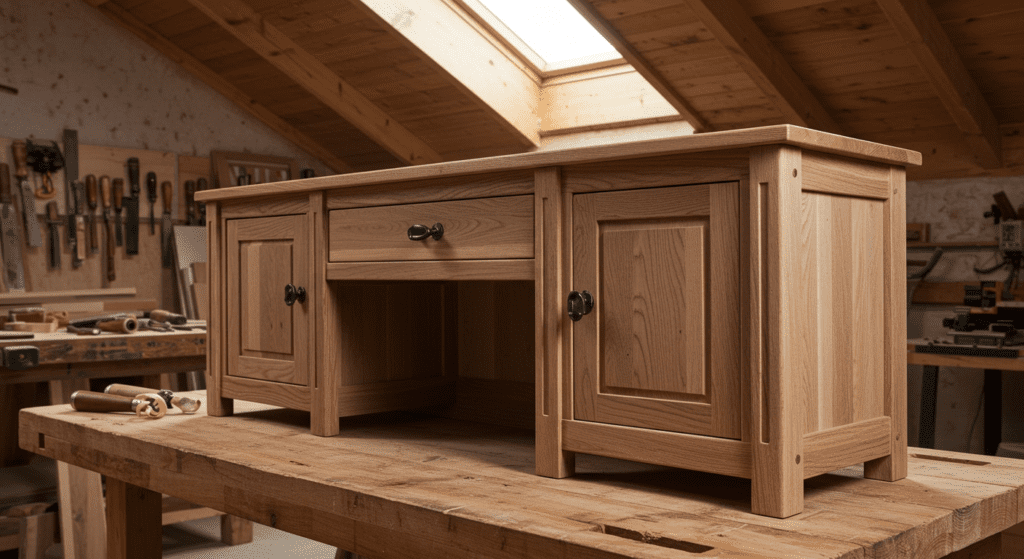
Creating a rustic wood vanity can transform your bathroom into a warm, inviting space while adding unique character. This guide will walk you through the process of building your own custom vanity using readily available materials and basic woodworking skills.
Introduction
A rustic wood vanity combines functionality with natural beauty, bringing the warmth of wood and a touch of countryside charm to your bathroom. Whether you’re looking to upgrade your existing vanity or start from scratch, this project allows you to customize dimensions, wood choice, and finish to match your specific needs and style preferences.

Materials and Tools Needed Primary Materials:
- Solid wood boards (pine, oak, or reclaimed wood)
- Waterproof wood sealant or polyurethane
- Wood stain (optional)
- Cabinet-grade plywood for drawer boxes
- Drawer slides
- Cabinet hinges
- Door and drawer pulls
- Wood glue
- Screws and nails
- Bathroom sink
- Plumbing fixtures
Essential Tools:
- Table saw or circular saw
- Drill and drill bits
- Measuring tape
- Level
- Pencil
- Sandpaper (various grits)
- Wood clamps
- Safety equipment (goggles, gloves, dust mask)
Step-by-Step Construction Process
- Planning and Preparation
- Measure your space carefully
- Create a detailed sketch with dimensions
- Cut all wood pieces to size
- Sand all pieces thoroughly
- Building the Frame
- Construct the base frame using 2x4s
- Add support beams for stability
- Ensure the frame is level and square
- Attach legs or base supports
- Creating the Cabinet Box
- Assemble the sides, bottom, and back using plywood
- Install support blocks for the countertop
- Add interior supports for drawers
- Create dividers for storage sections
- Making Drawers and Doors
- Build drawer boxes using dovetail joints if possible
- Install drawer slides
- Create cabinet doors from solid wood
- Attach hinges and test functionality
- Installing the Countertop
- Cut hole for sink installation
- Sand edges smooth
- Apply multiple coats of waterproof sealant
- Allow proper drying time between coats
- Finishing Touches
- Install drawer pulls and door handles
- Apply final coat of sealant
- Install sink and plumbing fixtures
- Add any decorative elements
Conclusion
Building a rustic wood vanity requires patience and attention to detail, but the result is a unique, functional piece that adds character to your bathroom. Take your time with each step, particularly with sealing and waterproofing, as these elements are crucial for longevity in a bathroom environment.
FAQ:
Q: How long does it take to build a rustic wood vanity? A: For an experienced DIYer, expect 2-3 days of work. Beginners might need 4-5 days, not including drying time for finishes.
Q: What type of wood is best for bathroom vanities? A: Hardwoods like oak, maple, or cedar are excellent choices due to their durability and moisture resistance. Pine can work if properly sealed.
Q: How do I protect the wood from moisture? A: Apply multiple coats of marine-grade polyurethane or waterproof sealant. Pay special attention to edges and joints.
Q: Can I use reclaimed wood? A: Yes, reclaimed wood can add authentic rustic character. Ensure it’s thoroughly cleaned, treated for pests, and properly sealed.
Q: How much does it cost to build versus buy? A: Building yourself typically costs 40-60% less than buying pre-made, depending on material choices and complexity.
Q: What’s the recommended height for a bathroom vanity? A: Standard vanity height is 32-36 inches, but you can customize based on your needs and preferences.
Remember, while this project requires some woodworking skills, the result is a unique piece that adds both functionality and rustic charm to your bathroom space.