Table of Contents
- Introduction
- Materials Needed
- Step-by-Step Instructions
- Conclusion
- FAQs
Introduction
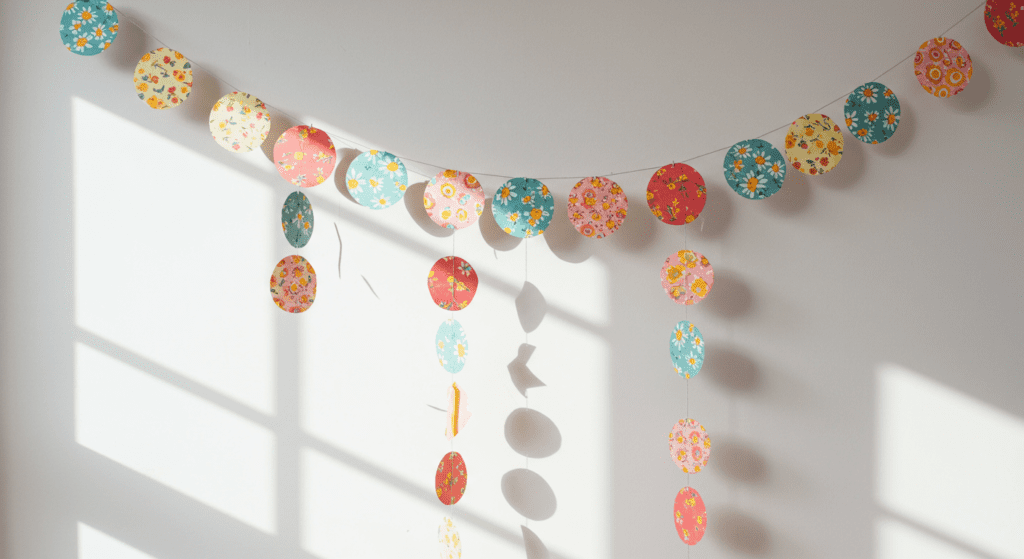
Spring is the perfect time to bring a touch of nature and color into your home. One of the easiest and most creative ways to do this is by making a Springtime Paper Garland. This DIY project is not only fun but also a great way to decorate your living space with vibrant flowers, leaves, and butterflies. Whether you’re crafting with kids or looking for a relaxing activity, this garland will add a cheerful spring vibe to any room.

Materials Needed
To create your Springtime Paper Garland, gather the following materials:
- Colored paper (assorted shades)
- Scissors
- Glue or glue stick
- String or ribbon (preferably in a neutral color)
Step-by-Step Instructions
Step 1: Cut Out Shapes
Start by cutting out various shapes from the colored paper. Focus on spring-themed designs such as:
- Flowers: Create different sizes and petal shapes for variety.
- Leaves: Cut out simple leaf shapes in green or other natural tones.
- Butterflies: Make butterfly shapes with symmetrical wings for a whimsical touch.
Step 2: Arrange the Shapes
Lay out the cut-out shapes on a flat surface. Arrange them in a pattern or randomly, depending on your preference. This step helps you visualize how the garland will look once assembled.
Step 3: Attach the Shapes to the String
Take your string or ribbon and carefully glue each shape onto it. Ensure there is enough space between the shapes to allow the garland to hang nicely. Press down gently to secure each piece in place.
Step 4: Let It Dry
Allow the glue to dry completely before handling the garland. This ensures that the shapes stay firmly attached to the string.
Step 5: Hang Your Garland
Once dry, hang your Springtime Paper Garland in your desired location. Ideal spots include windows, mantels, or walls. Enjoy the burst of color and springtime cheer it brings to your home!
Conclusion
Creating a Springtime Paper Garland is a simple yet rewarding DIY project that celebrates the beauty of spring. With just a few materials and a bit of creativity, you can transform your space into a vibrant, seasonal haven. This garland is not only a delightful decoration but also a fun activity for all ages.
FAQs
1. Can I use other shapes for the garland?
Absolutely! Feel free to incorporate other spring-themed shapes like birds, bees, or even raindrops to personalize your garland.
2. What type of paper works best?
Lightweight colored paper or construction paper is ideal. For a more durable garland, consider using cardstock.
3. How long should the string be?
The length of the string depends on where you plan to hang the garland. Measure the area beforehand and cut the string accordingly, leaving extra length for tying or hanging.
4. Can I reuse the garland next year?
Yes! Store the garland in a flat, dry place to prevent damage. You can also laminate the paper shapes for added durability.