1- Introduction
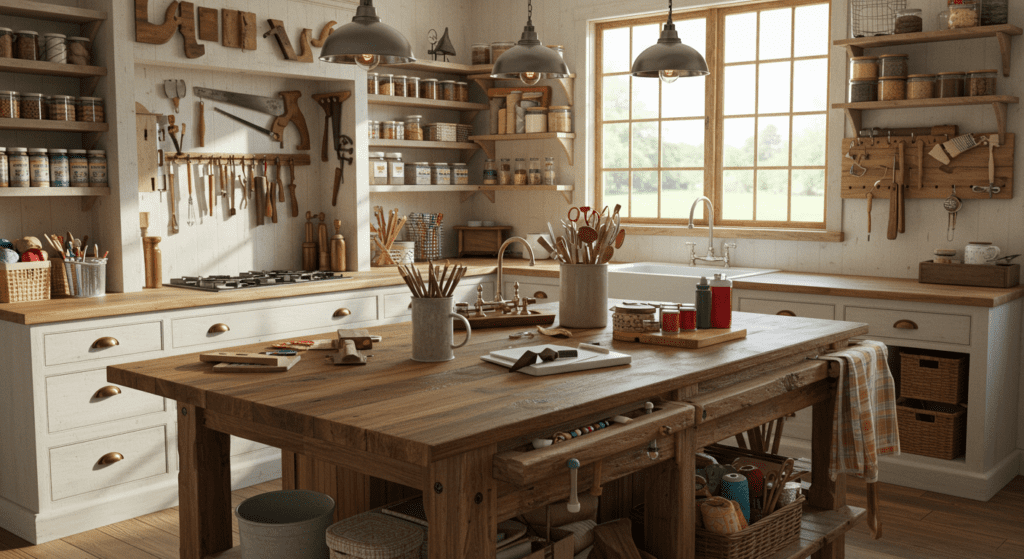
A farmhouse kitchen island is a perfect blend of charm and functionality, making it a popular choice for many homeowners. However, purchasing a ready-made island can be costly. A budget-friendly and creative solution is to repurpose an old table into a stunning farmhouse-style kitchen island. This DIY project not only saves money but also gives you the opportunity to personalize the design to fit your kitchen’s aesthetic and needs. In this article, we’ll guide you through the process of transforming a table into a farmhouse kitchen island, including a step-by-step tutorial and tips for success.

2- Why Repurpose a Table Into a Kitchen Island?
Repurposing a table into a kitchen island is a sustainable and budget-conscious way to upgrade your kitchen. Many tables, especially older ones, are made from high-quality wood and can be easily adapted to serve as a multipurpose island. Tables often provide the perfect height for food preparation, and with a few modifications, they can offer additional storage, seating, or countertop space. This project is ideal for anyone looking to add rustic charm or a touch of farmhouse style to their kitchen.
3- Step-by-Step Guide to Creating a Farmhouse Kitchen Island
Materials You’ll Need
Old Table: A sturdy wooden table is ideal for this project.
Paint or Stain: For refinishing the table.
Sandpaper: Use medium and fine grit for smoothing.
Paintbrushes or Rollers: For applying paint or stain.
Sealant: Polyurethane or a food-safe finish for durability.
Additional Wood (Optional): For shelves or extended surfaces.
Casters (Optional): To make the island mobile.
Hooks or Towel Bars (Optional): For added functionality.
Butcher Block (Optional): To replace or enhance the tabletop.
Step 1: Choose and Prepare the Table
Start by selecting a table that fits your kitchen space. Old dining tables, work tables, or even thrifted pieces work well. Make sure the table is sturdy and made of durable materials like solid wood. Once you’ve chosen your table, clean it thoroughly, and sand it down to remove any old finishes, scratches, or imperfections. Sanding also helps paint or stain adhere better.
Step 2: Refinish the Table
For a true farmhouse look, consider painting the base of the table in a light, neutral color like white, cream, or gray. Chalk paint is a popular choice for achieving a distressed, rustic finish. If you prefer a natural wood look, stain the tabletop with a rich, warm tone to contrast the painted base. Apply a sealant to protect the table from spills, scratches, and daily wear.
Step 3: Add Storage or Shelving
To make your kitchen island more functional, consider adding a lower shelf. Measure the space between the table legs and cut a wooden plank to fit. Secure the shelf to the legs using screws or brackets. You can also add baskets or crates for additional farmhouse style and storage. This is a great way to store kitchen essentials like pots, pans, or fresh produce.
Step 4: Install Casters (Optional)
For added flexibility, attach heavy-duty casters to the bottom of the table legs. This allows you to move the island around your kitchen as needed. Choose locking casters to keep the island stable when in use.
Step 5: Enhance Functionality
Customize your island by adding hooks or towel bars to the sides for hanging kitchen towels or utensils. If you have extra space, you can create an overhang on one side of the table by attaching a butcher block or a larger wooden plank. This creates a small breakfast bar or additional prep area.
Step 6: Finish and Decorate
Once all modifications are complete, give your island a final coat of sealant to protect the surfaces. Style your new farmhouse kitchen island with rustic decor like mason jars, wooden trays, or a vase of fresh flowers. Add bar stools if you plan to use it as a seating area.
4- Pros and Cons of DIY Farmhouse Kitchen Islands
Pros
Budget-Friendly: Repurposing a table is significantly cheaper than buying a new kitchen island.
Customizable: You can tailor the design, size, and functionality to suit your needs.
Sustainable: Upcycling an old table reduces waste and promotes sustainable living.
Unique: Your DIY kitchen island will be one-of-a-kind, showcasing your personal style and creativity.
Cons
Time-Consuming: The project requires time and effort for sanding, painting, and assembling.
Skill Level: Some basic DIY skills, like sanding, drilling, and painting, are necessary.
Space Limitations: Not all tables are the right size or height for a kitchen island, so careful selection is important.
5- Conclusion
Transforming an old table into a farmhouse kitchen island is a rewarding DIY project that combines creativity, functionality, and sustainability. With some basic tools, materials, and a little time, you can create a stunning centerpiece for your kitchen that reflects your personal style. Whether you’re looking for extra storage, prep space, or a charming focal point, a repurposed table-turned-island is a versatile and budget-friendly solution. So roll up your sleeves, gather your tools, and start crafting the farmhouse kitchen island of your dreams!