Introduction
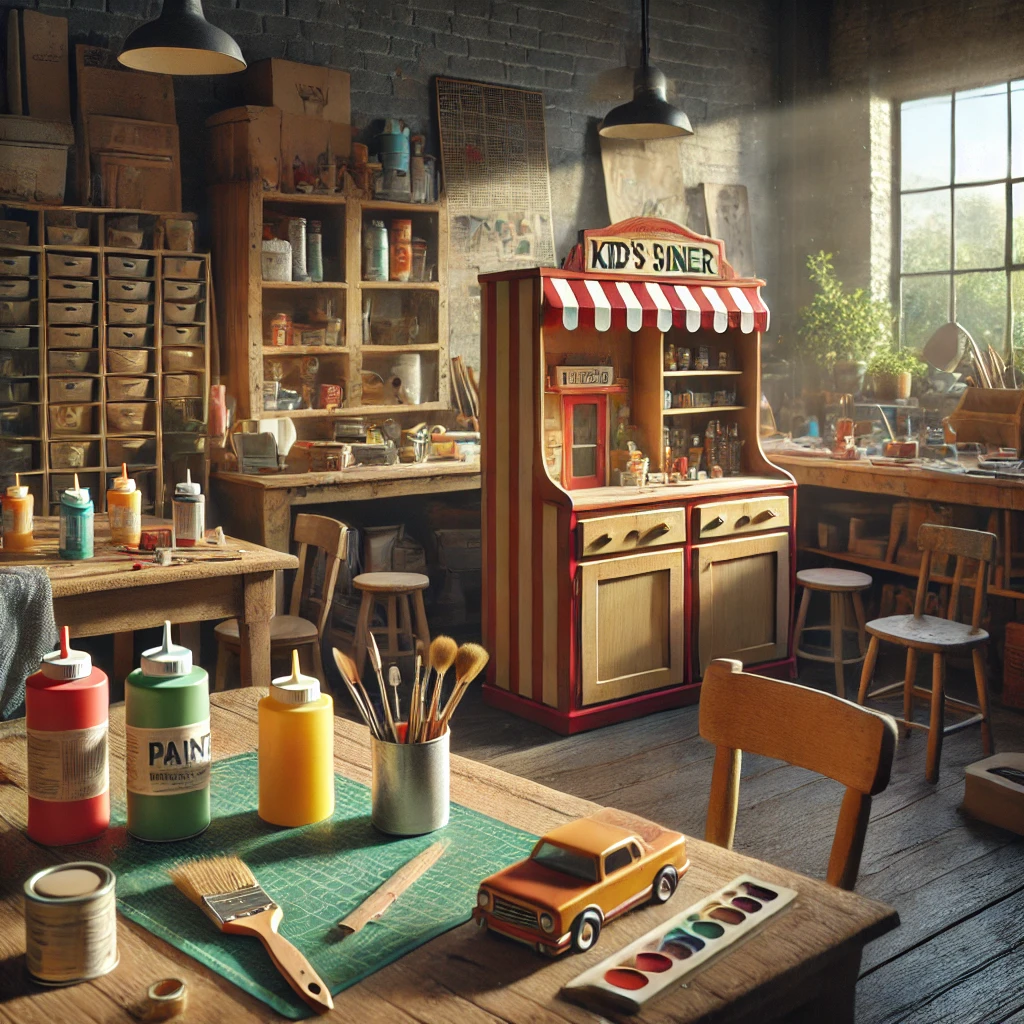
Transforming an old cabinet into a playful kid’s diner is a creative and budget-friendly way to upcycle furniture while bringing joy to your little ones. This project is not only fun but also environmentally conscious, as it gives new life to an unused item. Follow this detailed DIY guide to create a miniature diner that will entertain kids for hours!
Table of Contents
- Materials Needed
- Preparing the Cabinet
- Painting and Decorating
- Adding Diner Features
- Final Touches
- Maintenance Tips
1. Materials Needed
Before you begin, gather these essentials:
- An old cabinet (preferably wooden)
- Sandpaper (medium and fine grit)
- Paint (child-safe, non-toxic)
- Brushes and rollers
- Stickers or stencils for decoration
- Miniature diner accessories (cash register toy, plastic food, etc.)
- Hinges, screws, and a screwdriver
- Chalkboard paint (optional for menus)
- Glue gun and strong adhesive

2. Preparing the Cabinet
- Clean the Cabinet: Start by thoroughly cleaning the cabinet to remove dust, dirt, and grease.
- Sand the Surface: Use medium-grit sandpaper to smooth rough areas and strip old paint. Follow with fine-grit sandpaper for a polished finish.
- Repair Any Damage: Check for loose joints or cracks and fix them with wood glue or screws.
3. Painting and Decorating
- Prime the Cabinet: Apply a primer to help the paint adhere better and last longer.
- Choose a Theme: Opt for bright colors like red, yellow, or blue to give the diner a vibrant feel.
- Paint the Cabinet: Use a roller for large surfaces and a brush for smaller details. Allow each coat to dry completely before applying the next.
- Decorate: Use stencils or decals to add diner-themed designs such as burgers, fries, or neon signs. Chalkboard paint can be applied to one section for writing daily specials.
4. Adding Diner Features
- Install a Countertop: Transform the top of the cabinet into a serving counter using a smooth, durable material.
- Create Shelves and Compartments: Repurpose cabinet shelves to hold toy plates, cups, and pretend food items.
- Add a Menu Board: Attach a small chalkboard or print a custom menu to mimic a real diner.
- Install Hinges for Doors: Use hinges to create doors for the cabinet, resembling a real diner counter.
5. Final Touches
- Accessorize: Add a toy cash register, plastic food, and mini utensils to complete the diner vibe.
- Lighting: Install battery-operated LED lights to illuminate the diner for added charm.
- Personalize: Add your child’s name or a fun diner name to make it unique.
6. Maintenance Tips
- Wipe the surface regularly with a damp cloth to keep it clean.
- Avoid placing heavy objects on top to prevent damage.
- Periodically check for loose screws or parts to ensure safety.
Conclusion
Turning an old cabinet into a kid’s diner is a delightful project that combines creativity with practicality. Not only will your kids enjoy hours of imaginative play, but you’ll also be proud of your DIY accomplishment. Share this tutorial with friends and family to inspire them to embark on their upcycling journey!