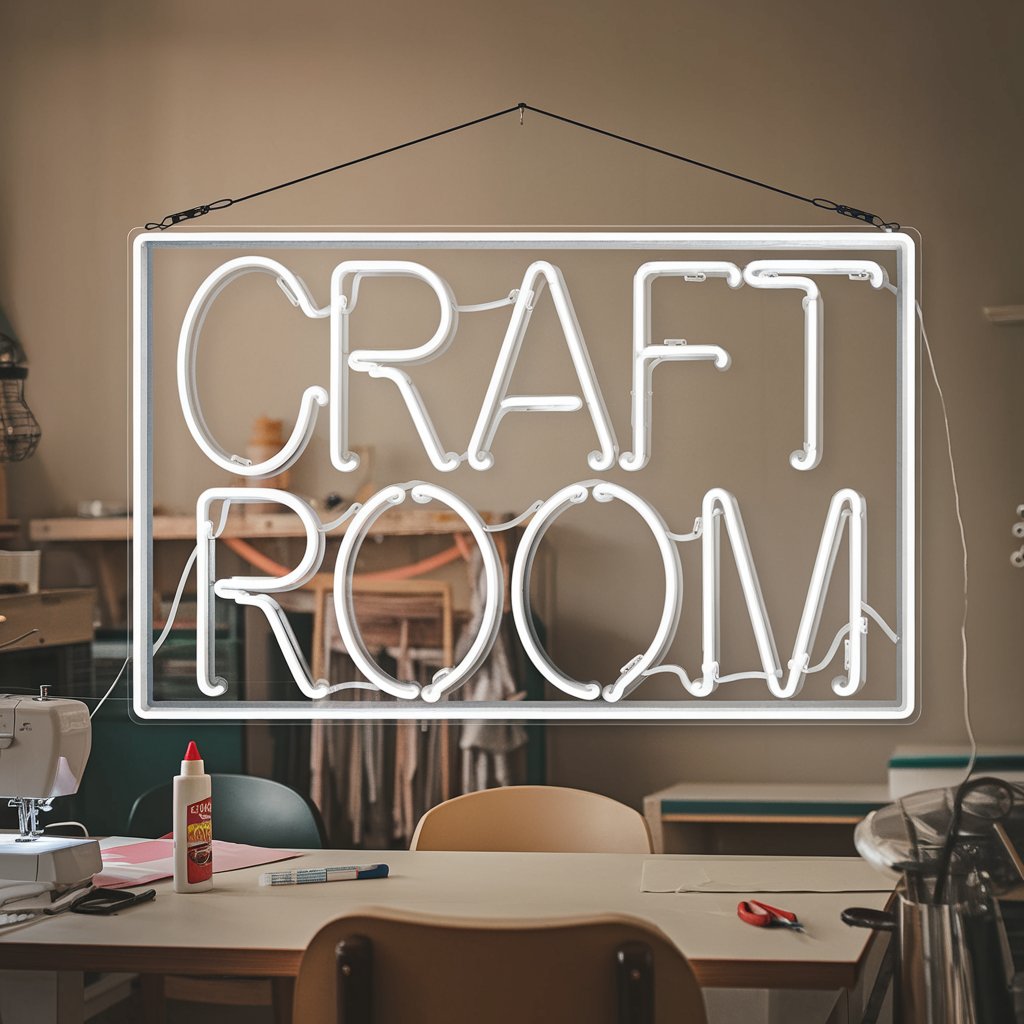
1- Introduction:
Imagine transforming your living space with the soft, mesmerizing glow of neon lights. It’s not just about aesthetics; it’s about making a statement, showcasing your creativity, and bringing your vision to life. Whether you’re a seasoned DIY enthusiast or a curious beginner, embarking on neon light projects opens up a world of artistic possibilities. In this guide, you’ll learn how to create captivating neon art that adds a unique touch to any space, step by step.

2- What Are Neon Art Projects?
Neon art projects involve designing and creating glowing art pieces using neon lights. These projects can range from traditional glass neon tubing to modern LED alternatives, which are safer, more energy-efficient, and easier to work with.
A Brief History of Neon Art
The origins of neon art date back to the early 20th century when neon gas was first used in commercial signage. Over time, artists began experimenting with neon lights, creating stunning sculptures and installations. Today, neon art has evolved into a versatile medium used in homes, events, and public spaces.
Applications of Neon Art
- Home Decor: Add personality to your living room or bedroom with neon wall art or signs.
- Event Styling: Neon lights are perfect for weddings, parties, and corporate events.
- Personalized Gifts: Custom neon pieces make memorable and thoughtful presents.
3- Materials and Tools Needed for Neon Light Projects
Before diving into your project, it’s essential to gather the right materials and tools. Here’s a comprehensive list to get you started:
Materials
- LED Neon Flex: Flexible tubing that mimics traditional neon lights.
- Acrylic Sheets: A sturdy base for your design.
- Wiring Kit: Includes connectors, power supplies, and switches.
- Adhesive or Glue Gun: To attach components securely.
Tools
- Heat Gun: For bending the tubing.
- Cutting Tools: To shape the acrylic or tubing.
- Measuring Tape: Ensures precise dimensions.
| Material/Tool | Purpose | Recommended Brand |
|---|---|---|
| LED Neon Flex | Light source | Govee, Flexfire |
| Acrylic Sheets | Base for design | Lexan, Perspex |
| Glue Gun | Attaching components | Surebonder, Gorilla Glue |
Safety Precautions
- Always wear protective gloves and eyewear.
- Work in a well-ventilated area.
- Handle electrical components with care to avoid accidents.
4- Step-by-Step Guide to Creating Neon Art Projects
Step 1: Design Your Neon Art
Begin by deciding what you want to create. Whether it’s a motivational quote, a simple shape, or an intricate pattern, sketch your design on paper or use design software for precision. Keep in mind the size and location of your project.
Pro Tip: Choose a design with smooth curves and minimal sharp angles for easier tubing application.
Step 2: Assemble Your Materials
Gather all the necessary materials and tools. Measure and cut the LED neon flex to match your design. Prepare the acrylic sheet or base by cleaning and marking it with your chosen design.
Step 3: Attach and Secure
Using a glue gun or adhesive, carefully attach the neon tubing to the base, following your design lines. Ensure the tubing is firmly secured to prevent it from shifting over time.
Step 4: Wiring and Illumination
Connect the wiring kit to the tubing and attach it to a power source. Test the lights to ensure even illumination. Adjust brightness or color settings as needed.
5- Creative Neon Project Ideas
Unleash your imagination with these inspiring neon art ideas:
- Wall Art: Spell out inspiring words or phrases.
- Event Decor: Create themed signs for weddings or birthdays.
- Personalized Pieces: Design custom logos or name signs.
- Seasonal Decorations: Make glowing snowflakes, hearts, or pumpkins.
6- Troubleshooting and Maintenance
Even the best projects can encounter hiccups. Here’s how to address common issues:
Common Problems
- Uneven Lighting: Check for loose connections.
- Overheating: Ensure proper ventilation.
- Loose Tubing: Reapply adhesive as needed.
Maintenance Tips
- Regularly inspect connections and wiring.
- Dust the neon tubing with a soft cloth to maintain its glow.
- Store unused neon art pieces in a cool, dry place.
7- FAQ Section About Neon Light Projects
Q: What is the difference between LED neon and traditional neon? A: LED neon uses flexible tubing and is safer, more durable, and energy-efficient compared to traditional glass neon.
Q: Can I create neon art without prior experience? A: Absolutely! Many DIY kits are designed for beginners and come with clear instructions.
Q: How long does it take to complete a neon project? A: Depending on the complexity, most projects can be completed in 2 to 6 hours.
Q: Are there color options for LED neon? A: Yes, LED neon comes in a variety of colors, and some even offer customizable RGB lighting.
8- Conclusion
Creating neon art projects isn’t just a craft—it’s an opportunity to express your individuality and transform your space. From selecting the materials to illuminating your masterpiece, the process is as rewarding as the final result. So, gather your tools, channel your creativity, and let your imagination shine bright.
Call to Action: Share your neon art creations on social media and inspire others to explore the vibrant world of neon light projects. Don’t forget to tag us for a chance to be featured!