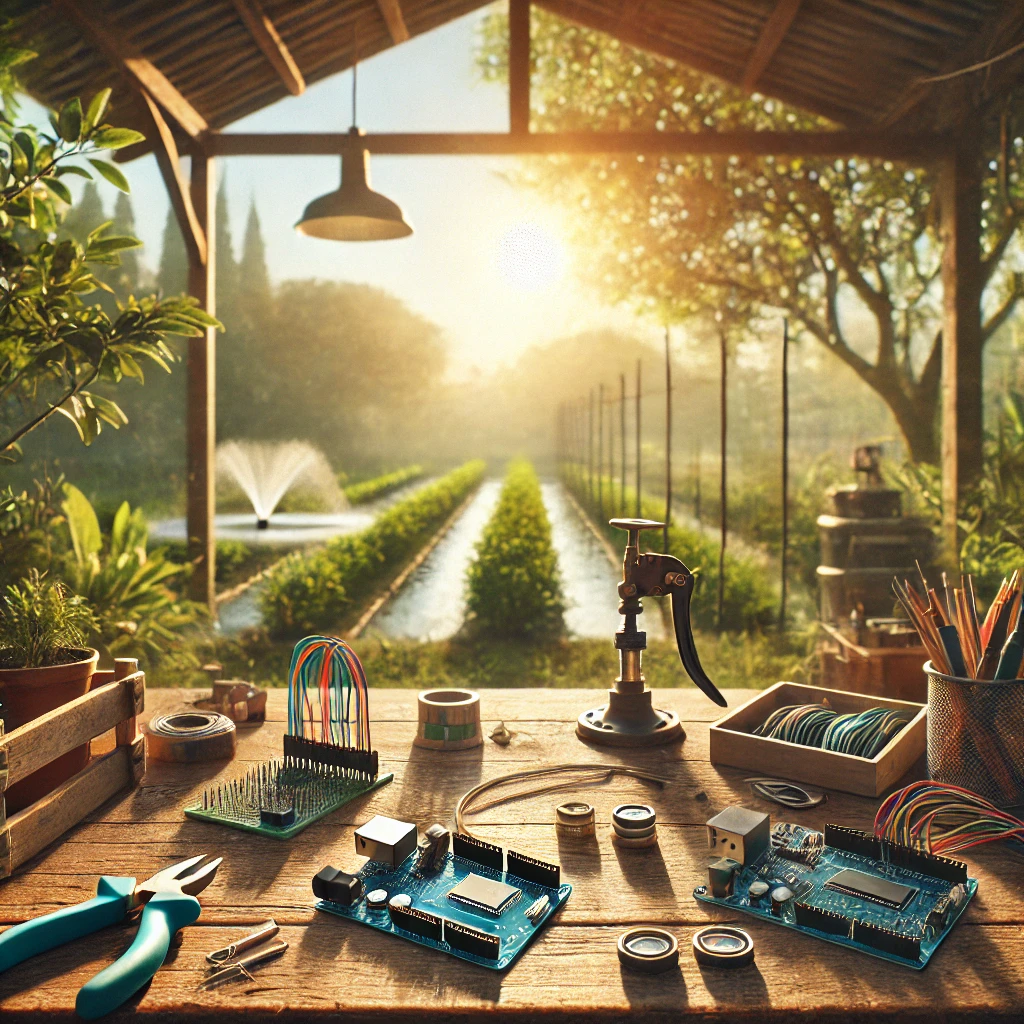
Introduction
Water conservation is more critical than ever, and a smart irrigation system can help you manage water efficiently while keeping your garden or farm healthy. In this DIY tutorial, we’ll guide you through creating a cost-effective, user-friendly smart irrigation system. Whether you’re a beginner or an experienced DIY enthusiast, this guide is designed to help you every step of the way. Let’s dive in and start conserving water smartly!
Table of Contents
- What is a Smart Irrigation System?
- Benefits of a Smart Irrigation System
- Materials Needed
- Step-by-Step Instructions
- Step 1: Understanding the Basics
- Step 2: Gathering the Components
- Step 3: Setting Up the Controller
- Step 4: Connecting the Sensors
- Step 5: Configuring the System
- Step 6: Testing and Optimization
- Tips for Efficient Watering
- Conclusion
1- What is a Smart Irrigation System?
A smart irrigation system is an automated watering setup that uses sensors and controllers to optimize water usage based on real-time data, such as soil moisture levels, weather conditions, and plant needs. These systems reduce water waste and ensure your plants get just the right amount of water.

2- Benefits of a Smart Irrigation System
- Water Efficiency: Prevents overwatering and underwatering by using sensors.
- Cost Savings: Reduces water bills through optimized usage.
- Convenience: Automates the watering process, saving time and effort.
- Environmentally Friendly: Helps conserve water, benefiting the environment.
- Improved Plant Health: Provides the right amount of water for healthy growth.
3- Materials Needed
To build your own smart irrigation system, you’ll need:
- A microcontroller (e.g., Arduino or Raspberry Pi)
- Soil moisture sensors
- Water pump or solenoid valve
- Relay module
- Jumper wires
- Power supply
- Tubing and connectors
- Water reservoir (optional)
- Wi-Fi module (e.g., ESP8266 for IoT features)
- Basic tools (screwdriver, wire cutter, etc.)
4- Step-by-Step Instructions
Step 1: Understanding the Basics
Familiarize yourself with how each component works. For example, the soil moisture sensor detects the water content in the soil, while the microcontroller processes this data to activate or deactivate the water pump or valve.
Step 2: Gathering the Components
Purchase all the materials listed above. Ensure the microcontroller and sensors are compatible.
Step 3: Setting Up the Controller
- Install the necessary software on your microcontroller (e.g., Arduino IDE).
- Connect the microcontroller to your computer and upload a basic program to test its functionality.
Step 4: Connecting the Sensors
- Attach the soil moisture sensor to the microcontroller using jumper wires.
- Place the sensor in the soil where you want to monitor moisture levels.
Step 5: Configuring the System
- Connect the relay module to the microcontroller and the water pump or solenoid valve.
- Set up the Wi-Fi module to enable remote monitoring and control through an app or web interface.
- Program the microcontroller to trigger watering based on soil moisture levels or weather forecasts.
Step 6: Testing and Optimization
- Test the system by simulating dry soil conditions and observing if the pump or valve activates.
- Adjust the sensitivity of the sensors and the watering schedule to suit your plants’ needs.
5- Tips for Efficient Watering
- Use mulch to retain soil moisture.
- Water early in the morning or late in the afternoon to minimize evaporation.
- Regularly clean and maintain your system to ensure reliability.
6- Conclusion
Building a smart irrigation system is a rewarding project that combines technology and sustainability. By following this tutorial, you’ll create an efficient watering solution tailored to your garden or farm. Not only will you save water and money, but you’ll also contribute to a more sustainable future.
Start your smart irrigation journey today, and enjoy the benefits of a greener, more efficient garden!