Introduction
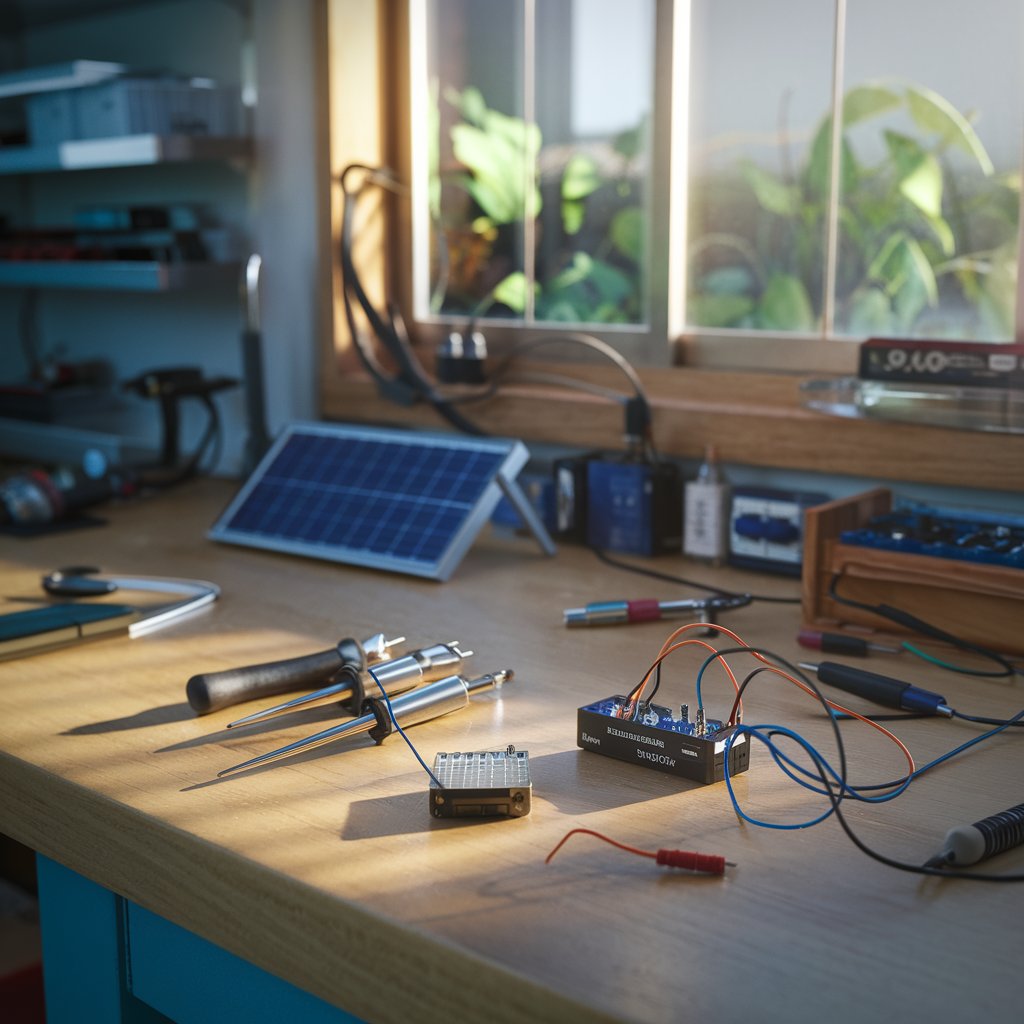
In this step-by-step DIY guide, we’ll teach you how to build a solar-powered pocket radio that’s portable, eco-friendly, and incredibly fun to make. Whether you’re an electronics enthusiast, an off-the-grid adventurer, or just someone who loves sustainable technology, this solar-powered radio is a perfect project for you. Not only does it give you the freedom of listening to your favorite stations anywhere, but it also reduces your environmental footprint by using renewable energy from the sun. Let’s get started!
Table of Contents
- Why Choose a Solar-Powered Radio?
- Materials Needed for the Project
- Step-by-Step Instructions
- Step 1: Preparing the Solar Panel
- Step 2: Wiring the Circuit
- Step 3: Assembling the Radio Components
- Step 4: Testing Your Solar-Powered Radio
- Tips for Maximizing Solar Efficiency
- Troubleshooting Common Issues
- Conclusion: Enjoy Your Eco-Friendly Radio
1. Why Choose a Solar-Powered Radio?
Solar-powered radios are a great way to enjoy music, news, and other broadcasts without relying on traditional power sources. With an increasing awareness of sustainability, many people are looking to reduce their carbon footprints. Building a solar-powered pocket radio not only reduces your dependence on batteries and electricity but also teaches valuable skills in renewable energy and electronics. Plus, it’s a fun project that lets you carry a piece of clean, green tech wherever you go!

2. Materials Needed for the Project
Before diving into the steps, here’s a list of materials you will need for building your solar-powered pocket radio:
- Small Solar Panel (5V or 6V, depending on your radio circuit)
- Pocket Radio Kit (can be purchased or salvaged from an old radio)
- Rechargeable Battery (like a 3.7V Li-ion battery)
- Charge Controller (to safely charge your battery)
- Diode (to prevent reverse current)
- Wire Strippers
- Soldering Iron and Solder
- Electrical Tape or Heat Shrink Tubing
- Small Enclosure Box (to house your components)
3. Step-by-Step Instructions
Step 1: Preparing the Solar Panel
- Choose the Right Solar Panel: A small 5V or 6V solar panel is ideal for powering small electronics like a pocket radio. It’s important to pick a solar panel that can provide enough power for your specific radio kit. Typically, a 5V panel should be sufficient for this project.
- Mount the Solar Panel: Place your solar panel in an area where it will be exposed to direct sunlight. You can mount it on the top of the enclosure box to keep it exposed while protecting the internal components.
Step 2: Wiring the Circuit
- Connect the Solar Panel to the Charge Controller: Solder the positive and negative terminals of the solar panel to the corresponding input terminals of the charge controller. This will allow the solar energy to charge the rechargeable battery.
- Add the Diode: Install a diode in the circuit to prevent reverse current, which could damage your solar panel. Ensure the diode is installed correctly, with the stripe facing toward the battery to allow current to flow only in one direction.
- Connect the Battery to the Charge Controller: Solder the battery to the output terminals of the charge controller. The charge controller ensures the battery charges safely and prevents overcharging.
Step 3: Assembling the Radio Components
- Connect the Radio Kit to the Battery: Follow the instructions of your radio kit to connect it to the rechargeable battery. Most pocket radio kits will have a power input terminal. Connect the positive and negative leads from the battery to these terminals.
- Integrate the Power Switch: You can install a small power switch between the battery and radio circuit to turn the radio on and off as needed. This helps conserve battery life when not in use.
Step 4: Testing Your Solar-Powered Radio
- Place the Radio in the Sunlight: To test the functionality, place the solar panel under direct sunlight. The radio should begin to receive power from the solar panel and start functioning.
- Tune the Radio: Use the tuning dial or buttons on the radio to find your favorite stations. Make sure to check that the solar panel is generating enough power for the radio to run.
4. Tips for Maximizing Solar Efficiency
- Angle the Solar Panel: Adjust the angle of your solar panel to get the maximum sunlight exposure during the day.
- Keep the Panel Clean: Dirt and debris on the panel can block sunlight, reducing its efficiency. Clean it regularly with a soft cloth.
- Use Energy-Efficient Radios: Choose a radio with low power consumption, as it will run longer on the same amount of solar power.
5. Troubleshooting Common Issues
- Radio Won’t Power On: Double-check all connections to ensure there are no loose wires. If you’re using a charge controller, make sure it’s wired properly and that the battery is charged.
- Low Volume or Poor Reception: This can occur if the battery is not charged enough. Ensure your solar panel is getting enough sunlight.
- Solar Panel Not Charging: Ensure that the solar panel is not shaded and is directly facing the sun. Check that the diode and charge controller are working correctly.
6. Conclusion:
Enjoy Your Eco-Friendly Radio
Congratulations! You’ve just created your very own solar-powered pocket radio. This project is not only a fun way to engage with renewable energy but also a step towards reducing your carbon footprint. Now, you can enjoy music, news, and entertainment anywhere, powered entirely by the sun!
Remember, DIY projects like these provide a great way to learn about sustainability and technology while creating practical devices for everyday use. Keep experimenting, and explore other solar-powered projects to make your life more sustainable and enjoyable.