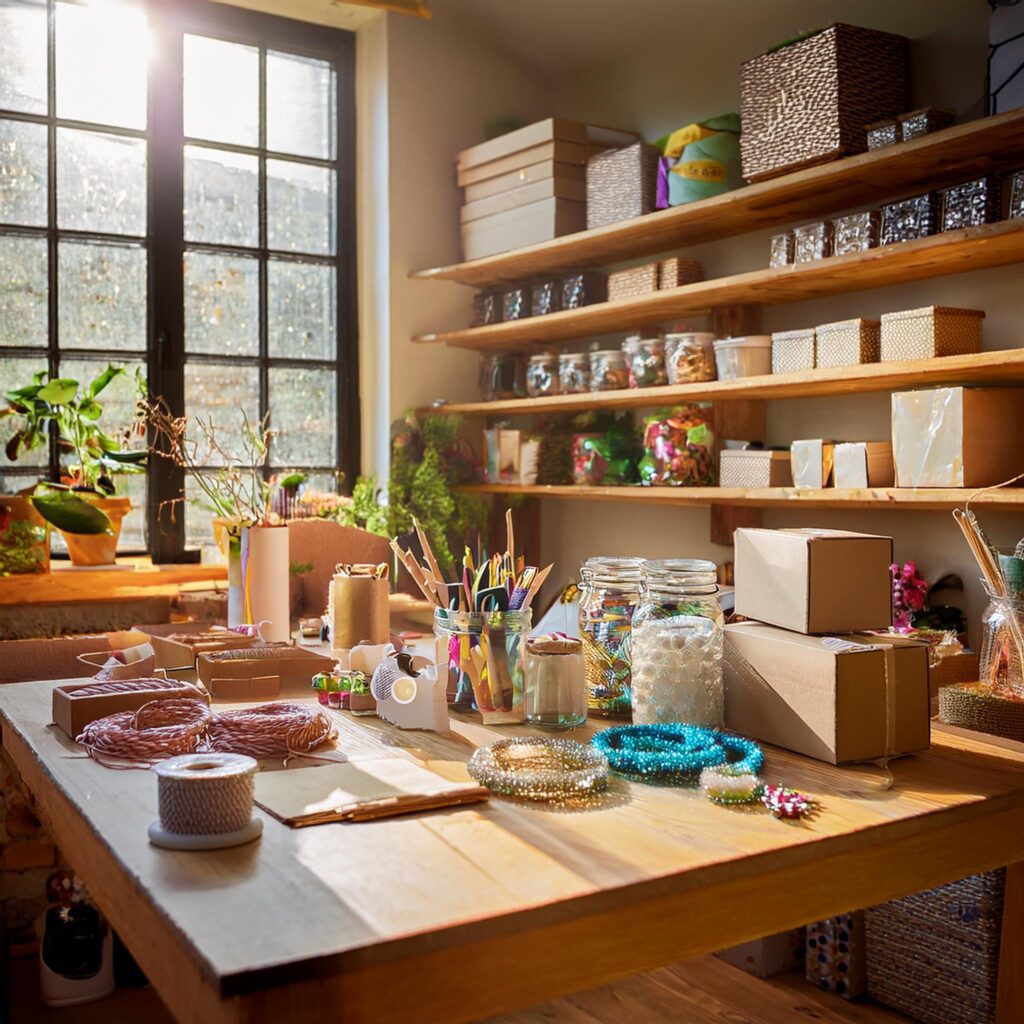
Introduction:
Gift-giving is a timeless tradition, and when it comes to presenting your gifts in a creative and unique way, nothing beats the charm of handmade gift containers. Whether you are looking for a personalized touch for birthdays, holidays, or special occasions, making your own gift containers can add a meaningful element to your presents. In this tutorial, we’ll guide you through simple and affordable steps to create stunning DIY gift containers that are sure to impress your loved ones.
Table of Contents:
- Why Choose DIY Gift Containers?
- Materials Needed for DIY Gift Containers
- Step-by-Step Guide to Making DIY Gift Containers
- Step 1: Preparing the Base
- Step 2: Decorating Your Gift Container
- Step 3: Adding Personal Touches
- Creative Gift Container Ideas
- Tips for Presenting Your DIY Gift Container
- Conclusion: The Charm of Handmade Gift Containers
1. Why Choose DIY Gift Containers?
DIY gift containers allow you to create something special and personalized, adding extra thoughtfulness to your gift. Unlike store-bought containers, handmade ones reflect your creativity and effort, making the present even more memorable. Additionally, DIY gift containers can be tailored to suit any occasion, from birthdays and holidays to weddings or anniversaries.

2. Materials Needed for DIY Gift Containers:
Before you start, gather these materials:
- Cardboard boxes (small, medium, or large, depending on the gift size)
- Wrapping paper (in colors that match the occasion)
- Scissors
- Hot glue gun and glue sticks
- Decorative ribbons and lace
- Buttons, beads, or sequins
- Markers or paint
- Stickers or stencils for design
- Twine or string
- Fabric scraps (optional)
Having these materials ready will make your DIY gift container-making process smooth and enjoyable.
3. Step-by-Step Guide to Making DIY Gift Containers
Step 1: Preparing the Base Start with a sturdy cardboard box as the base of your gift container. You can repurpose old boxes or buy plain ones from craft stores. If you’re using a box with a lid, you’ll need to ensure the lid fits snugly. Cut the cardboard to the desired size, and shape it according to the type of container you want to create—whether it’s a simple box or a cylindrical shape.
Step 2: Decorating Your Gift Container Once you have your base ready, it’s time to add your personal flair. Start by wrapping the cardboard with colorful wrapping paper, fabric, or even burlap for a rustic look. Use your hot glue gun to secure the material in place. Be sure to leave excess material to tuck under the bottom of the container for a neat finish.
Next, use decorative ribbons, lace, or fabric scraps to embellish your container. You can add buttons, beads, or sequins for a more intricate design. If you’re feeling artistic, use markers or paint to create custom designs on the surface. For example, you can draw floral patterns, geometric shapes, or even a personalized message.
Step 3: Adding Personal Touches The final touch for your gift container is the embellishment. This is where you can really get creative! Use twine or string to tie a cute bow around the container. Add a gift tag with a heartfelt message, or even create a handmade card to accompany your gift. You could also add small personal items like a mini charm or a dried flower inside the container to surprise the recipient when they open it.
4. Creative Gift Container Ideas Here are a few creative ideas for unique gift containers:
- Jar Gift Containers: Repurpose mason jars or any glass jars to make a transparent gift container. Fill the jar with small items like candy, bath salts, or handmade trinkets.
- Hatbox Gift Container: For a more elegant touch, use a small hatbox as your base. This is perfect for luxury items, perfumes, or delicate jewelry.
- Eco-Friendly Containers: Use fabric scraps, old books, or recycled materials to create sustainable, eco-friendly gift containers.
5. Tips for Presenting Your DIY Gift Container
- Personalized Labels: Add a personalized label or name tag on the container for a more tailored experience.
- Gift Wrapping: If you’re unsure about making your own containers, you can still give your gift an extra wow factor by using unique wrapping styles like furoshiki (Japanese fabric wrapping).
- Seasonal Decorations: Customize your gift containers based on the season or holiday. For example, use holly and snowflakes for Christmas, or pastel ribbons and flowers for spring birthdays.
6. Conclusion:
The Charm of Handmade Gift Containers DIY gift containers are more than just packaging—they’re an extension of the thought and care you put into your gift. Whether you’re looking to create a charming box for a birthday, a festive container for the holidays, or a personal keepsake for a wedding, making your own gift containers can elevate the gift-giving experience. Try out these steps and ideas, and let your creativity shine!