Introduction
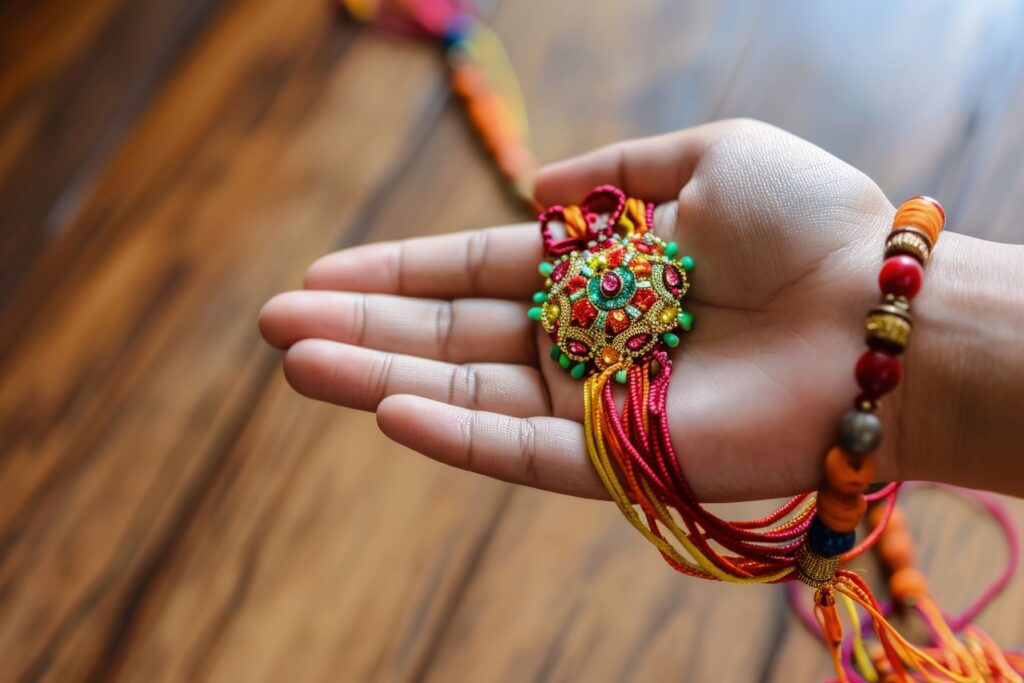
Braided bracelets are not only stylish accessories but also a fun and creative project you can do at home. Whether you’re looking to express your personal style, create a thoughtful gift, or simply enjoy a new craft, making braided bracelets is a rewarding experience. This article will guide you through the materials needed and the simple steps to create your very own braided bracelet.

Materials
To get started on your braided bracelets, you’ll need the following materials:
- String or Cord: Choose colorful embroidery floss, leather cord, or any type of string that suits your style.
- Scissors: For cutting your strings to the desired length.
- Tape or Clip Board: To secure your work while you braid.
- Ruler: To measure the length of your strings accurately.
- Beads (optional): For added decoration and personalization.
Steps to Make Braided Bracelets
- Cut Your Strings: Measure and cut three pieces of string or cord. A good length to start with is about 24 inches for each piece, but feel free to adjust based on your wrist size.
- Secure the Strings: Line up the strings side by side and tie a knot at one end, leaving a bit of a tail. Secure this knot to your work surface with tape or place it under a clip board to keep it steady.
- Begin Braiding:
- Separate the strings into three sections.
- Start braiding by taking the right string and placing it over the middle string, then take the left string and place it over the new middle string.
- Repeat this process until you reach the desired length.
- Add Beads (optional): If you want to incorporate beads, slide them onto the strings before continuing to braid. You can add them at intervals or whenever you like.
- Finish the Bracelet: Once you’ve reached the desired length, make a knot at the end to secure your braid. Leave a tail for tying the bracelet on your wrist.
- Tie the Bracelet: To wear your bracelet, tie the two ends together. Adjust the tightness to ensure a comfortable fit.
Conclusion
Making braided bracelets is a delightful way to express your creativity and craft unique accessories. With just a few materials and some simple braiding techniques, you can create beautiful bracelets that can be worn or gifted to friends and family. So gather your materials and start crafting!
FAQ
Q: How long should I cut the strings for my braided bracelet?
A: A length of about 24 inches for each string is recommended, but you can adjust based on your wrist size.Q: Can I use different types of string?
A: Absolutely! You can use embroidery floss, leather cord, or any other type of string that you find appealing.Q: How do I secure the bracelet when I wear it?
A: Simply tie the two ends of the bracelet together, adjusting the tightness to ensure it fits comfortably.Q: Can I add charms or other decorations?
A: Yes! Feel free to personalize your bracelet with beads, charms, or any other decorative elements you like.Q: Is it difficult to make braided bracelets?
A: Not at all! Once you get the hang of the braiding technique, it’s quite simple and enjoyable.Now that you know how to make braided bracelets, it’s time to unleash your creativity and start crafting! Enjoy your bracelet-making journey!