Introduction
Looking for a fun and creative DIY craft project to brighten up your fall decor? A cute scarecrow craft is the perfect way to add a bit of charm to your home or garden! In this tutorial, we’ll guide you through creating a delightful scarecrow using easy-to-find materials. Whether you’re a beginner or an experienced crafter, this project will bring out your creative side and help you embrace the fall spirit. Plus, it’s a fun way to get the kids involved in crafting during the cooler months. Follow along for detailed instructions and tips on making your own adorable scarecrow!
Table of Contents
- Materials You’ll Need for Your DIY Scarecrow
- Step-by-Step Instructions for Making a Cute Scarecrow
- Tips and Tricks for Perfecting Your Scarecrow Craft
- Variations and Customizations to Make It Your Own
- Final Thoughts and How to Display Your Scarecrow
1. Materials You’ll Need for Your DIY Scarecrow
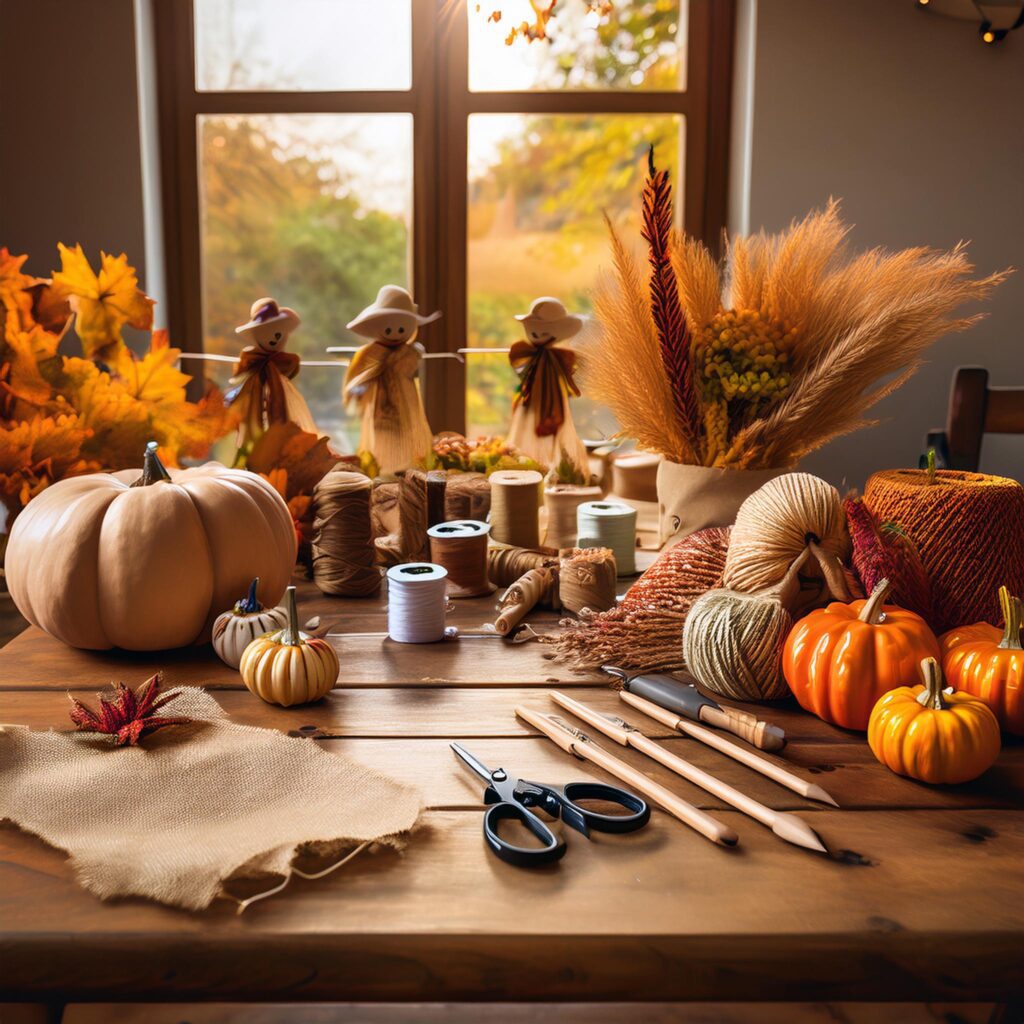
Before we dive into the steps, gather all the necessary materials for your scarecrow project. Here’s a list of what you’ll need:
- Old Clothes or Fabric (for the body and clothing)
- Straw (or shredded paper if you don’t have straw)
- Hot Glue Gun & Glue Sticks
- Googly Eyes (or buttons for eyes)
- Fabric Paint or Markers (for the face and details)
- Wooden Dowels or Sticks (for the scarecrow’s frame)
- Twine or Yarn (for the hair and hands)
- Small Hat (optional but adds extra charm)
- Scissors
- Needle & Thread (optional, for sewing)
- Decorative Accessories (like small pumpkins, fabric flowers, etc.)

2. Step-by-Step Instructions for Making a Cute Scarecrow
Follow these easy steps to create your own cute scarecrow:
Step 1: Create the Body Frame
Start by crafting the scarecrow’s frame using two wooden dowels or sticks. Cross them to form a simple “T” shape, with one dowel being the scarecrow’s body and the other serving as the arms. Secure the pieces together using hot glue or twine.
Step 2: Dress Your Scarecrow
Cut an old shirt and pants (or use fabric) to fit the frame. Slide the clothing onto the frame and secure it with hot glue or sew it into place if you prefer a more durable finish. You can also add some stuffing to give the scarecrow a fuller look.
Step 3: Add Straw to the Body and Arms
Now it’s time to give your scarecrow its rustic charm! Use straw, hay, or even shredded paper to fill out the body and arms of the scarecrow. Stuff the sleeves and legs to create a realistic scarecrow figure, and let the straw peek out around the edges for that authentic country look.
Step 4: Make the Face
Use fabric paint or markers to draw on the face. For a cute, friendly look, create a simple smile and button eyes. Alternatively, you can glue on googly eyes or use buttons to add a charming touch.
Step 5: Create the Hair
Take twine or yarn and cut it into small pieces. Tie the pieces around the top of the scarecrow’s head to create the hair. You can also use a small hat to top off the look, gluing it in place for extra flair.
Step 6: Finish with Accessories
Optional, but highly recommended! Add small fall-themed accessories like mini pumpkins, fabric flowers, or a small burlap sack to your scarecrow to give it personality and additional character.
3. Tips and Tricks for Perfecting Your Scarecrow Craft
- Use Eco-friendly Materials: If you’re looking for a more sustainable project, consider using natural materials like burlap, jute twine, and organic straw.
- Get Creative with the Face: Experiment with different facial expressions—perhaps a winking scarecrow or one with oversized eyes!
- Add Personal Touches: Customize your scarecrow by adding a unique accessory, such as a mini sign with a fall quote or a cozy scarf.
4. Variations and Customizations to Make It Your Own
There are many ways to customize your scarecrow. Here are some ideas:
- Halloween Scarecrow: Use black fabric and spooky accessories like a witch hat or spiderwebs to transform your scarecrow into a Halloween-themed decoration.
- Rustic Garden Scarecrow: If you’re planning to place your scarecrow in your garden, make sure it has weather-resistant materials like outdoor fabric or waterproof accessories.
- Family Scarecrow: Create a family of scarecrows by varying their sizes, clothing, and accessories to reflect each member of the household.
5. Final Thoughts and How to Display Your Scarecrow
Your cute scarecrow is now ready to brighten up your home or garden! Place it on your porch, next to your autumn flowers, or in the garden to scare off any unwanted guests (or just to add charm!). Don’t forget to share your finished project with family and friends—this easy DIY is sure to be a hit with everyone!
Conclusion
This DIY cute scarecrow craft is the perfect way to celebrate the fall season and create personalized, festive decorations for your home. Not only is it a fun and engaging craft project, but it also provides a great opportunity to get creative and add your own spin. Whether you’re decorating for fall, Halloween, or just enjoying the harvest season, this scarecrow is sure to make a delightful addition to your decor. Happy crafting!