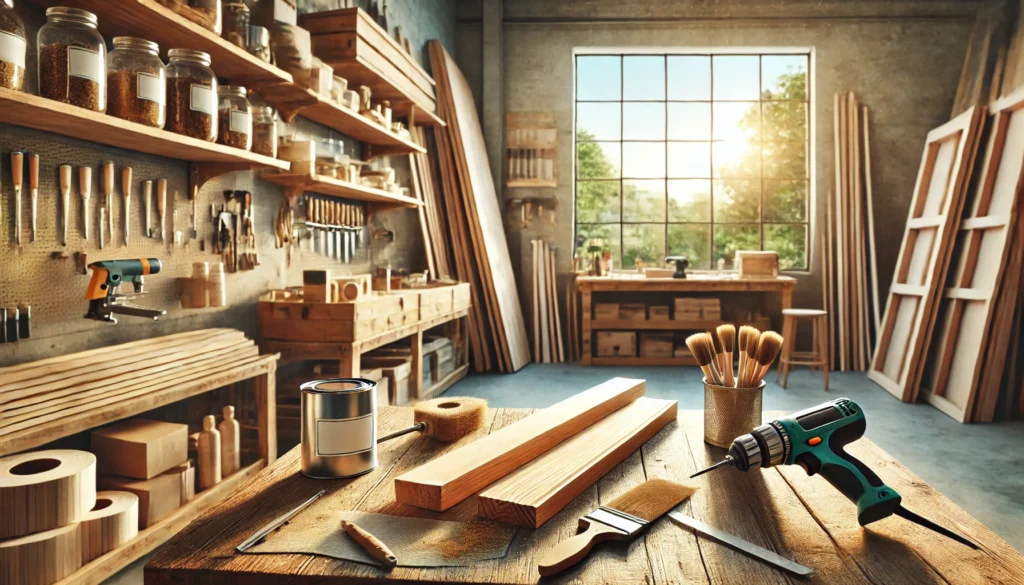
Introduction
Are you looking to add a touch of personality to your home while maximizing storage space? DIY shelves are a fantastic solution! Whether you need a place for your books, décor, or everyday essentials, creating custom shelves allows you to tailor the design to your style and needs. This tutorial will guide you through the process of building your own shelves, even if you’re a beginner. Plus, it’s budget-friendly and rewarding!
Table of Contents
- Why Build DIY Shelves?
- Tools and Materials You Will Need
- Step-by-Step Guide
- Step 1: Plan Your Shelf Design
- Step 2: Gather Your Tools and Materials
- Step 3: Measure and Cut
- Step 4: Sand and Paint
- Step 5: Assemble Your Shelves
- Step 6: Mount Your Shelves
- Pro Tips for Perfect Shelves
- Common Mistakes to Avoid
- Conclusion
Content
1. Why Build DIY Shelves?
DIY shelves are not just practical; they are also a creative outlet. Here’s why you should consider building your own shelves:
- Customization: Match your shelves to your home’s aesthetic.
- Cost-Effectiveness: Save money by using affordable materials.
- Sustainability: Upcycle materials and reduce waste.
- Satisfaction: Enjoy the pride of creating something with your own hands.

2. Tools and Materials You Will Need
Tools:
- Measuring tape
- Saw (hand or power saw)
- Drill
- Screwdriver
- Sandpaper
- Level
Materials:
- Wood planks
- Screws and anchors
- Brackets (if needed)
- Paint or wood stain
- Primer (optional)
3. Step-by-Step Guide
Step 1: Plan Your Shelf Design
Decide on the size, shape, and style of your shelves. Consider where they will be placed and what they will hold. Sketch your design to visualize the final product.
Step 2: Gather Your Tools and Materials
Once your design is ready, collect all the tools and materials you’ll need. Double-check measurements to ensure you have enough supplies.
Step 3: Measure and Cut
Measure the wood planks according to your design. Mark the measurements clearly before cutting to ensure precision. Use a saw to cut the wood to size.
Step 4: Sand and Paint
Sand the edges and surfaces of the wood to remove splinters and create a smooth finish. Apply primer if you’re painting. Once the primer dries, paint or stain the wood to your desired color.
Step 5: Assemble Your Shelves
If your design includes multiple pieces of wood, assemble them using screws and a drill. For floating shelves, attach the brackets securely to the wood.
Step 6: Mount Your Shelves
Use a level to ensure the shelves are straight. Mark the wall for screw placements, drill holes, and secure the shelves to the wall using screws and anchors.
4. Pro Tips for Perfect Shelves
- Use a stud finder to locate sturdy points in the wall for mounting.
- Opt for high-quality brackets for added stability.
- Add decorative brackets or trims to enhance the aesthetic.
5. Common Mistakes to Avoid
- Skipping Measurements: Always measure twice to avoid errors.
- Using Weak Anchors: Choose anchors suitable for the weight your shelves will bear.
- Rushing the Finish: Allow paint or stain to dry completely for a polished look.
6. Conclusion
Building DIY shelves is a fulfilling project that enhances your home’s functionality and style. By following this step-by-step guide, you’ll create stunning shelves that reflect your personality while staying on budget. Gather your tools, unleash your creativity, and get started today!