Introduction
Who doesn’t love the creamy goodness of ice cream, especially when it’s homemade? If you think making ice cream at home is too complicated or requires special equipment, think again! With this easy no-churn ice cream tutorial, you can create your favorite flavors in no time, right in your kitchen. No ice cream maker? No problem! Let’s dive into this simple yet delicious recipe that’s perfect for anyone who loves homemade desserts.
Table of Contents
- What is No-Churn Ice Cream?
- Why Choose No-Churn Ice Cream?
- Ingredients You Need
- Essential Tools and Equipment
- Step-by-Step Guide
- Preparing the Base
- Adding Flavors and Mix-Ins
- Freezing the Ice Cream
- Tips for Perfect No-Churn Ice Cream
- Popular Flavor Variations
- FAQs About No-Churn Ice Cream
1. What is No-Churn Ice Cream?
No-churn ice cream is a homemade version of ice cream that doesn’t require an ice cream maker. It’s a simple process using basic ingredients like condensed milk and heavy cream to achieve a creamy, smooth texture without the need for churning.

2. Why Choose No-Churn Ice Cream?
- Convenience: No special equipment required.
- Quick Preparation: Ready to freeze in just 10 minutes.
- Customizable: Add your favorite flavors and toppings.
- Budget-Friendly: Save money by making it at home.
3. Ingredients You Need
To make no-churn ice cream, you’ll need:
- 2 cups (500ml) of heavy whipping cream (cold)
- 1 can (14 oz) of sweetened condensed milk
- 1 teaspoon of vanilla extract (optional)
- Optional mix-ins: chocolate chips, fruit, nuts, or cookies
4. Essential Tools and Equipment
- Mixing bowl
- Hand or stand mixer
- Spatula
- Freezer-safe container with a lid
5. Step-by-Step Guide
Preparing the Base
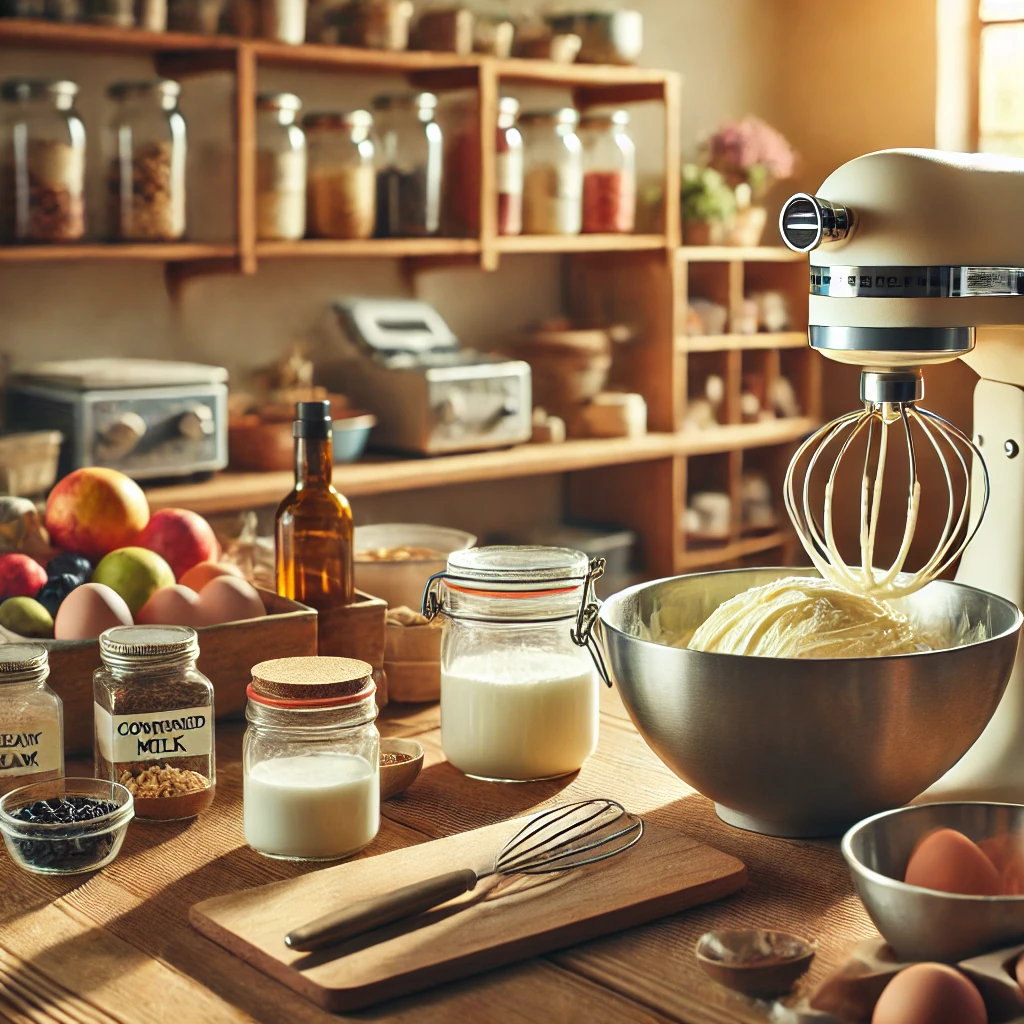
- Whip the Cream: In a large mixing bowl, use a hand or stand mixer to whip the heavy cream until stiff peaks form. Be careful not to overmix.
- Combine Ingredients: Gently fold the sweetened condensed milk into the whipped cream using a spatula. Add the vanilla extract for a classic flavor base.
Adding Flavors and Mix-Ins
- Customize Your Ice Cream: Add your desired mix-ins, such as crushed cookies, fruit purees, or chocolate chips. Fold gently to evenly distribute.
Freezing the Ice Cream
- Transfer to Container: Pour the mixture into a freezer-safe container. Smooth the top with a spatula.
- Freeze: Cover the container with a lid and freeze for at least 6 hours or overnight for best results.
6. Tips for Perfect No-Churn Ice Cream
- Chill Your Tools: Keep your bowl and whisk cold for better whipping results.
- Don’t Overmix: Fold ingredients gently to retain the airiness of the whipped cream.
- Use Fresh Ingredients: Ensure your cream and mix-ins are fresh for the best taste.
7. Popular Flavor Variations
- Chocolate Lovers: Add 2 tablespoons of cocoa powder and chocolate chunks.
- Fruity Delight: Swirl in fruit purees like strawberry or mango.
- Cookie Crumble: Mix in crushed Oreos or chocolate chip cookies.
- Nutty Bliss: Add chopped nuts like almonds or pistachios.
8. FAQs About No-Churn Ice Cream
Q: How long does no-churn ice cream last in the freezer? A: It can last up to 2 weeks when stored in an airtight container.
Q: Can I make a dairy-free version? A: Yes! Use coconut cream and condensed coconut milk as substitutes.
Q: What if my ice cream is too hard? A: Let it sit at room temperature for 5 minutes before scooping.
Conclusion
Making no-churn ice cream at home is a delightful and rewarding experience. With endless flavor possibilities and a simple process, you can enjoy creamy, homemade ice cream anytime. Try this recipe today and treat yourself to a delicious dessert that everyone will love!