Introduction
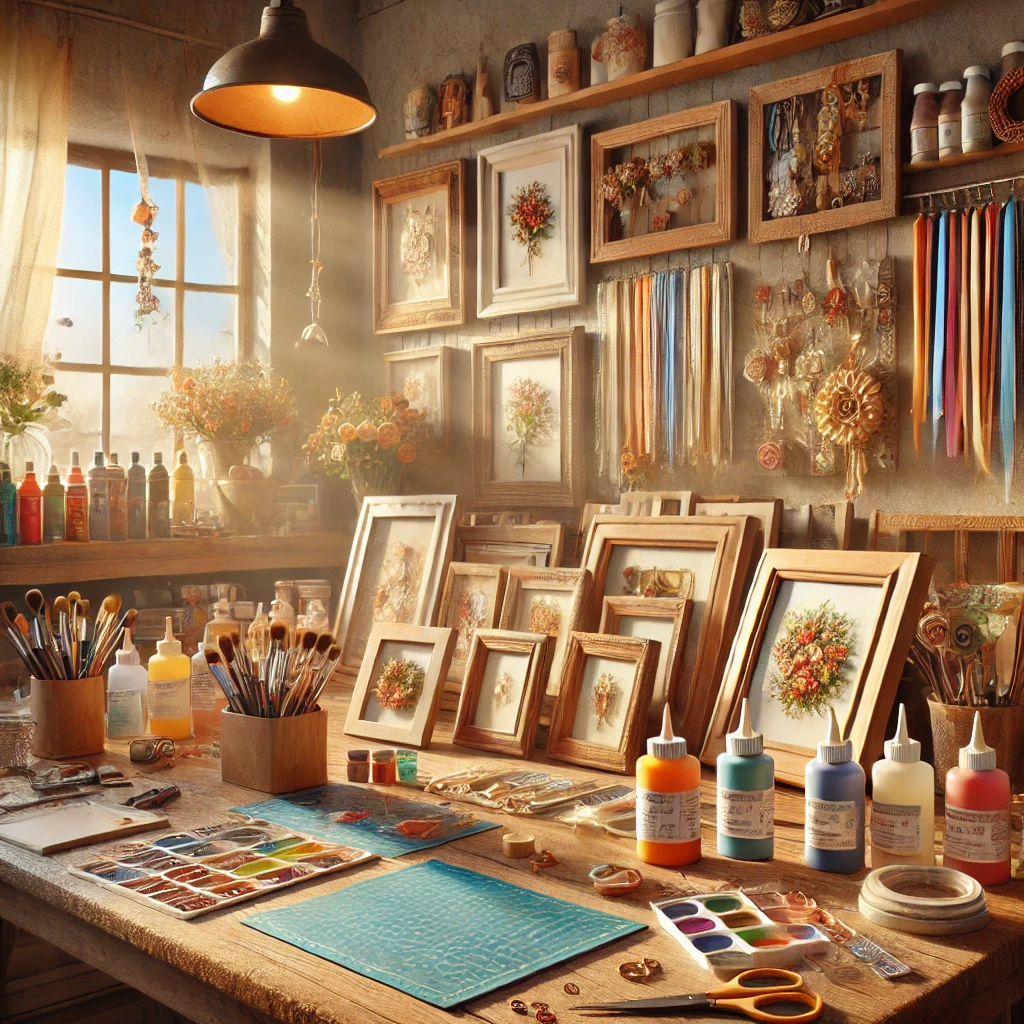
Personalized photo frames are more than just a way to display your pictures; they’re a way to express your creativity and add a personal flair to your living space. In this tutorial, we’ll explore various techniques and materials to help you design a photo frame that’s as unique as your memories.
Table of Contents
- Materials You Will Need
- Step-by-Step Instructions
- Preparing the Base Frame
- Designing Your Frame
- Adding Decorations
- Final Touches
- Creative Ideas for Personalization
- FAQs
- Conclusion
1. Materials You Will Need
Before you start, gather the following materials:
- A plain photo frame (wooden or plastic)
- Paint and paintbrushes
- Decorative materials (stickers, beads, ribbons, etc.)
- Glue (hot glue gun or craft glue)
- Scissors
- Sandpaper (for wooden frames)
- Photos or prints to frame
- Optional: Mod Podge for a glossy finish

2. Step-by-Step Instructions
Step 1: Preparing the Base Frame
- Start by cleaning your photo frame to remove dust or dirt.
- If it’s a wooden frame, lightly sand the surface to ensure paint or decorations adhere properly.
- Apply a base coat of paint and let it dry completely. Choose a color that complements your theme or photo.
Step 2: Designing Your Frame
- Sketch your design idea on paper before applying it to the frame.
- Use painter’s tape to create geometric patterns or freehand designs for a more organic look.
- Paint or draw your chosen design onto the frame and let it dry.
Step 3: Adding Decorations
- Attach decorative elements like beads, buttons, or dried flowers using craft glue or a hot glue gun.
- Layer ribbons or lace along the edges for a textured appearance.
- Use stickers, stamps, or stencils to add quotes, names, or dates for personalization.
Step 4: Final Touches
- Apply a sealant or Mod Podge to protect your design and give it a polished finish.
- Insert your chosen photo and secure the back of the frame.
3. Creative Ideas for Personalization
- Holiday-Themed Frames: Use holiday-specific decorations like snowflakes or hearts.
- Nature-Inspired Designs: Incorporate elements like pressed leaves or seashells.
- Photo Collage Frames: Create a collage effect by adding smaller photos around the main one.
- Name and Date Engravings: Use paint or a wood-burning tool to add names and special dates.
4. FAQs
Q: What type of paint works best on photo frames? A: Acrylic paint is versatile and works well on both wooden and plastic frames.
Q: How can I make the frame more durable? A: Apply a clear sealant or Mod Podge to protect the frame from wear and tear.
Q: Can I use recycled materials? A: Absolutely! Old buttons, fabric scraps, or broken jewelry can make unique decorations.
Conclusion
Creating a personalized photo frame is a rewarding DIY project that combines creativity and practicality. With just a few materials and some inspiration, you can design a frame that beautifully showcases your memories. Try out different styles and techniques to make each frame a unique masterpiece. Happy crafting!