Introduction:
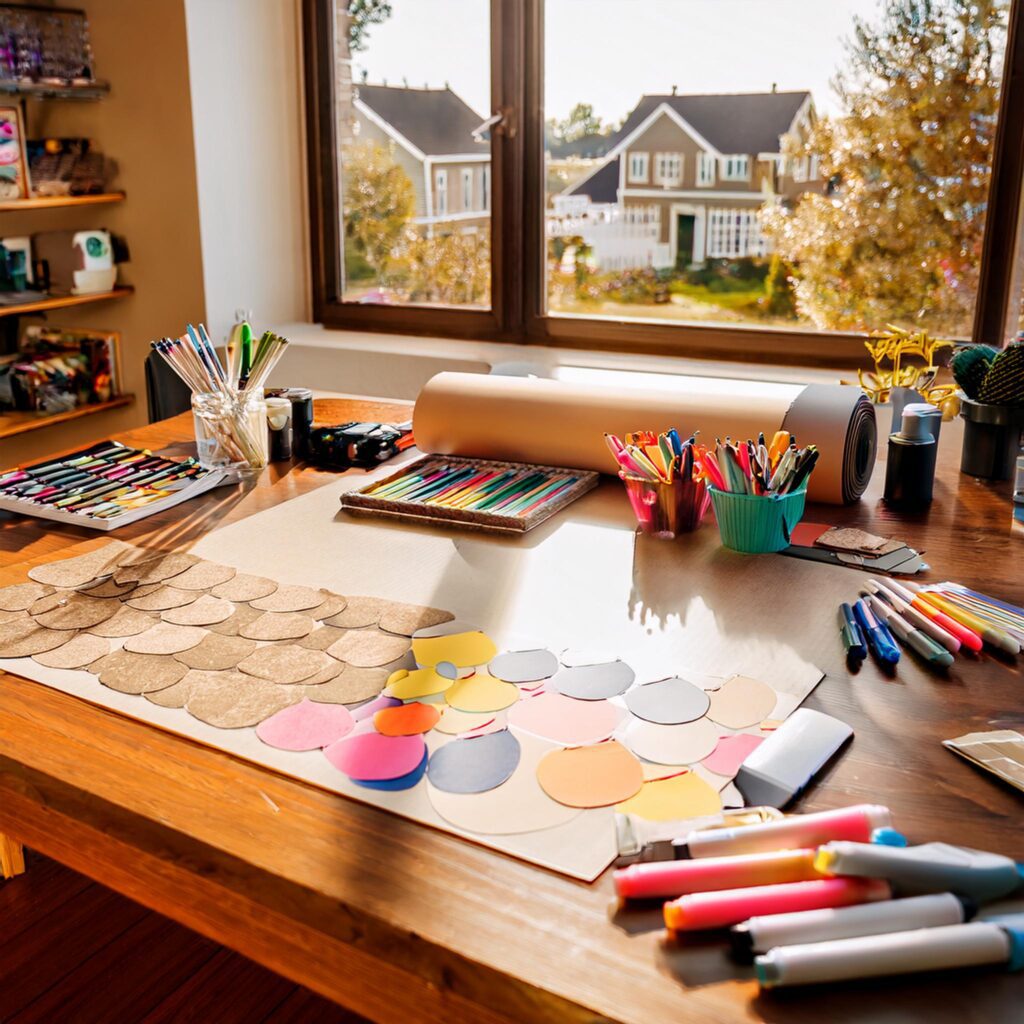
Are you looking to add a personal touch to your belongings or give unique gifts? DIY stickers are the perfect way to express creativity and customize your world! In this easy-to-follow guide, we’ll show you how to make your own stickers at home, using simple materials and tools. Whether you’re a beginner or have some experience, our DIY sticker tutorial will help you craft fun, colorful, and high-quality stickers.
Table of Contents:
- What You Need for DIY Stickers
- Choosing the Right Materials for DIY Stickers
- Step-by-Step DIY Sticker Tutorial
- Tips for Perfecting Your DIY Stickers
- Ideas for Custom DIY Stickers
- How to Protect Your DIY Stickers
- FAQs About DIY Stickers
1. What You Need for DIY Stickers
Before you begin your DIY sticker adventure, gather the following materials:
- Sticker Paper: Choose from matte, glossy, or transparent sticker paper depending on your style.
- Inkjet Printer: For printing your designs.
- Scissors or Craft Knife: For cutting your stickers.
- Design Software: Use tools like Adobe Illustrator, Canva, or even free tools like GIMP.
- Laminating Sheets (Optional): To make your stickers more durable and waterproof.

2. Choosing the Right Materials for DIY Stickers
Choosing the right materials will make a big difference in how your stickers turn out. Here’s a breakdown of the best options:
- Sticker Paper: Opt for high-quality sticker paper that’s compatible with your printer. You’ll find glossy, matte, and clear options. Glossy paper is great for vibrant colors, while matte paper provides a more subtle finish.
- Printer Type: Use an inkjet printer for the best results. Laser printers can work too, but inkjet printers generally provide more vivid colors for sticker designs.
- Laminating Sheets: If you want to increase the durability of your stickers, laminating them is a good idea. It helps protect your designs from wear and tear, and makes them waterproof!
3. Step-by-Step DIY Sticker Tutorial
Step 1: Design Your Stickers
Start by creating your sticker design using design software. You can either create your artwork from scratch or use pre-made designs. If you’re unsure about your artistic skills, Canva offers tons of templates and icons you can use to create your stickers easily.
Step 2: Print Your Stickers
Once your design is ready, print it on sticker paper using your inkjet printer. Make sure to adjust the printer settings according to the type of sticker paper you’re using (matte, glossy, etc.) for the best results.
Step 3: Cut Out Your Stickers
After printing, use a pair of scissors or a craft knife to carefully cut out your stickers. You can make them any shape you like—round, square, or custom shapes based on your designs.
Step 4: Laminate Your Stickers (Optional)
If you want your stickers to last longer and be waterproof, apply a laminate sheet over the printed sticker before cutting it out. This extra step will ensure your stickers remain intact, even when exposed to moisture.
Step 5: Apply Your Stickers
Now, you can use your DIY stickers for anything! Place them on laptops, notebooks, water bottles, or give them away as personalized gifts.
4. Tips for Perfecting Your DIY Stickers
- High-Quality Paper: The quality of your sticker paper affects the final look. Don’t skimp on paper quality—use premium materials for better color and texture.
- Be Careful with Cutting: If you’re going for custom shapes, use a craft knife for precision. A steady hand will make a big difference in the outcome.
- Test Your Design: Print a test sheet first to check how your design looks on paper before printing the final version.
5. Ideas for Custom DIY Stickers
- Quotes and Sayings: Create inspirational or funny quotes for motivational stickers.
- Personalized Monograms: Make custom monogram stickers to personalize any item.
- Holiday Themes: Design seasonal stickers for Christmas, Halloween, or birthdays.
- Nature and Animals: Create animal-themed stickers for those who love wildlife or botanical designs.
6. How to Protect Your DIY Stickers
To keep your DIY stickers in top condition, follow these tips:
- Laminate Them: Lamination adds a protective layer that shields your stickers from dirt, scratches, and water damage.
- Avoid Direct Sunlight: Excessive sunlight can fade the colors of your stickers over time, so keep them in a cool, dry place.
- Store Them Properly: When not in use, store your stickers on a flat surface to avoid bending or creasing.
7. FAQs About DIY Stickers
Q1: Can I use a regular printer for DIY stickers? Yes, an inkjet printer is recommended for printing DIY stickers, as it provides high-quality color reproduction.
Q2: Are DIY stickers waterproof? DIY stickers can be made waterproof if you laminate them after printing.
Q3: How long do DIY stickers last? With proper care, DIY stickers can last for months or even years. Lamination will extend their lifespan and prevent fading.
Conclusion:
Making DIY stickers is a fun and creative project that allows you to express yourself while adding a personal touch to everyday items. By following this easy tutorial, you can create high-quality, unique stickers that are sure to impress. Whether you’re making them for personal use, gifts, or selling them, DIY stickers are an affordable and creative way to customize your world!