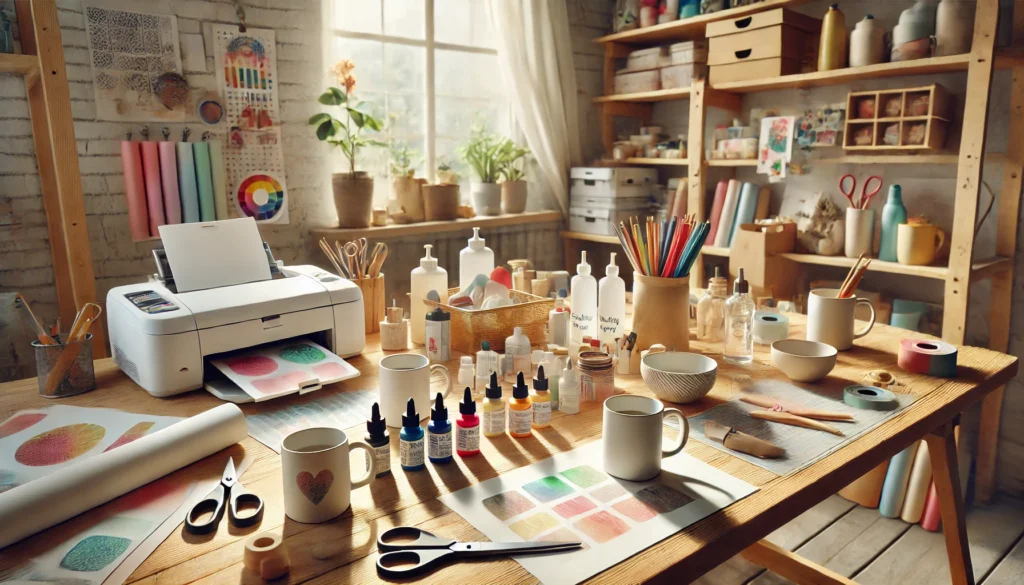
Introduction
DIY photo mugs are a wonderful way to personalize your morning coffee or create a heartfelt gift for someone special. With a few simple tools and some creativity, you can design unique mugs that showcase cherished memories or artistic flair. This guide will walk you through the process of creating your own photo mugs at home. By the end of this tutorial, you’ll have a professional-looking mug that’s dishwasher-safe and ready to enjoy. Let’s dive in!
Table of Contents
- Materials Needed for DIY Photo Mugs
- How to Prepare Your Mug and Image
- Applying the Image to the Mug
- Sealing and Finishing Your Mug
- Tips for Long-Lasting Photo Mugs
- Frequently Asked Questions (FAQs)
1. Materials Needed for DIY Photo Mugs
Before you start, gather the following materials:
- Plain ceramic mugs (white works best)
- Printable transfer paper for ceramic surfaces
- An inkjet printer
- Scissors
- A bowl of water
- A sealing spray (dishwasher-safe clear coat)
- A soft cloth or sponge
- Optional: Heat press or oven
Having all these items ready will make the process smoother and more enjoyable.

2. How to Prepare Your Mug and Image
Preparing the Mug
- Wash and dry your mug to remove any dust or grease.
- Wipe the surface with rubbing alcohol for better adhesion.
Preparing the Image
- Choose a high-resolution photo or design.
- Use photo editing software to adjust the size of the image to fit your mug.
- Print the image on transfer paper using an inkjet printer.
- Pro Tip: Mirror the image before printing if the transfer paper requires it.
3. Applying the Image to the Mug
- Cut out the printed image, leaving minimal white space around the edges.
- Submerge the cutout in a bowl of water for a few seconds (follow the instructions on your transfer paper).
- Place the wet image on the mug’s surface, ensuring it’s straight and bubble-free.
- Smooth out any wrinkles or air pockets with a soft cloth or sponge.
- Let the mug sit for at least 30 minutes to allow the image to adhere fully.
4. Sealing and Finishing Your Mug
- Once the image is dry and securely in place, apply a dishwasher-safe sealing spray over the design.
- Allow the sealant to dry completely (refer to the spray’s drying time instructions).
- Optional: Bake the mug in an oven at 300°F (150°C) for 15-20 minutes to set the design.
- Let the mug cool before handling or washing.
5. Tips for Long-Lasting Photo Mugs
- Always hand-wash your mug with mild soap to extend its lifespan.
- Avoid using abrasive sponges or harsh detergents.
- If using a dishwasher-safe sealant, test the mug on the top rack of the dishwasher first.
- Store your mugs in a cool, dry place to prevent fading.
6. Frequently Asked Questions (FAQs)
Q: Can I use a laser printer instead of an inkjet printer?
A: Most transfer papers are designed for inkjet printers, so check your transfer paper’s compatibility before printing.
Q: What type of sealing spray should I use?
A: Look for a clear, dishwasher-safe spray designed for ceramics.
Q: How long will the design last?
A: With proper care, your photo mug can last for years without fading or peeling.
Q: Can I use this method on colored mugs?
A: Yes, but white or light-colored mugs allow the image to stand out more.
Conclusion
Creating DIY photo mugs is a fun and rewarding project that adds a personal touch to your daily routine or gift-giving. By following this tutorial, you can craft professional-quality mugs right at home. Share your creations on social media or gift them to loved ones for a truly memorable experience. Start your DIY journey today and turn your favorite photos into usable art!