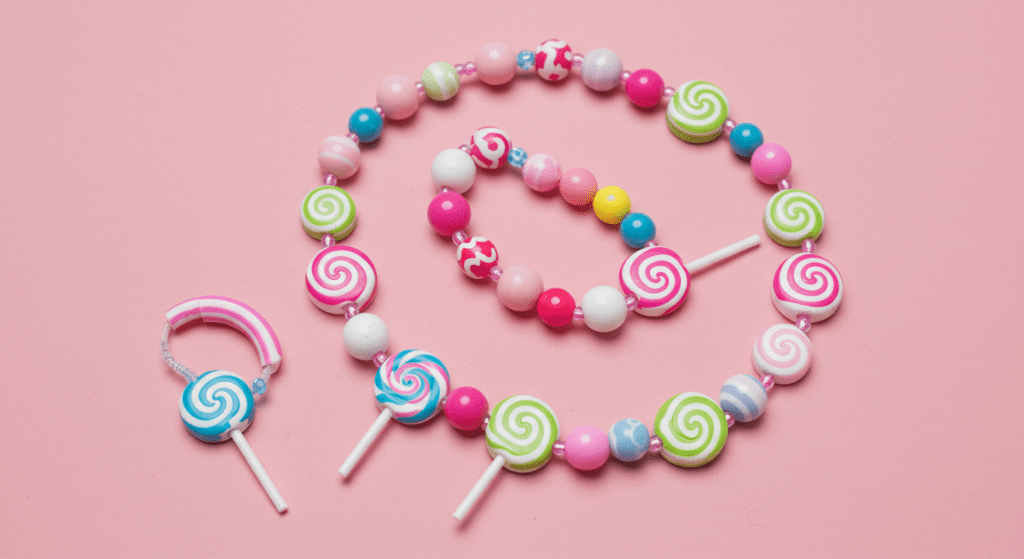
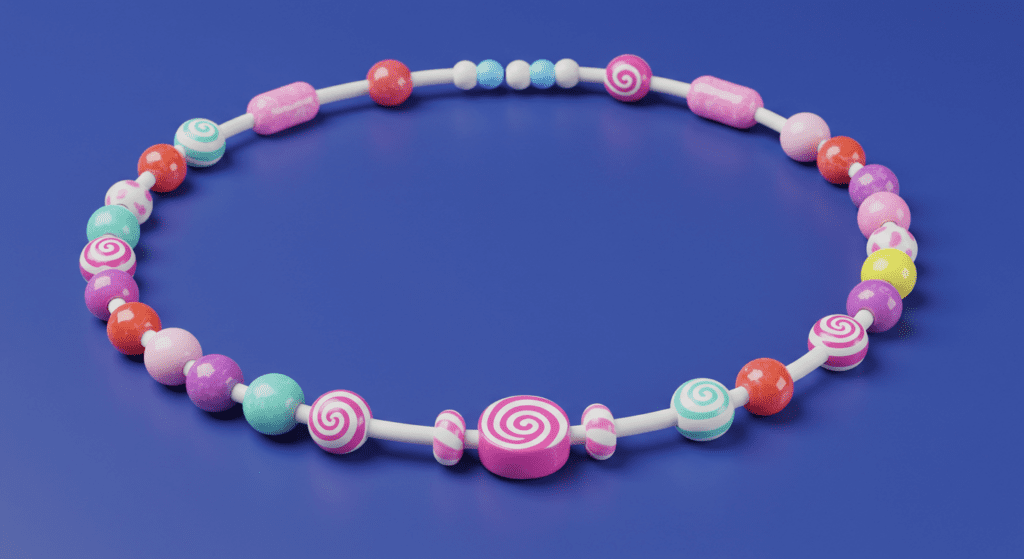
DIY Lollipop Candy Bead: A Step-by-Step Guide to Sweet and Creative Fun
Table of Contents
- Introduction
- Materials Needed
- Step-by-Step Instructions
- Tips for Success
- Conclusion
- FAQs
Introduction
Creating DIY lollipop candy beads is a delightful and creative activity that combines artistry with a sweet treat. Whether you’re crafting for a party favor, a unique gift, or just for fun, this project is perfect for all ages. In this guide, we’ll walk you through the process of making your own lollipop candy beads, ensuring a fun and rewarding experience.

Materials Needed
To get started, gather the following materials:
- Lollipop molds (preferably bead-shaped)
- Lollipop sticks
- Candy melts or hard candy mix
- Food coloring (optional)
- Flavoring extracts (optional)
- Cooking spray or oil (for greasing molds)
- Small saucepan or microwave-safe bowl
- Candy thermometer (if using hard candy mix)
- Parchment paper or silicone mat
Step-by-Step Instructions
Step 1: Prepare the Molds
Start by lightly greasing your lollipop molds with cooking spray or oil. This ensures the candy beads will easily pop out once they’ve hardened.
Step 2: Melt the Candy
If using candy melts, melt them in a microwave-safe bowl in 30-second intervals, stirring until smooth. For hard candy mix, heat the mixture in a saucepan until it reaches 300°F (hard crack stage) on a candy thermometer.
Step 3: Add Color and Flavor
Once the candy is melted, add a few drops of food coloring and flavoring extract if desired. Stir thoroughly to distribute evenly.
Step 4: Fill the Molds
Carefully pour the melted candy into the prepared molds. Insert lollipop sticks into each mold, ensuring they are centered and secure.
Step 5: Let It Cool
Allow the candy to cool and harden completely. This usually takes about 15-20 minutes at room temperature.
Step 6: Remove from Molds
Once hardened, gently pop the lollipop candy beads out of the molds. If they stick, lightly tap the back of the mold to release them.
Tips for Success
- Use high-quality candy melts or hard candy mix for the best results.
- Experiment with different colors and flavors to create unique designs.
- Work quickly when pouring the candy into molds to prevent it from hardening prematurely.
- Store finished lollipop candy beads in an airtight container to maintain freshness.
Conclusion
DIY lollipop candy beads are a fun and creative way to enjoy a sweet treat while showcasing your crafting skills. With just a few simple materials and steps, you can create beautiful, edible beads that are perfect for gifting or personal enjoyment. So, gather your supplies and start crafting your own lollipop candy beads today!

FAQs
1. Can I use regular sugar to make lollipop candy beads?
Yes, you can use a hard candy mix made from sugar, water, and corn syrup. Ensure you heat it to the hard crack stage (300°F) for the right consistency.
2. How long do DIY lollipop candy beads last?
When stored in an airtight container, they can last up to 2-3 weeks. Avoid exposure to moisture to prevent stickiness.
3. Can I make these without molds?
While molds are ideal for uniform shapes, you can freehand small candy beads on parchment paper. However, the results may vary.
4. Are these safe for kids to make?
Yes, but adult supervision is recommended, especially when handling hot candy mixtures.