Table of Contents
- Introduction
- Why Make a Memory Quilt?
- Materials Needed
- Step-by-Step Guide to Making a Memory Quilt
- Creative Ideas for Memory Quilts
- Conclusion
- FAQs
Introduction
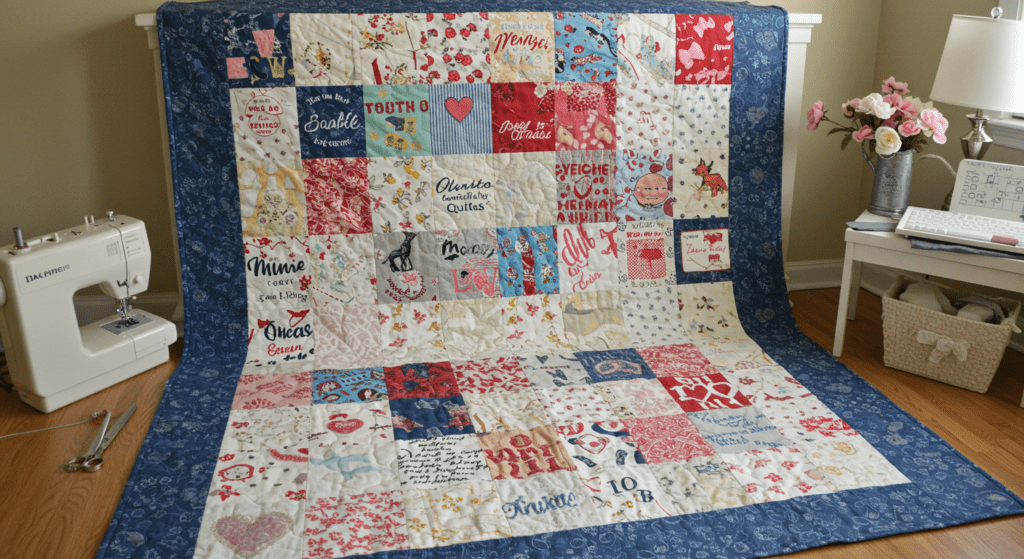
A memory quilt is a beautiful way to preserve cherished moments by transforming old T-shirts, fabric scraps, or sentimental clothing into a unique keepsake. Whether for weddings, graduations, or anniversaries, a patchwork quilt tells a story through fabric, making it a heartfelt gift or a personal treasure.
In this guide, we’ll walk you through the process of creating a memory quilt, from selecting materials to sewing techniques, ensuring your project is both meaningful and durable.

Why Make a Memory Quilt?
A memory quilt serves as a tangible connection to special moments. Here’s why you should consider making one:
- Preserves sentimental clothing (baby onesies, sports jerseys, wedding dresses).
- Eco-friendly by upcycling old fabrics.
- Customizable for any occasion (birthdays, retirements, memorials).
- A heartfelt gift that carries emotional value.
Materials Needed
To create your patchwork quilt, gather the following:
- Old T-shirts, clothing, or fabric scraps (washed and ironed).
- Backing fabric (cotton or flannel).
- Batting (for insulation).
- Rotary cutter, scissors, and a cutting mat.
- Sewing machine or needle and thread.
- Fusible interfacing (to stabilize stretchy fabrics).
- Ruler, pins, and marking tools.
Step-by-Step Guide to Making a Memory Quilt
1. Select and Prepare Fabrics
- Choose sentimental clothing with meaningful prints or textures.
- Cut into uniform squares (e.g., 12”x12”) for easier assembly.
- Use fusible interfacing on stretchy materials to prevent warping.
2. Arrange the Design
- Lay out fabric pieces in a visually pleasing patchwork pattern.
- Experiment with layouts before sewing.
3. Sew the Quilt Top
- Stitch squares together in rows, then join rows.
- Press seams flat for a neat finish.
4. Add Batting and Backing
- Layer: quilt top → batting → backing fabric.
- Baste layers together (pins or spray adhesive).
5. Quilting & Finishing
- Quilt by hand or machine to secure layers.
- Bind edges with bias tape for a polished look.
Creative Ideas for Memory Quilts
- Wedding Quilt: Combine fabric from bridesmaid dresses, ties, or veils.
- Graduation Quilt: Use old school T-shirts, uniforms, or event fabrics.
- Baby Memory Quilt: Stitch together baby clothes, blankets, and bibs.
- Travel Quilt: Incorporate fabric from souvenirs or vacation shirts.
Conclusion
A memory quilt is more than just a blanket—it’s a woven story of love, milestones, and memories. By repurposing old T-shirts, fabric scraps, or sentimental clothing, you create a lasting heirloom for weddings, graduations, or anniversaries. Follow this guide to craft a patchwork quilt that will be treasured for years.
FAQs
1. How do I prevent stretchy fabrics from warping in a memory quilt?
Use fusible interfacing to stabilize materials like T-shirts before sewing.
2. What’s the best size for quilt squares?
12”x12” is common, but adjust based on your design.
3. Can I hand-sew a memory quilt?
Yes, but a sewing machine speeds up the process.
4. How do I wash a memory quilt?
Use gentle cycles and cold water to preserve fabrics.
5. What if I don’t have enough fabric?
Mix with complementary solid fabrics to complete the design.