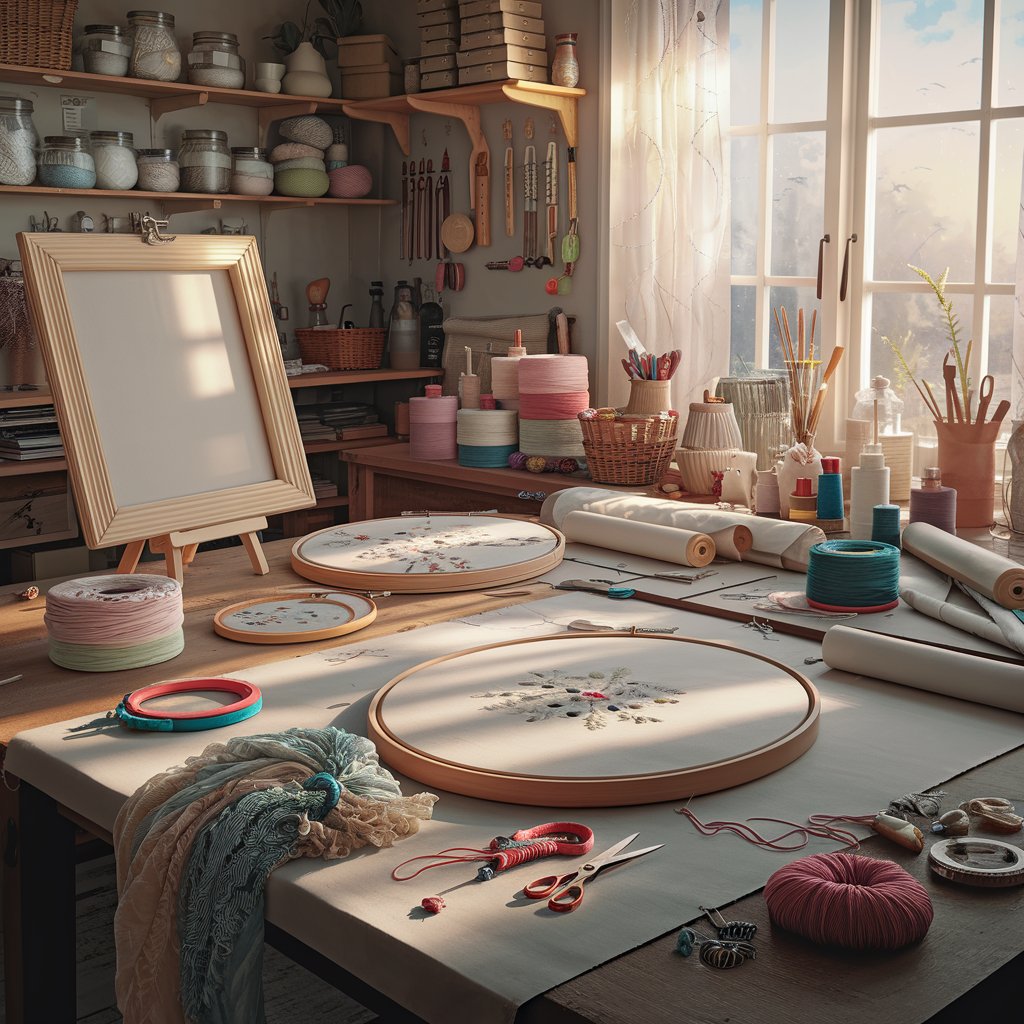
Introduction:
Are you looking to add a personal touch to your living space? Creating your own DIY embroidered canvas wall art can be a fun, creative, and rewarding project that allows you to showcase your artistic skills. With just a few basic materials, you can design unique, beautiful pieces of art that will transform any room in your home. In this tutorial, we’ll guide you step-by-step through the process of making your own embroidered canvas wall art, from selecting materials to creating your design and stitching it onto the canvas.
Whether you’re an experienced embroiderer or a complete beginner, this easy DIY project is perfect for anyone looking to dive into the world of embroidery and handmade art. Plus, you can customize the colors and patterns to match your personal style and home décor.
Table of Contents:
- What You’ll Need for Your DIY Embroidered Canvas Wall Art
- Choosing the Right Canvas and Thread
- Designing Your Embroidered Art
- Preparing Your Canvas for Embroidery
- Step-by-Step Guide to Embroidering Your Canvas
- Tips and Tricks for Perfecting Your Embroidery
- Framing and Displaying Your Finished Canvas
- Conclusion: Bring Your Artistic Vision to Life
1. What You’ll Need for Your DIY Embroidered Canvas Wall Art
Before you begin, gather the following materials for your embroidered canvas wall art:
- Canvas: A blank, pre-stretched canvas in the size of your choice.
- Embroidery Thread: Choose high-quality embroidery floss in various colors.
- Embroidery Needle: A needle with a large enough eye to thread your embroidery floss.
- Embroidery Hoop: Optional, but helpful for keeping the fabric taut while you work.
- Pencil or Fabric Marker: For sketching your design onto the canvas.
- Scissors: To trim your threads and any excess fabric.
- Optional Embellishments: Beads, sequins, or other decorative elements to enhance your design.

2. Choosing the Right Canvas and Thread
When selecting your canvas, opt for a medium-weight fabric, like cotton or linen, as it’s easier to embroider and holds the thread well. Consider the texture of the fabric and how it complements your design.
Embroidery thread comes in various types, but traditional floss made from cotton or silk is ideal. Choose colors that reflect the style and mood you want to convey in your space. Consider earthy tones for a calming effect or bold, vibrant colors for a statement piece.
3. Designing Your Embroidered Art
Before you start stitching, you’ll want to plan your design. You can either sketch your own pattern or find free printable templates online. Floral patterns, geometric designs, and abstract shapes work particularly well for embroidered canvas art. Use a pencil or fabric marker to lightly draw your design on the canvas, ensuring that the lines are visible but not too dark to interfere with your embroidery.
4. Preparing Your Canvas for Embroidery
Once your design is sketched out, you can secure the canvas into an embroidery hoop if you’re using one. The hoop will keep the fabric taut, making it easier to embroider. If you’re not using a hoop, make sure your canvas is stretched and tightly secured to the frame.
5. Step-by-Step Guide to Embroidering Your Canvas
Now comes the fun part – stitching! Here’s how to embroider your design:
- Step 1: Thread your needle with the embroidery floss, tying a knot at the end.
- Step 2: Start by following your design, working in small sections. Use basic embroidery stitches like the backstitch, satin stitch, or French knots, depending on your design.
- Step 3: For each stitch, make sure the tension is consistent to keep the stitches even and neat.
- Step 4: Continue stitching until your design is complete, taking breaks if needed to avoid hand strain.
6. Tips and Tricks for Perfecting Your Embroidery
- Use Multiple Strands: If you want bold, thick lines, use multiple strands of thread. For finer, more delicate details, use a single strand.
- Work in Layers: Start with the larger elements of your design and add smaller details as you go.
- Practice Stitches: If you’re new to embroidery, practice on a scrap piece of fabric before working on your canvas.
- Don’t Over-Stretch: While keeping the fabric taut is important, avoid stretching it too much, as this can distort the design.
7. Framing and Displaying Your Finished Canvas
Once your embroidery is complete, it’s time to display it! You can frame your embroidered canvas for a polished look or simply hang it as is for a more casual style. Choose a frame that complements your design and the colors in your artwork. If you want a minimalist look, you can even leave the canvas unframed for a more modern, raw aesthetic.
Pro Tip: Add a few more embroidered canvases to your collection and hang them together in a gallery wall for a striking visual impact!
8. Conclusion:
Bring Your Artistic Vision to Life
DIY embroidered canvas wall art is a fun, customizable way to express your creativity and add a personal touch to your home décor. By following the steps in this tutorial, you can create beautiful, one-of-a-kind pieces that will make a statement in any room. Whether you’re looking to create a thoughtful gift or add some charm to your own space, this DIY project offers endless possibilities for design and creativity.
Happy stitching, and let your imagination run wild as you craft stunning embroidered canvas art!