Table of Contents
- Introduction
- Key Ingredients
- How to Make Protein Ice Cream
- Tips for Adding More Protein
- Storage and Serving Suggestions
- Frequently Asked Questions (FAQs)
- Conclusion
Introduction
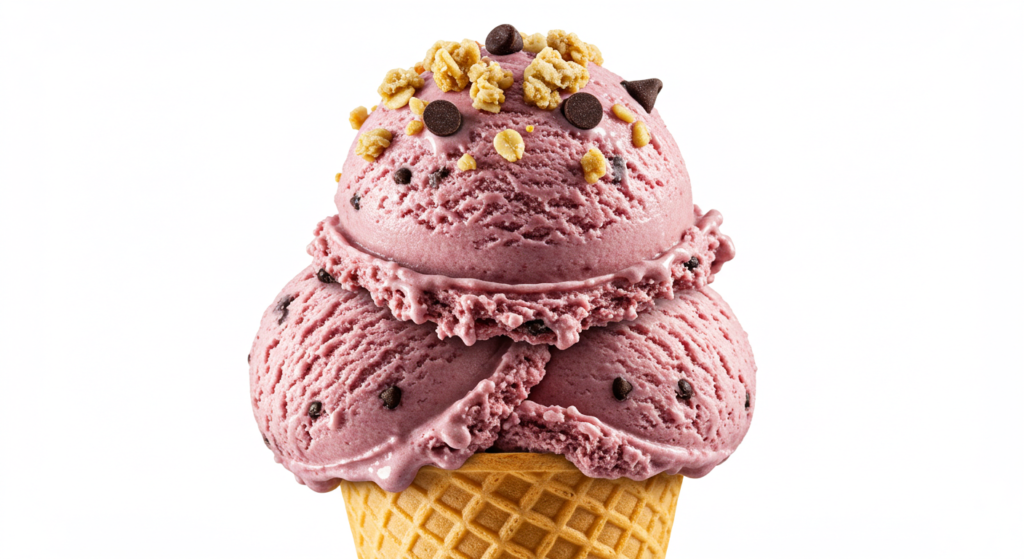
Craving something sweet but want to stay on track with your health goals? Look no further than this Protein Ice Cream recipe! Packed with 18 grams of protein per serving, this creamy, dreamy dessert is the perfect way to satisfy your sweet tooth while fueling your body. Whether you prefer vanilla or chocolate, this no-churn ice cream is easy to make and requires no special equipment. Plus, it’s highly customizable, so you can add your favorite mix-ins and toppings to make it your own.

Key Ingredients
Here’s what you’ll need to whip up this delicious protein-packed treat:
- Frozen Bananas: Essential for achieving a creamy texture. Use unripe bananas if you want to minimize the banana flavor.
- Cottage Cheese: Adds richness and protein. Opt for low-fat or full-fat varieties for the best results.
- Protein Powder: Vanilla or chocolate work well, but feel free to experiment with other flavors like strawberry or peanut butter.
- Cocoa Powder (for chocolate flavor): Enhances the chocolatey taste.
- Maple Syrup (for chocolate flavor): Adds a touch of natural sweetness.
- Vanilla Extract: A must for both vanilla and chocolate versions.
- Optional Additions: Cinnamon, peanut butter, instant espresso powder, chocolate chips, or cacao nibs.
How to Make Protein Ice Cream
Step 1: Blend the Ingredients
- Add frozen banana chunks, cottage cheese, protein powder, cocoa powder (if making chocolate), maple syrup (if using), and vanilla extract to a high-powered blender or food processor.
- Blend until smooth and creamy. The mixture will be thick, so you may need to stop and scrape down the sides a few times.
Step 2: Add Mix-Ins
- If using chocolate chips or other mix-ins, sprinkle them in and pulse a few times to combine.
Step 3: Freeze
- Pour the mixture into a loaf pan and freeze for about 4 hours, or until firm.
- Let it sit at room temperature for 5-10 minutes to soften before scooping and serving.
Tips for Adding More Protein
Want to boost the protein content even further? Try these ideas:
- Protein Snacks: Fold in chopped Protein Balls or Peanut Butter Protein Bars.
- Nuts: Add peanuts, almonds, or your favorite nuts for extra crunch and protein.
- Hemp Hearts: Sprinkle on top for an additional 3 grams of protein per tablespoon.
Storage and Serving Suggestions
- To Store: Cover the loaf pan with plastic wrap and freeze for up to 2 weeks.
- To Serve: Let the ice cream soften slightly at room temperature for easier scooping.
Frequently Asked Questions (FAQs)
1. Can I use fat-free cottage cheese?
It’s best to avoid fat-free cottage cheese, as it won’t provide the same creamy texture. Low-fat or full-fat varieties work better.
2. How much is “one scoop” of protein powder?
The size of a scoop varies by brand, but most protein powders come with a scoop that measures about 30 grams. Adjust based on your preferred protein powder brand.
3. Can I make this recipe vegan?
Yes! Use a plant-based protein powder and substitute the cottage cheese with a dairy-free alternative like silken tofu or coconut yogurt.
4. What if I don’t like bananas?
Unripe bananas have a milder flavor, so they’re a great option if you want the creamy texture without the banana taste.
Conclusion
This Protein Ice Cream is a game-changer for anyone looking to enjoy a healthy, protein-packed dessert. With its creamy texture, customizable flavors, and no-churn method, it’s a treat you can feel good about indulging in. Whether you’re post-workout or just craving something sweet, this recipe is sure to hit the spot.