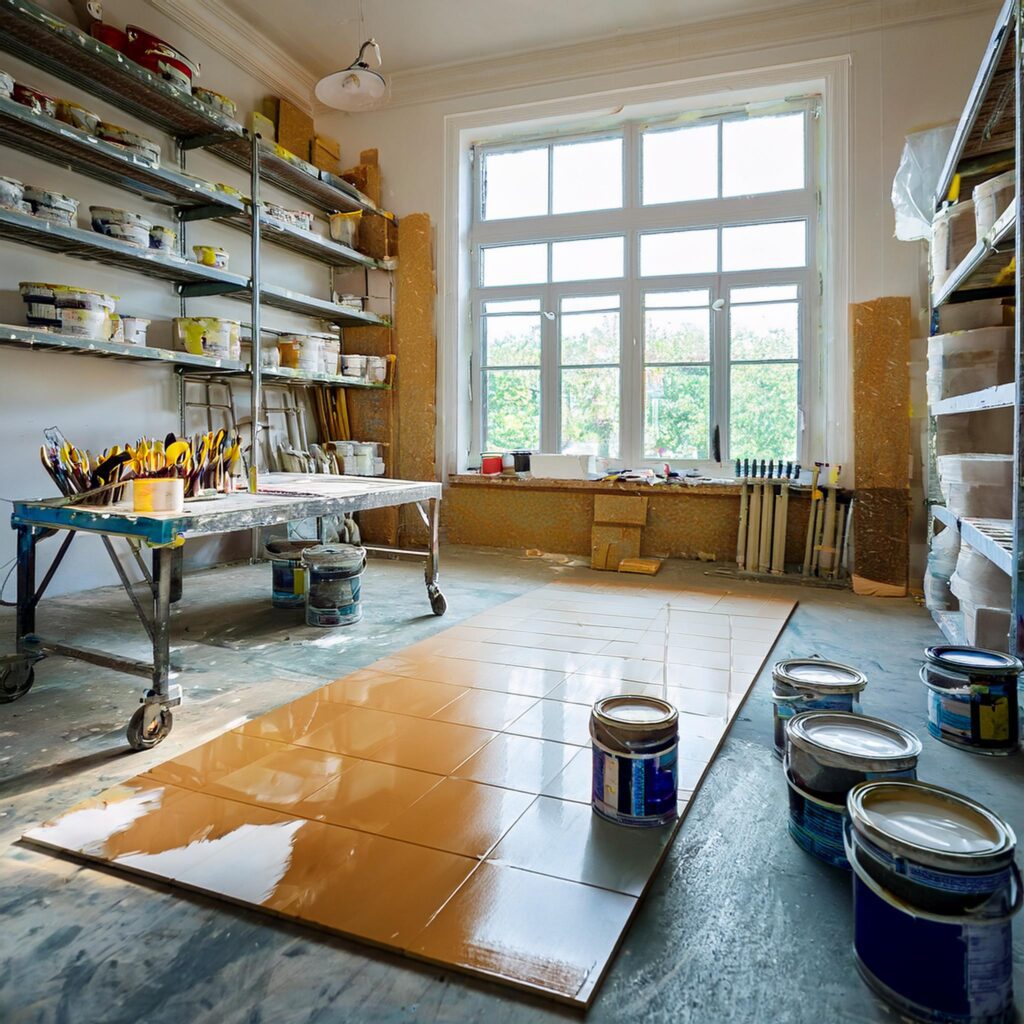
Introduction:
Are your ceramic floor tiles looking outdated or worn out? Rather than spending a fortune replacing them, consider a budget-friendly and creative solution: painting them! Updating ceramic tiles with paint is an easy, cost-effective way to transform your space without the hassle of demolition. In this step-by-step DIY tutorial, we’ll show you how to refresh your ceramic floors using tile paint, ensuring a long-lasting and professional-looking finish.
In this guide, we’ll cover everything you need to know, from choosing the right paint to prepping and applying it correctly. By the end of this tutorial, you’ll be able to update your ceramic tile floors in no time, giving your home a modern, sleek appearance.
Table of Contents:
- Why Paint Ceramic Tiles?
- What You’ll Need: Materials and Tools
- How to Prepare Your Ceramic Floor Tiles for Painting
- Step-by-Step Guide to Painting Ceramic Floor Tiles
- 4.1 Clean and Prep the Surface
- 4.2 Sand and Prime the Tiles
- 4.3 Painting the Tiles: Tips and Techniques
- 4.4 Sealing the Painted Tiles
- Common Mistakes to Avoid
- Maintenance and Care Tips for Painted Tiles
- Conclusion: Is It Worth It to Paint Ceramic Floor Tiles?
1. Why Paint Ceramic Tiles?
Painting ceramic tiles is a smart and affordable way to update your floors. It’s a great option if you’re working with outdated tile designs or want to change the color scheme of your room. This DIY project is perfect for transforming high-traffic areas like kitchens, bathrooms, or even entryways.
The best part? It saves you time and money compared to replacing tiles. By choosing a high-quality tile paint, you can achieve a stunning, durable result that looks like new.

2. What You’ll Need: Materials and Tools
Before you start, make sure you have the following materials and tools on hand:
- Tile Paint: Choose a high-quality, floor-specific paint (epoxy or enamel).
- Tile Cleaner: A degreaser or multi-purpose cleaner.
- Sandpaper: 200-grit or medium grade.
- Paint Roller and Brushes: For smooth and detailed coverage.
- Painter’s Tape: To protect walls and baseboards.
- Drop Cloths or Plastic Sheets: To protect your furniture and other surfaces.
- Sealer: A polyurethane or epoxy sealer for durability.
3. How to Prepare Your Ceramic Floor Tiles for Painting
Proper preparation is key to a successful paint job. Here’s how to get your ceramic tiles ready for painting:
3.1 Clean the Surface
Start by thoroughly cleaning your tiles to remove any grease, grime, or dirt. Use a tile cleaner or a mixture of water and a few drops of dish soap. For tough stains, consider using a mild abrasive cleaner.
3.2 Sand the Tiles
Lightly sand the surface of your tiles with 200-grit sandpaper. This will help the paint adhere better by creating a rough texture. Don’t over-sand; just enough to remove the glaze and provide some grip for the paint.
3.3 Apply Painter’s Tape
To avoid painting the edges of your walls, baseboards, or cabinetry, apply painter’s tape to all borders. This will give you clean lines and a neat finish.
4. Step-by-Step Guide to Painting Ceramic Floor Tiles
4.1 Clean and Prep the Surface
Once your tiles are clean and dry, you’re ready for the next step. Make sure the surface is completely free of dust or debris before moving forward.
4.2 Sand and Prime the Tiles
Sanding is crucial for paint adhesion. After sanding, apply a primer designed for tile surfaces. This step ensures that the paint will bond securely to the tile. Use a roller or brush to apply the primer evenly. Allow it to dry completely according to the manufacturer’s instructions.
4.3 Painting the Tiles: Tips and Techniques
Now it’s time to paint! Use a paint roller for large, flat areas and a small brush for edges and corners. Apply the first coat of paint in thin, even layers. Be sure to work in sections and allow the paint to dry between coats.
4.4 Sealing the Painted Tiles
To protect your painted tiles and make them last longer, apply a clear polyurethane or epoxy sealer. This will help to prevent chipping and make your floor easy to clean. Follow the manufacturer’s instructions for application and drying time.
5. Common Mistakes to Avoid
While painting ceramic tiles is simple, there are a few common mistakes to avoid:
- Not Cleaning Tiles Thoroughly: Dirt and grease can interfere with the paint’s adhesion.
- Skipping the Primer: Always prime your tiles for better paint adhesion and longevity.
- Using the Wrong Paint: Make sure you use paint designed specifically for floors or tiles.
- Applying Too Thick a Coat: Multiple thin coats work better than a single thick coat.
- Not Sealing the Paint: Sealing protects your painted tiles from wear and tear.
6. Maintenance and Care Tips for Painted Tiles
To keep your newly painted tiles looking fresh, here are a few care tips:
- Avoid Harsh Cleaning Products: Stick to mild cleaners to prevent the paint from fading or chipping.
- Use Soft Mop Heads: Avoid abrasive mops or brushes that could scratch the surface.
- Clean Spills Immediately: Wipe up spills as soon as possible to prevent stains.
7. Conclusion:
Is It Worth It to Paint Ceramic Floor Tiles?
Painting your ceramic floor tiles is a great DIY project for transforming your home on a budget. With proper preparation, the right materials, and attention to detail, you can achieve a professional-looking finish that revitalizes your floors. Plus, it’s a fun way to customize your space and add a fresh new look to your interior!
Whether you’re looking to update your bathroom, kitchen, or entryway, painted ceramic tiles offer a stylish and cost-effective solution. If you’re ready to take on this DIY project, follow our step-by-step guide and enjoy the beautiful results!